

V340R
-
Innholdsteller
42 -
Ble med
-
Besøkte siden sist
Innlegg skrevet av V340R
-
-
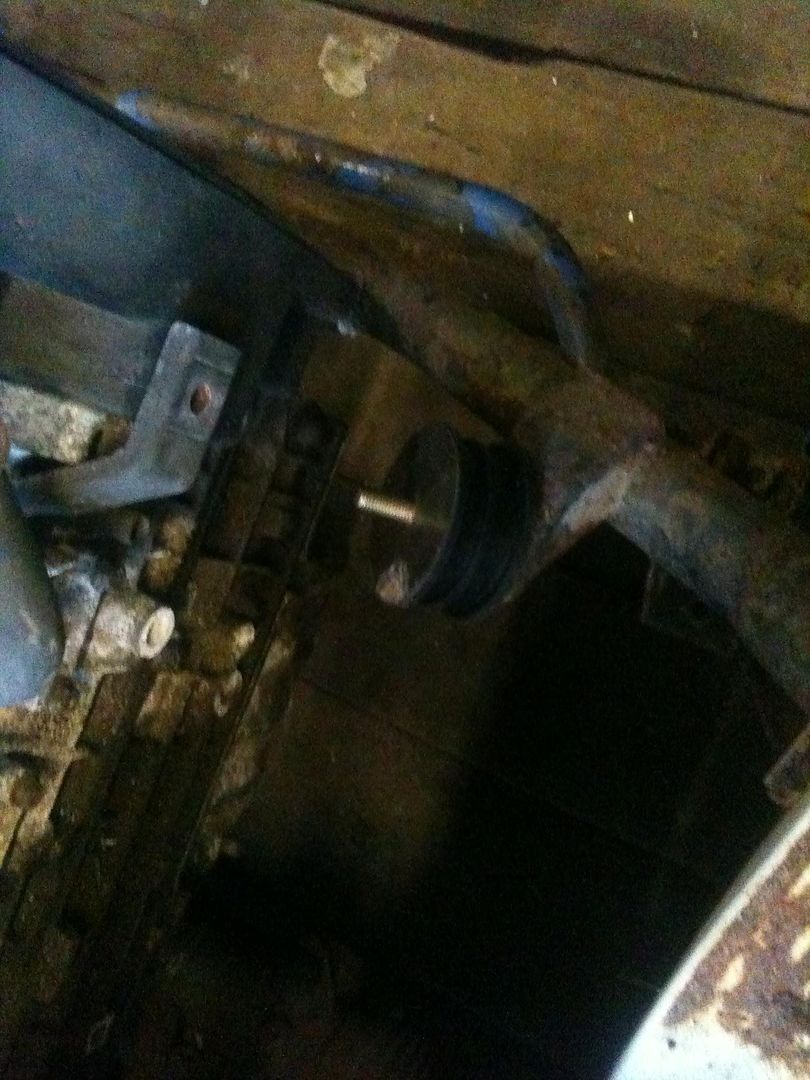
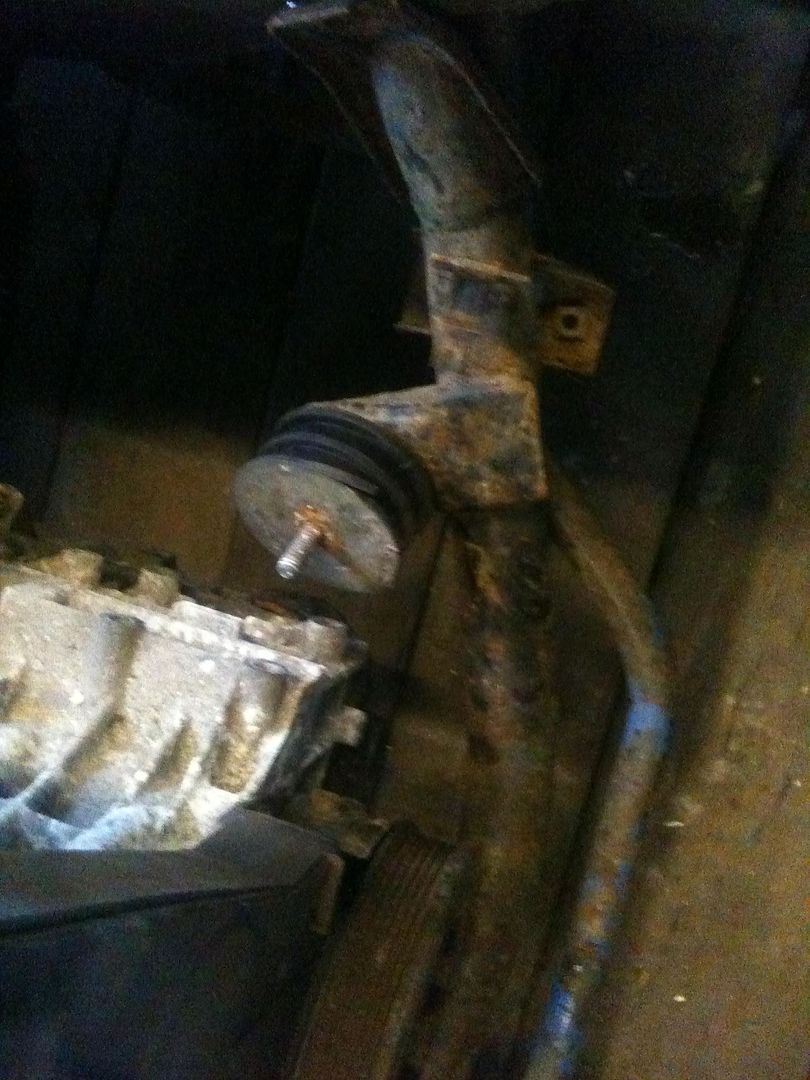
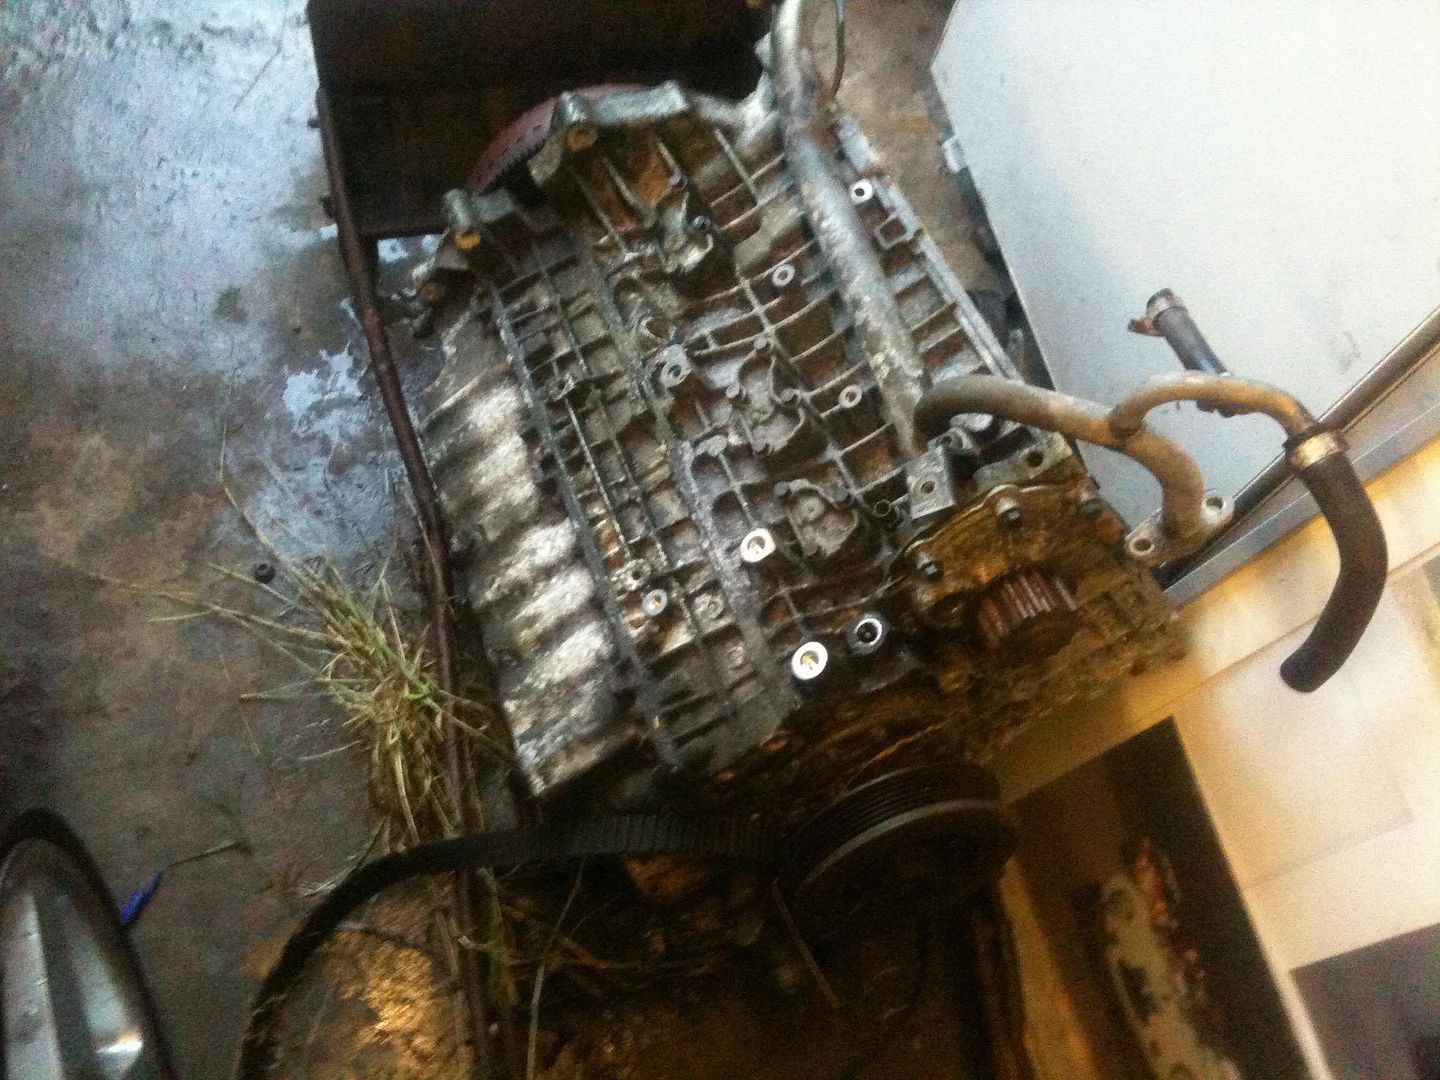
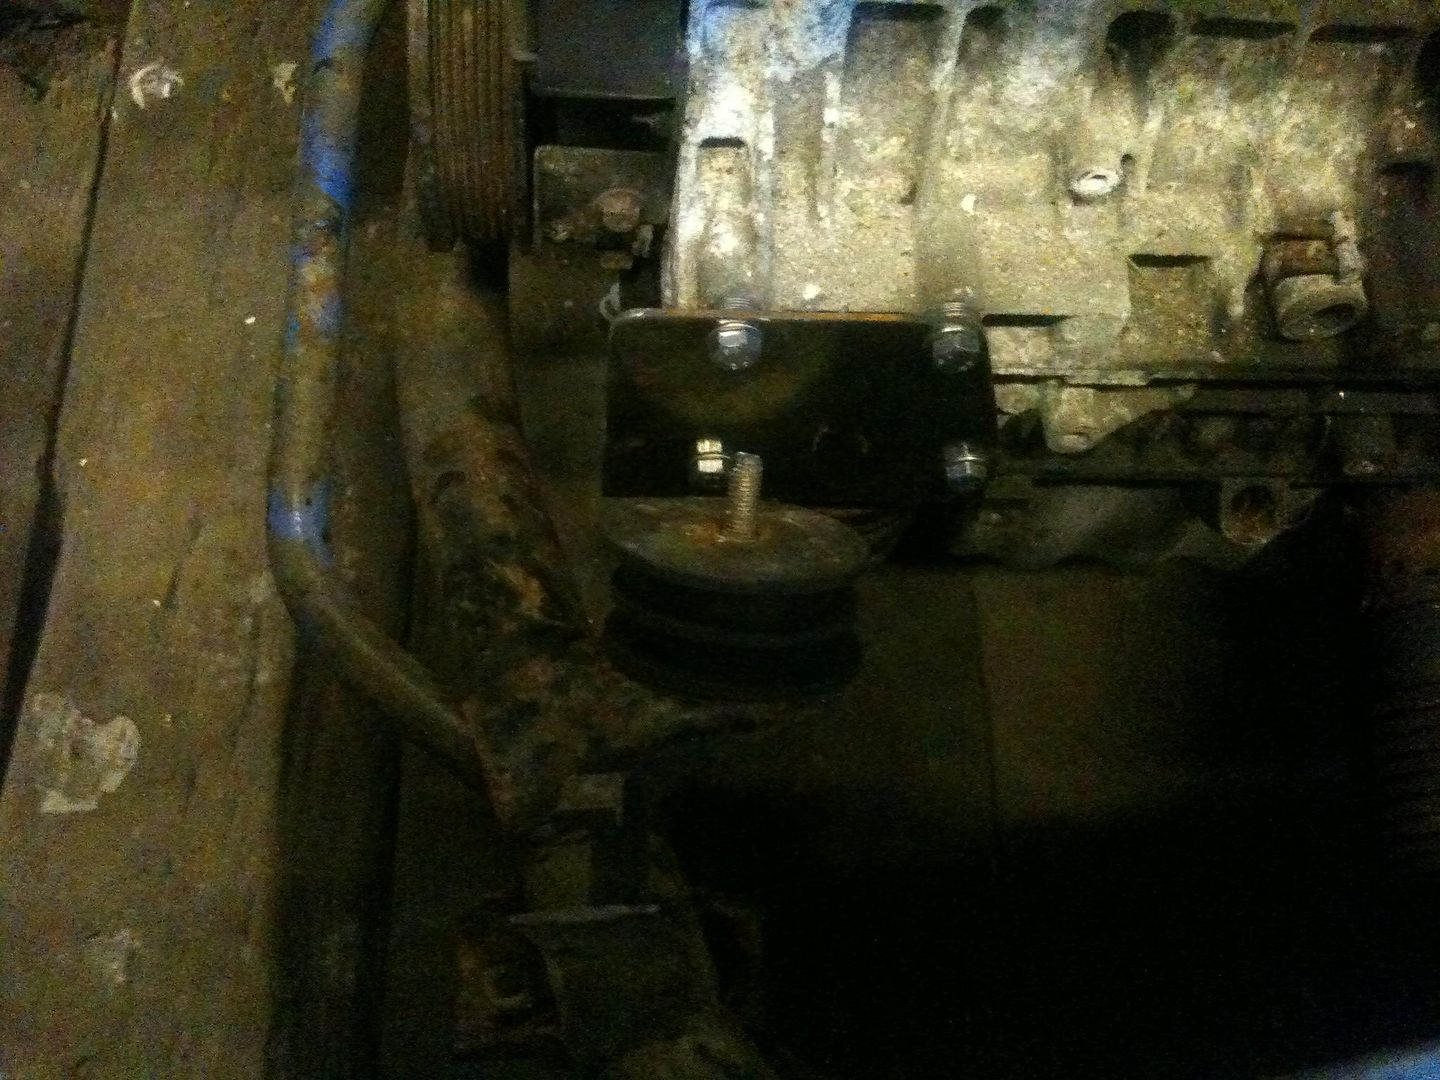
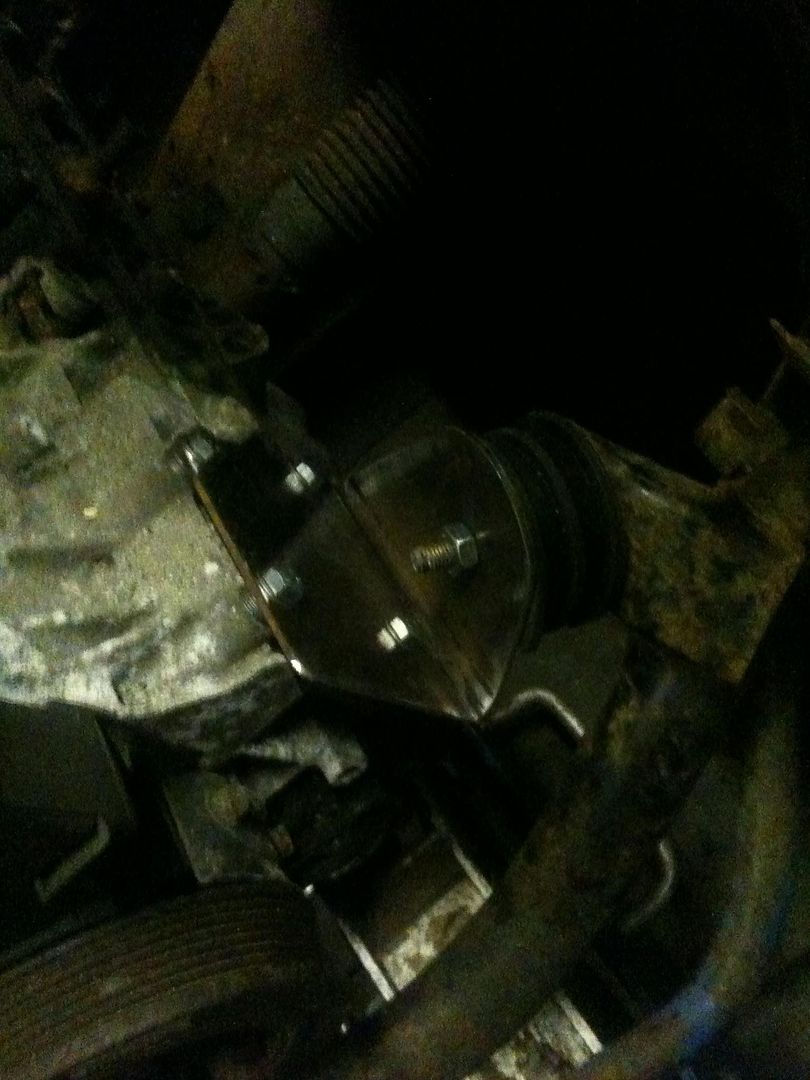
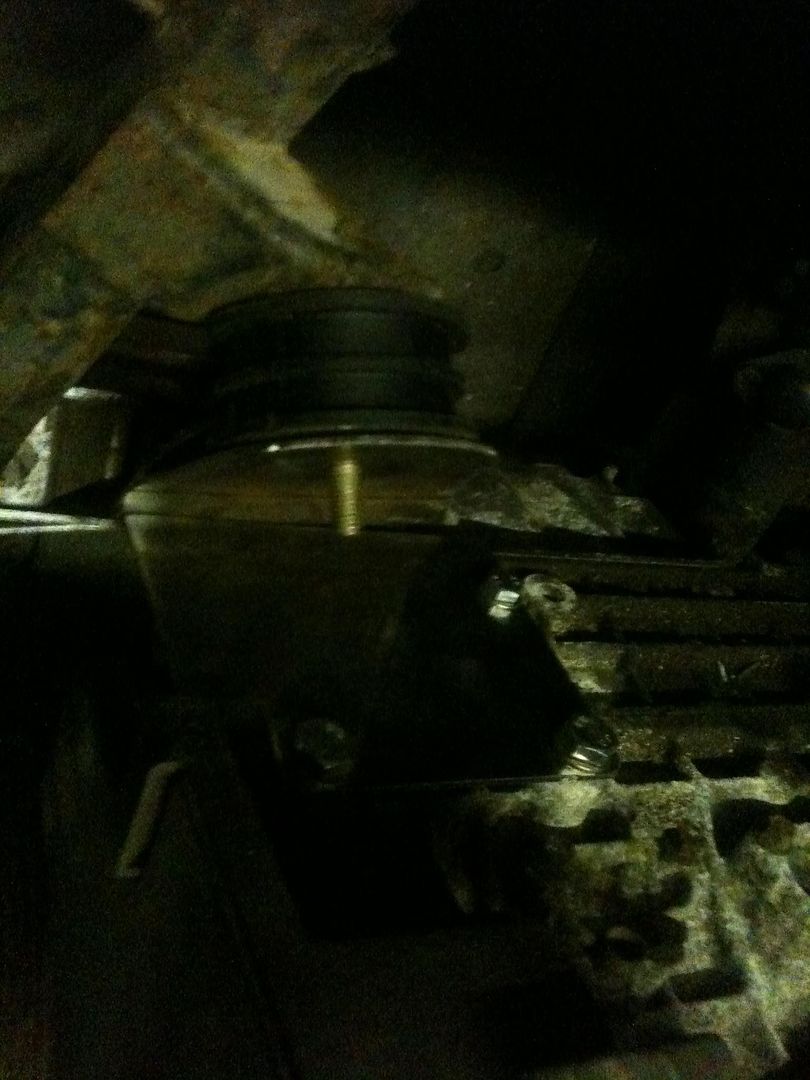
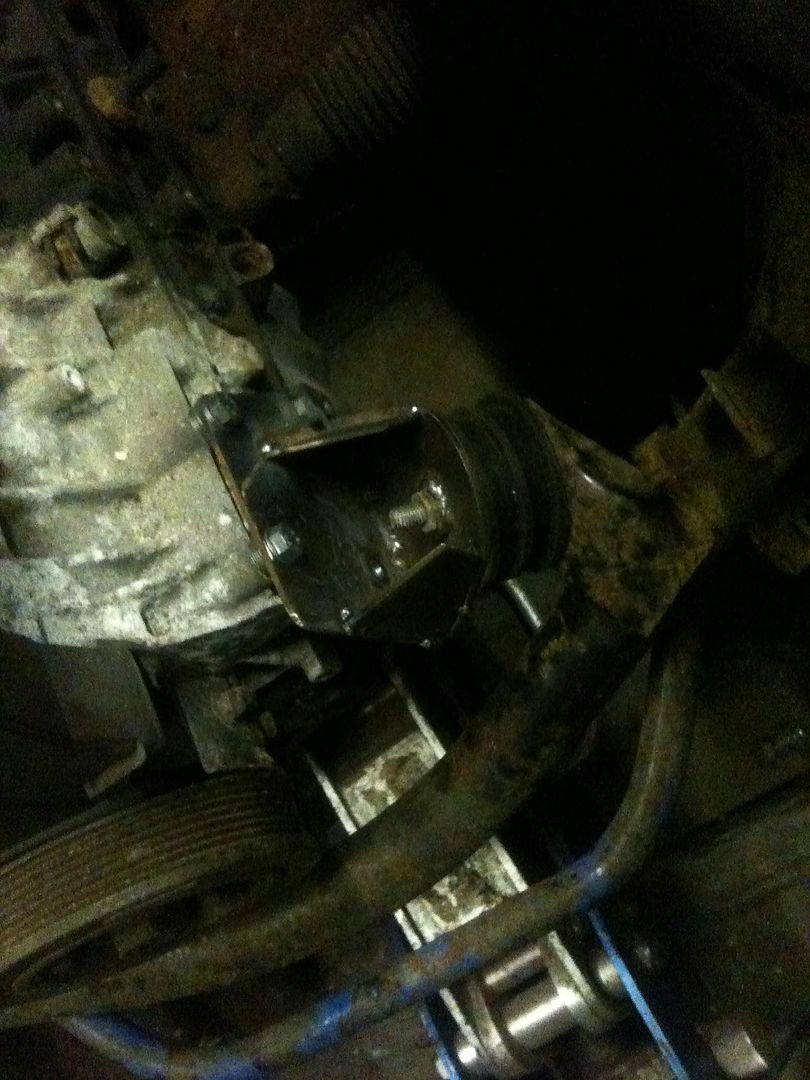
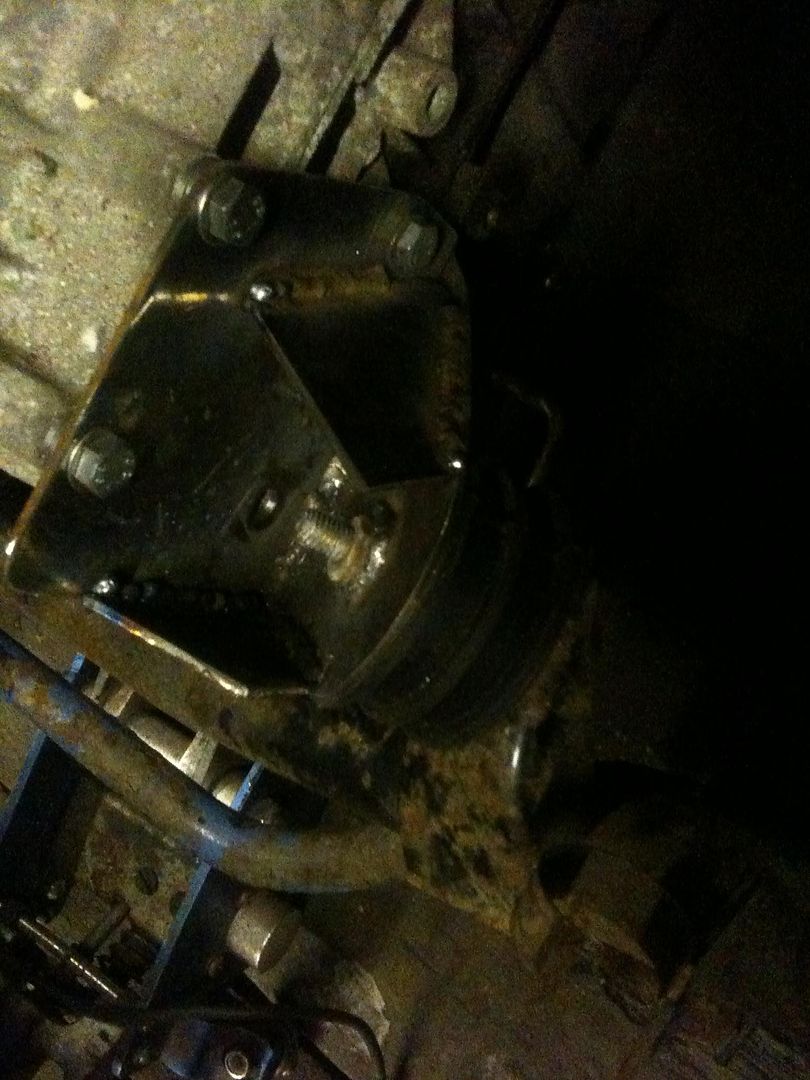
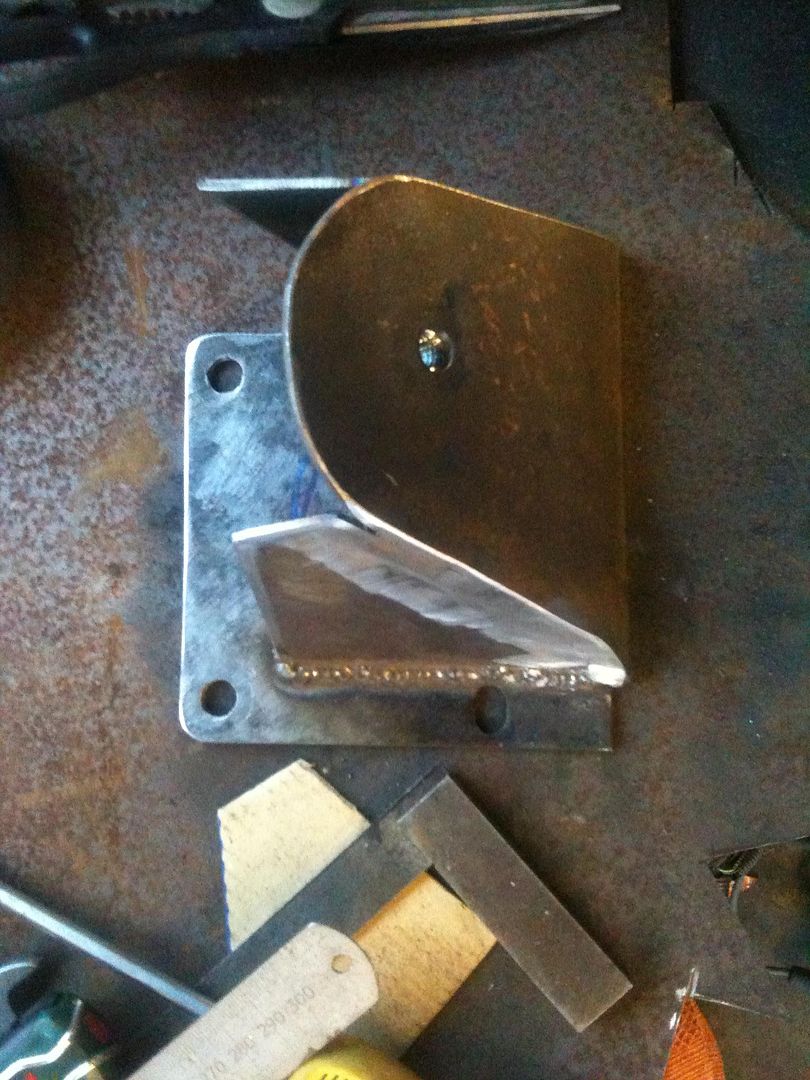
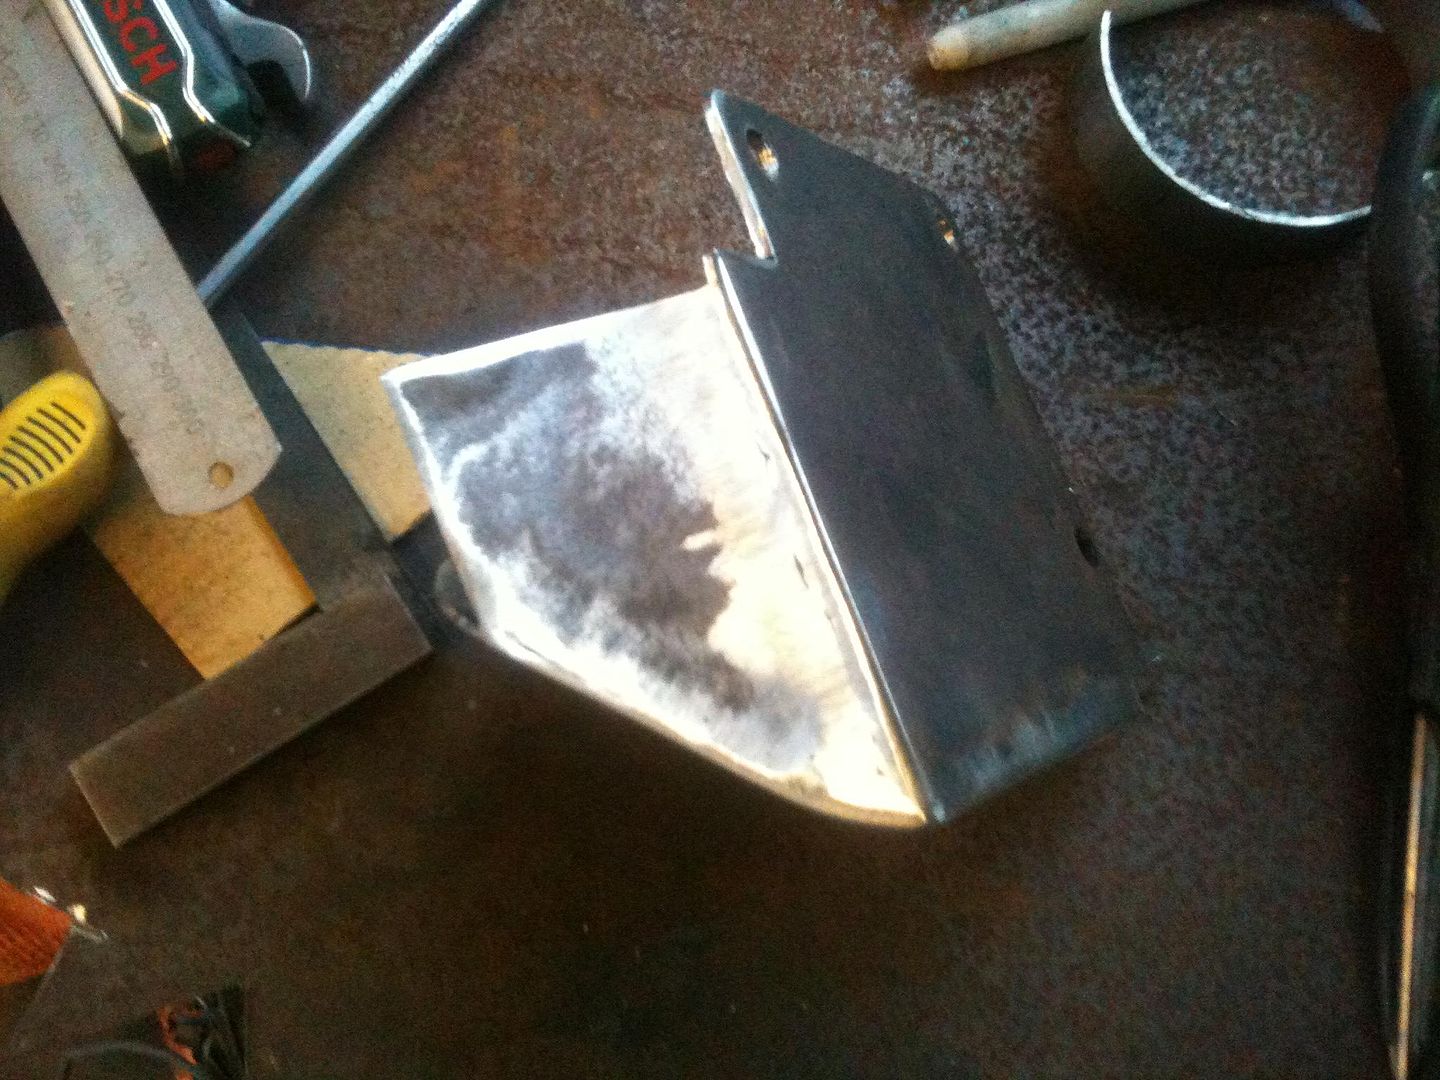
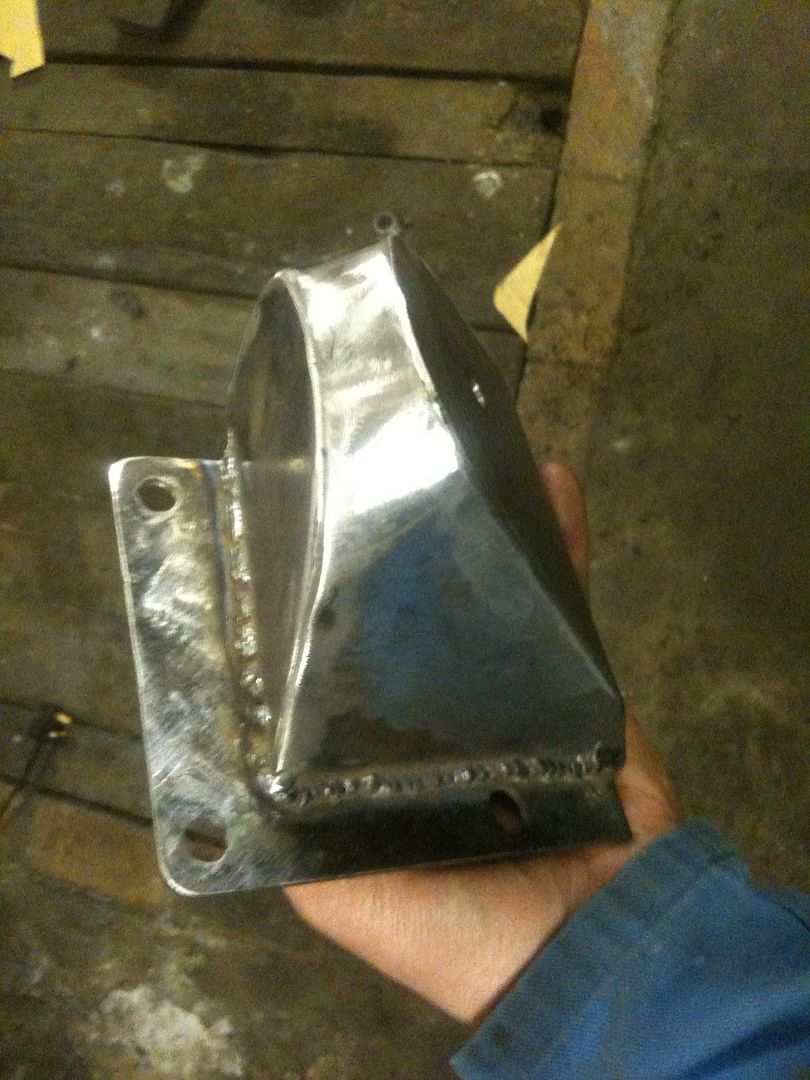
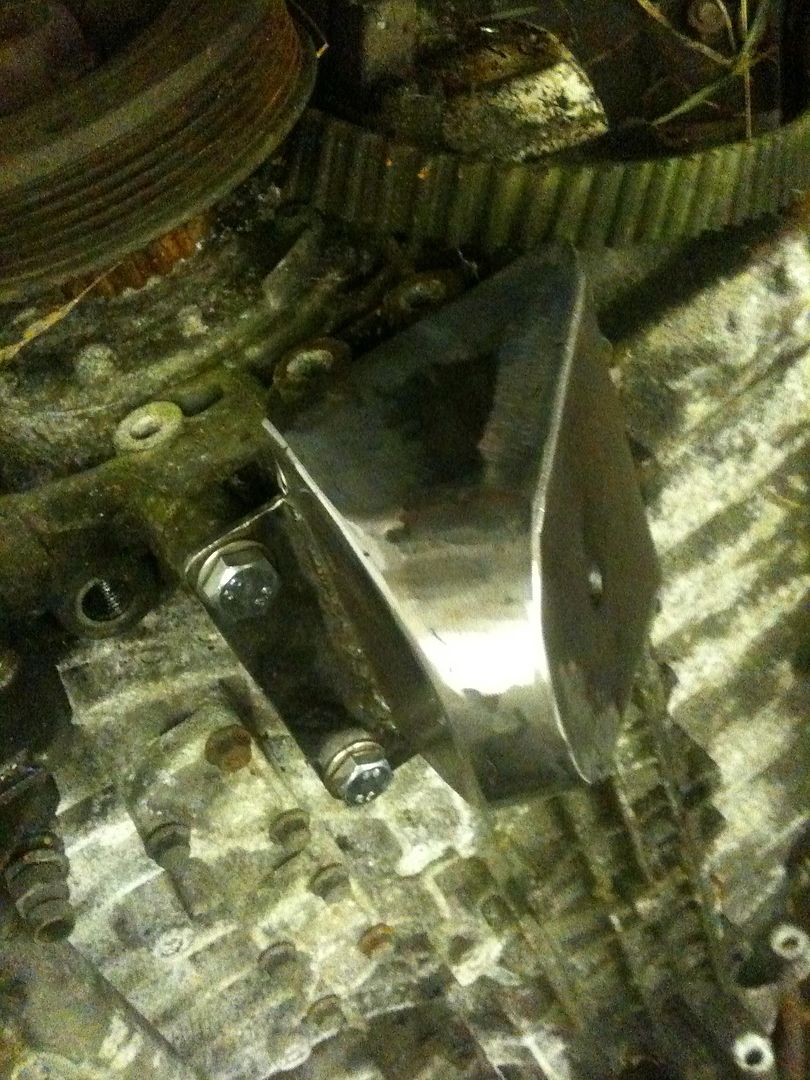
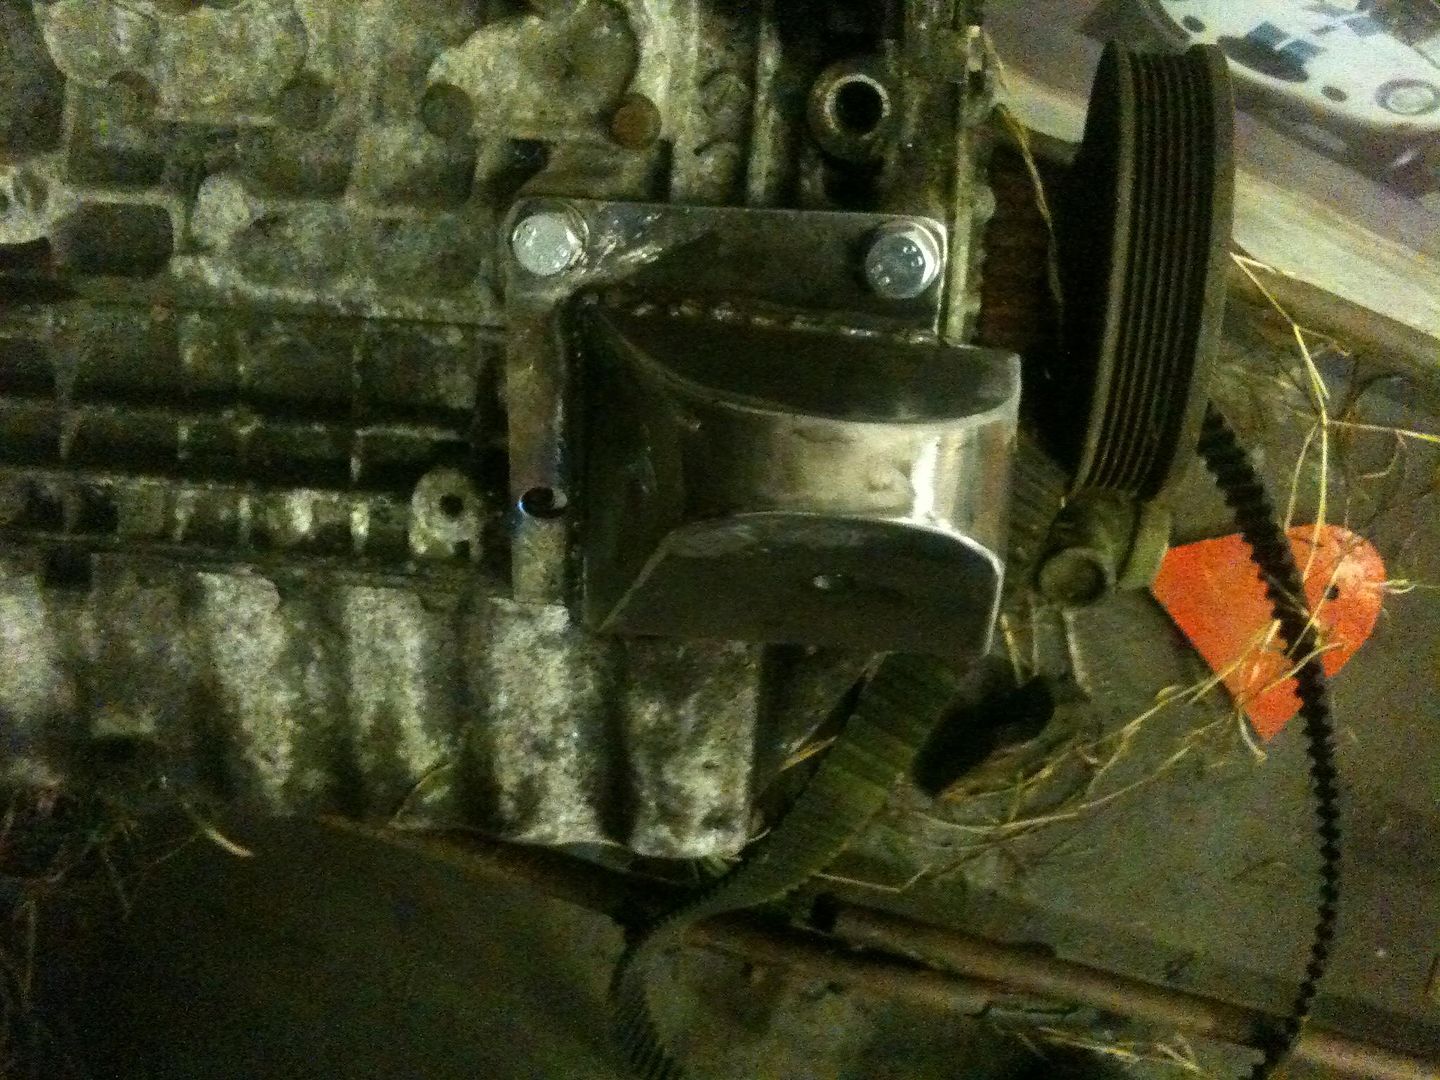
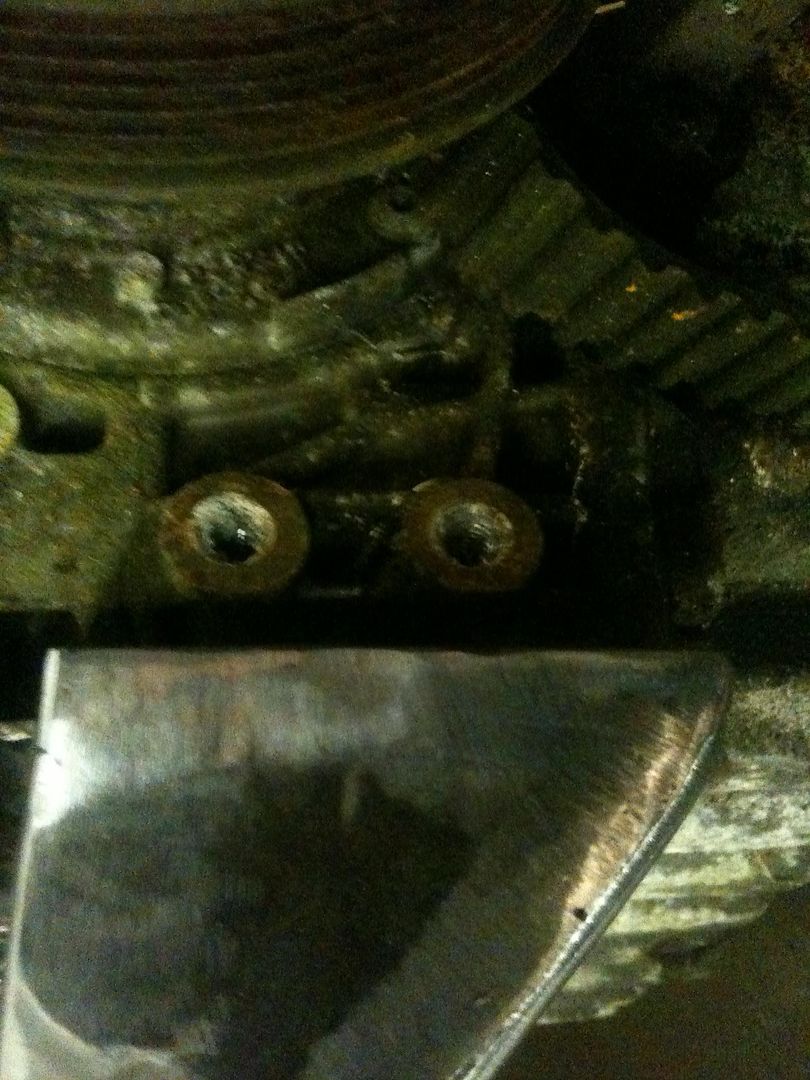
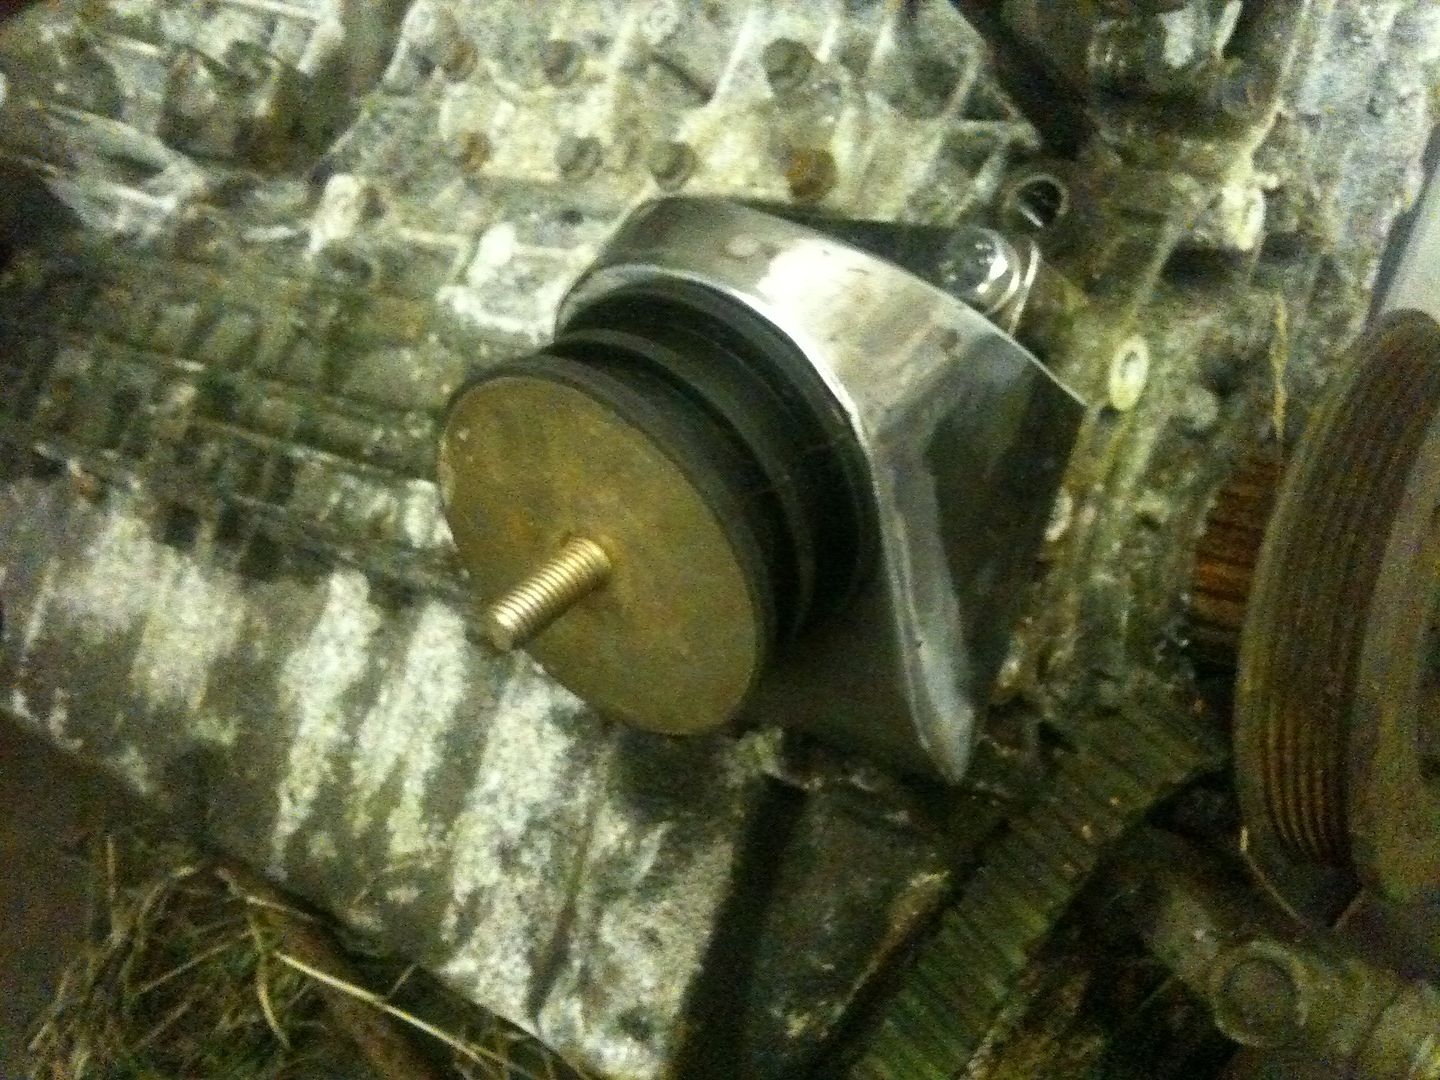
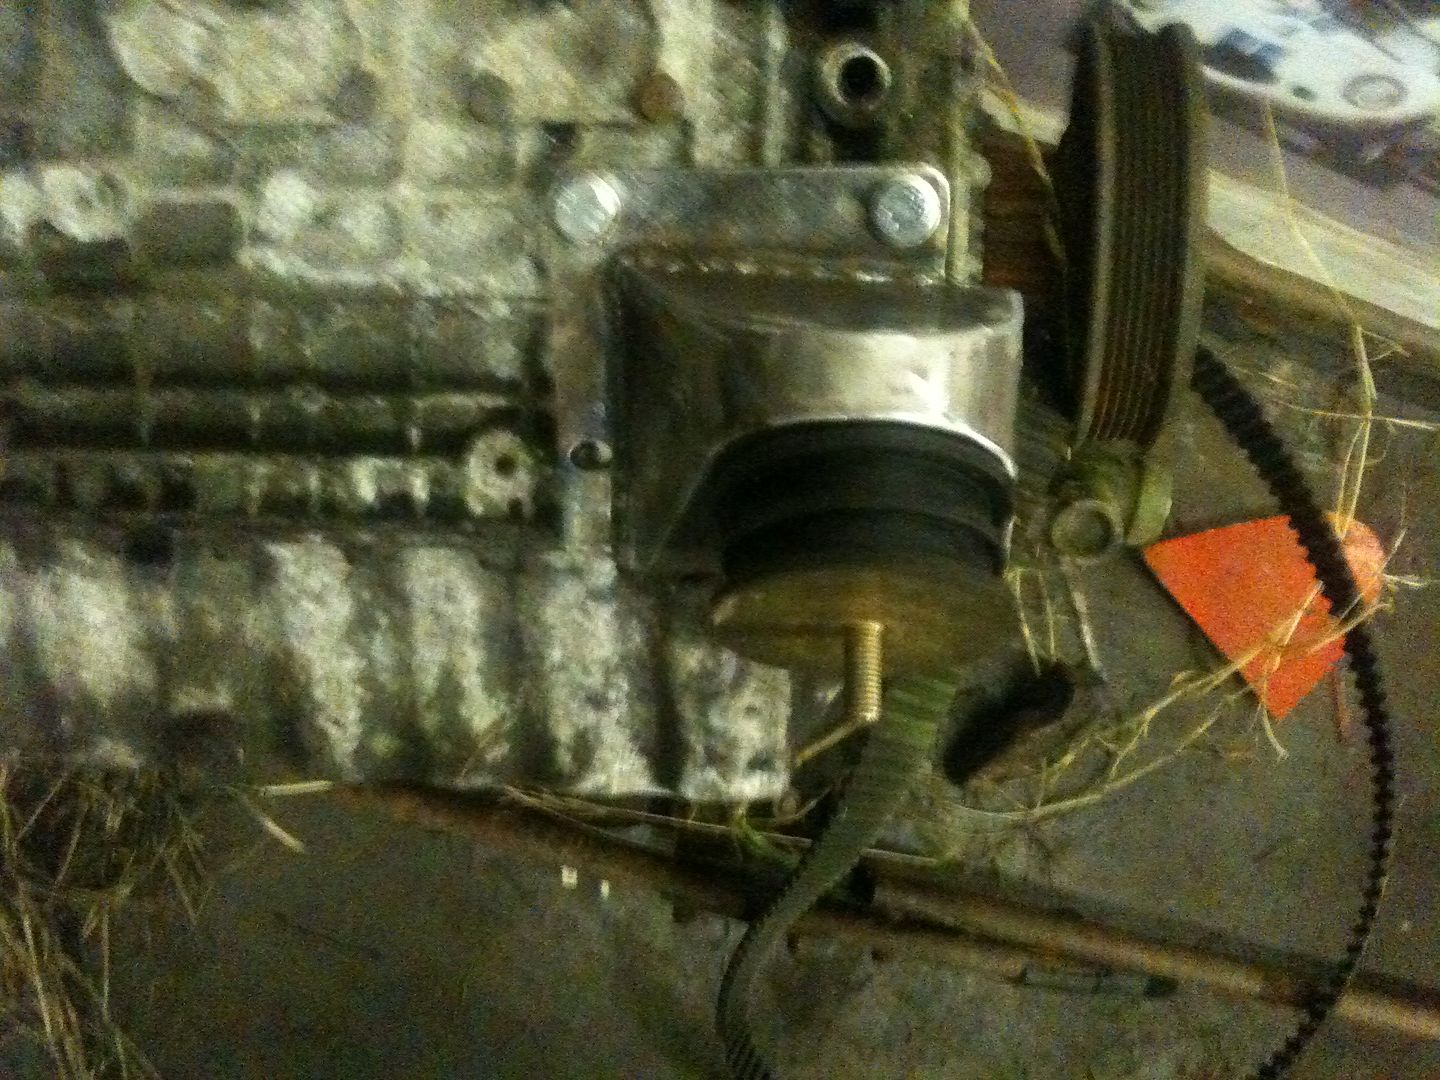
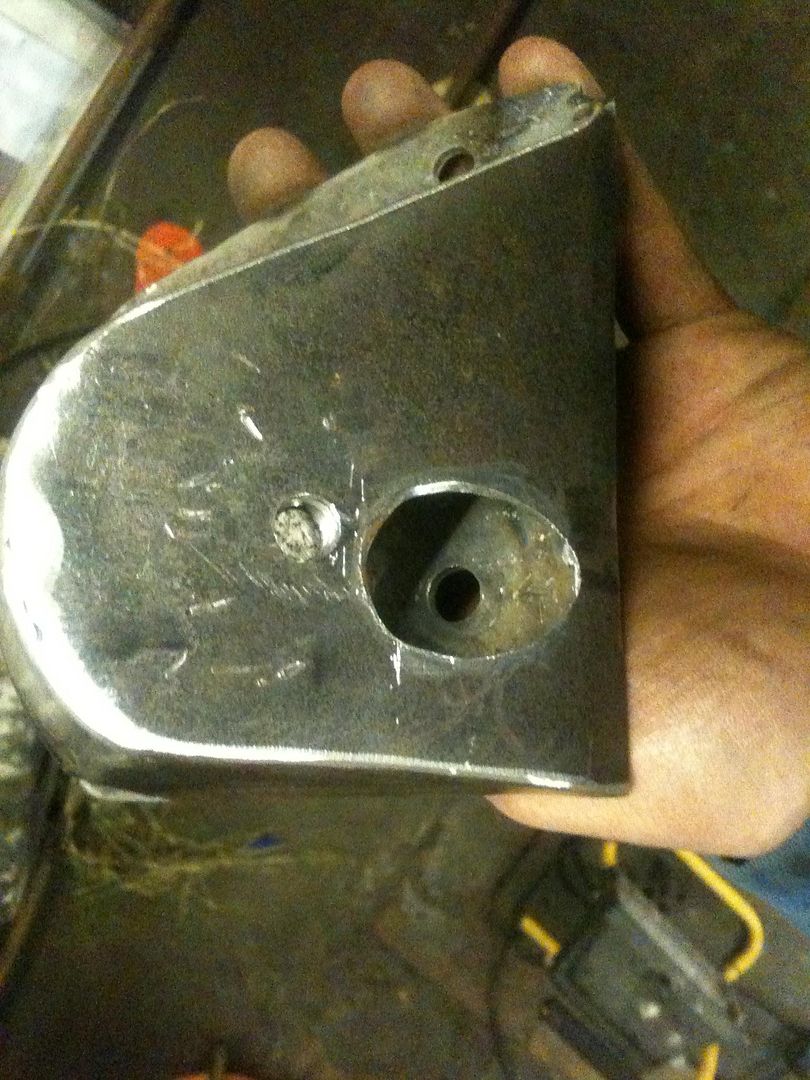
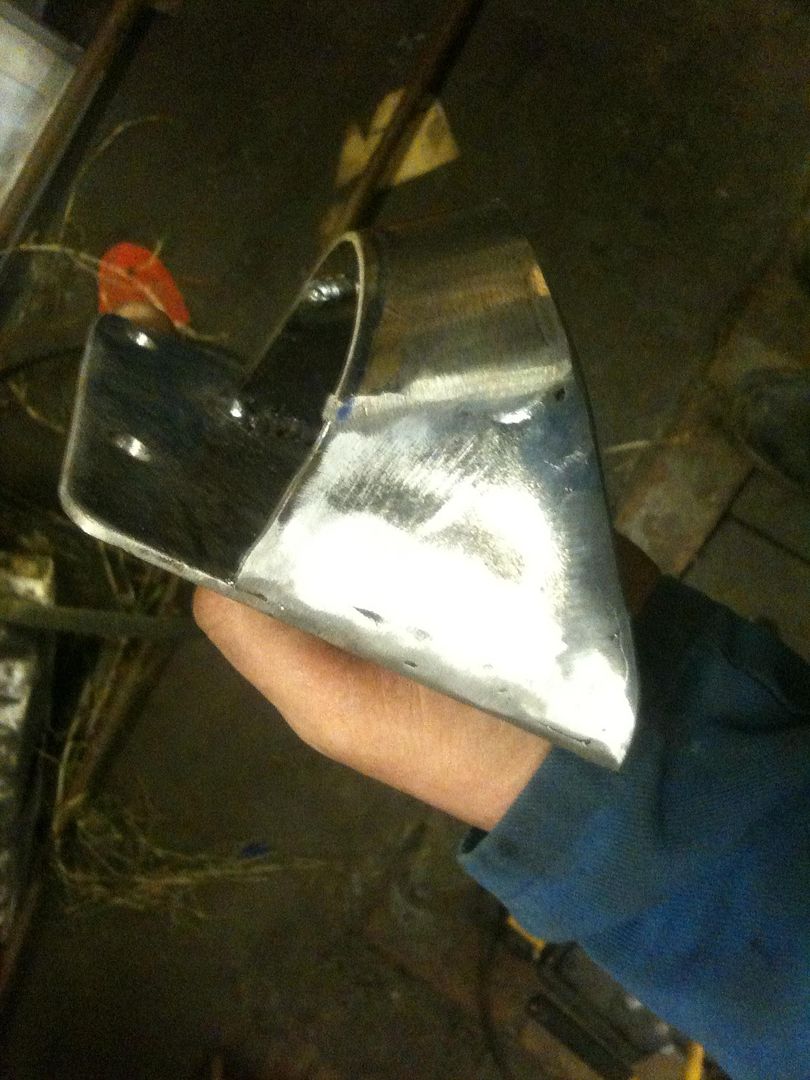
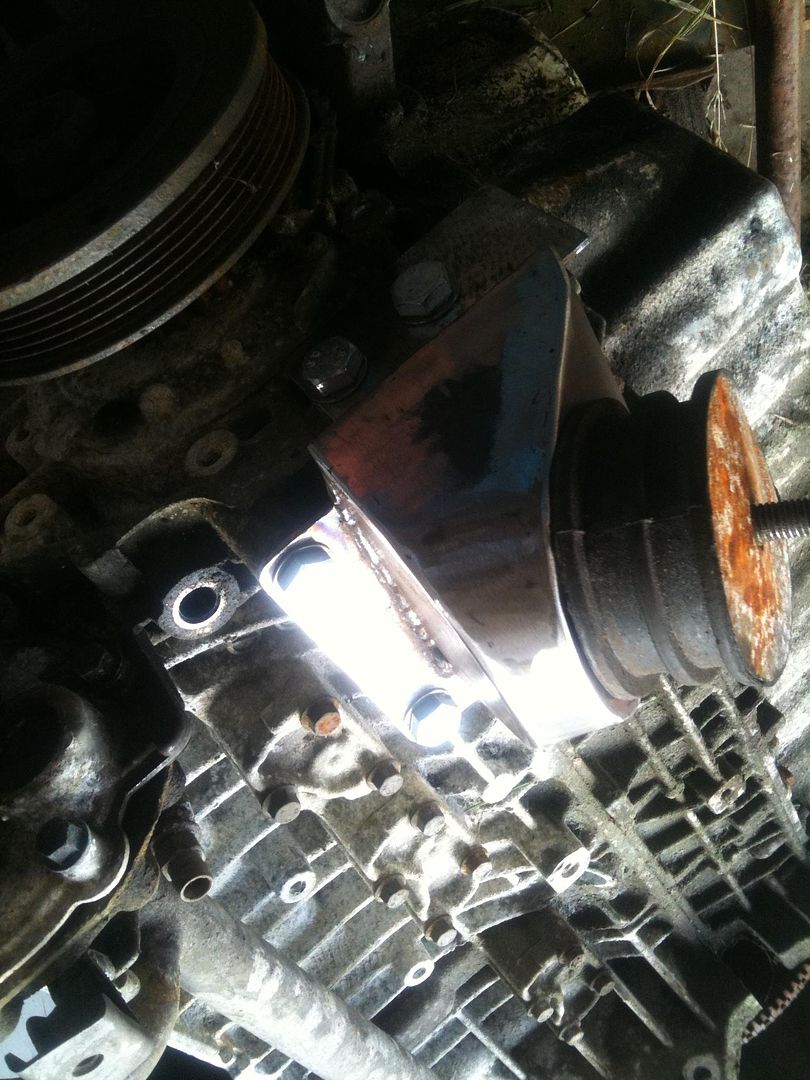
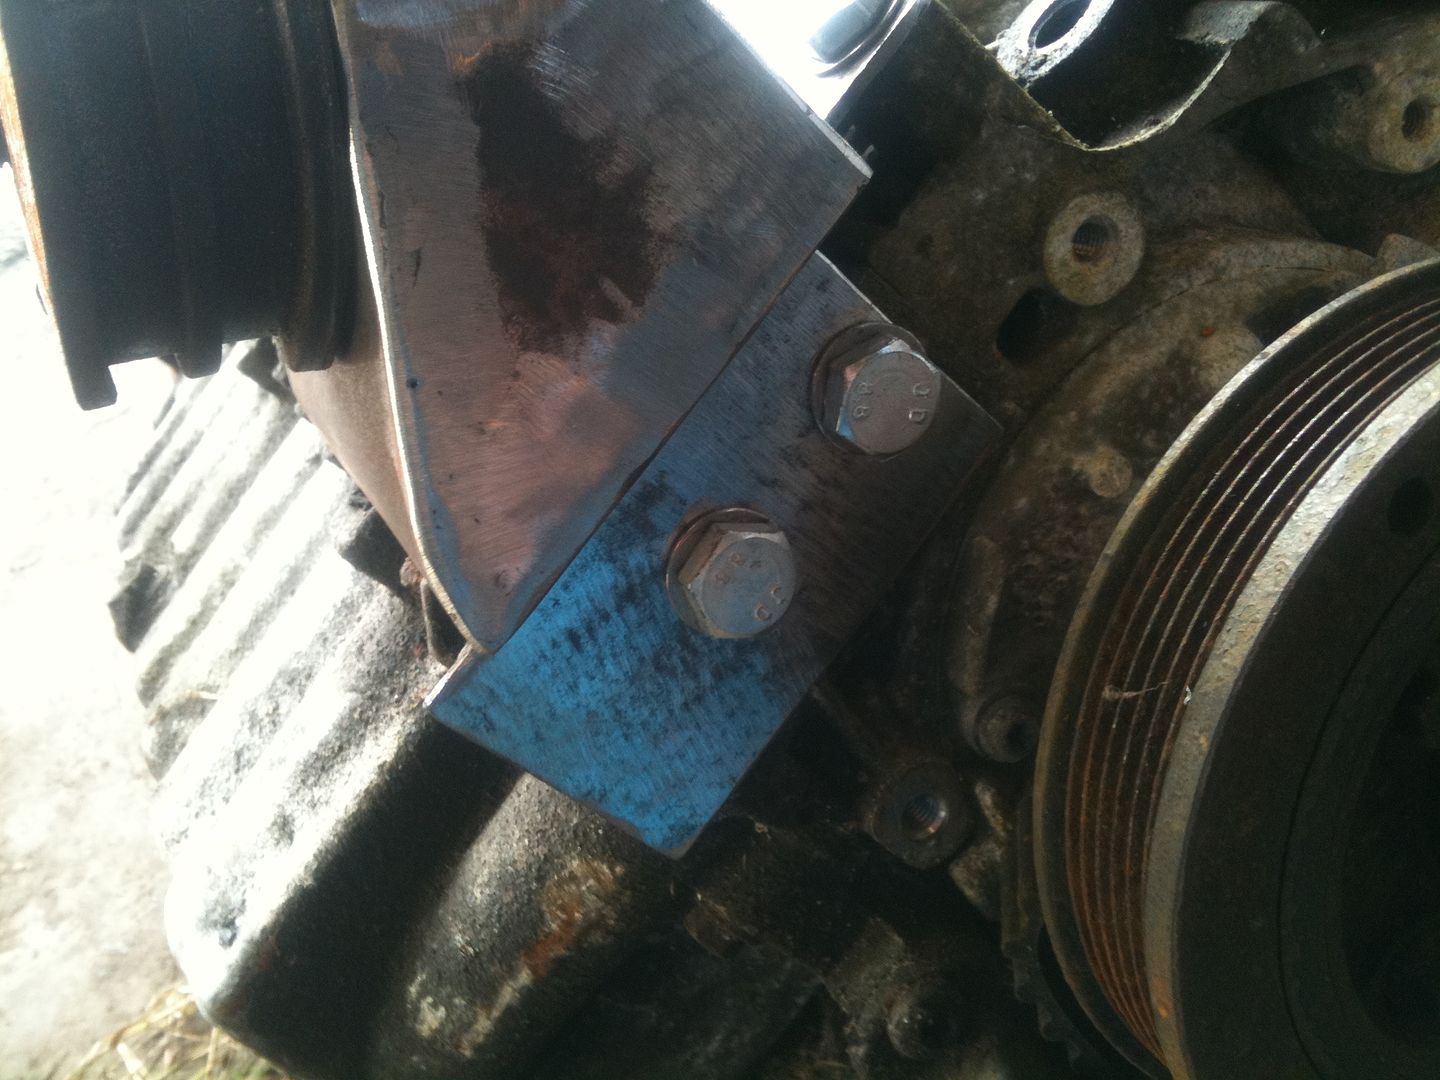
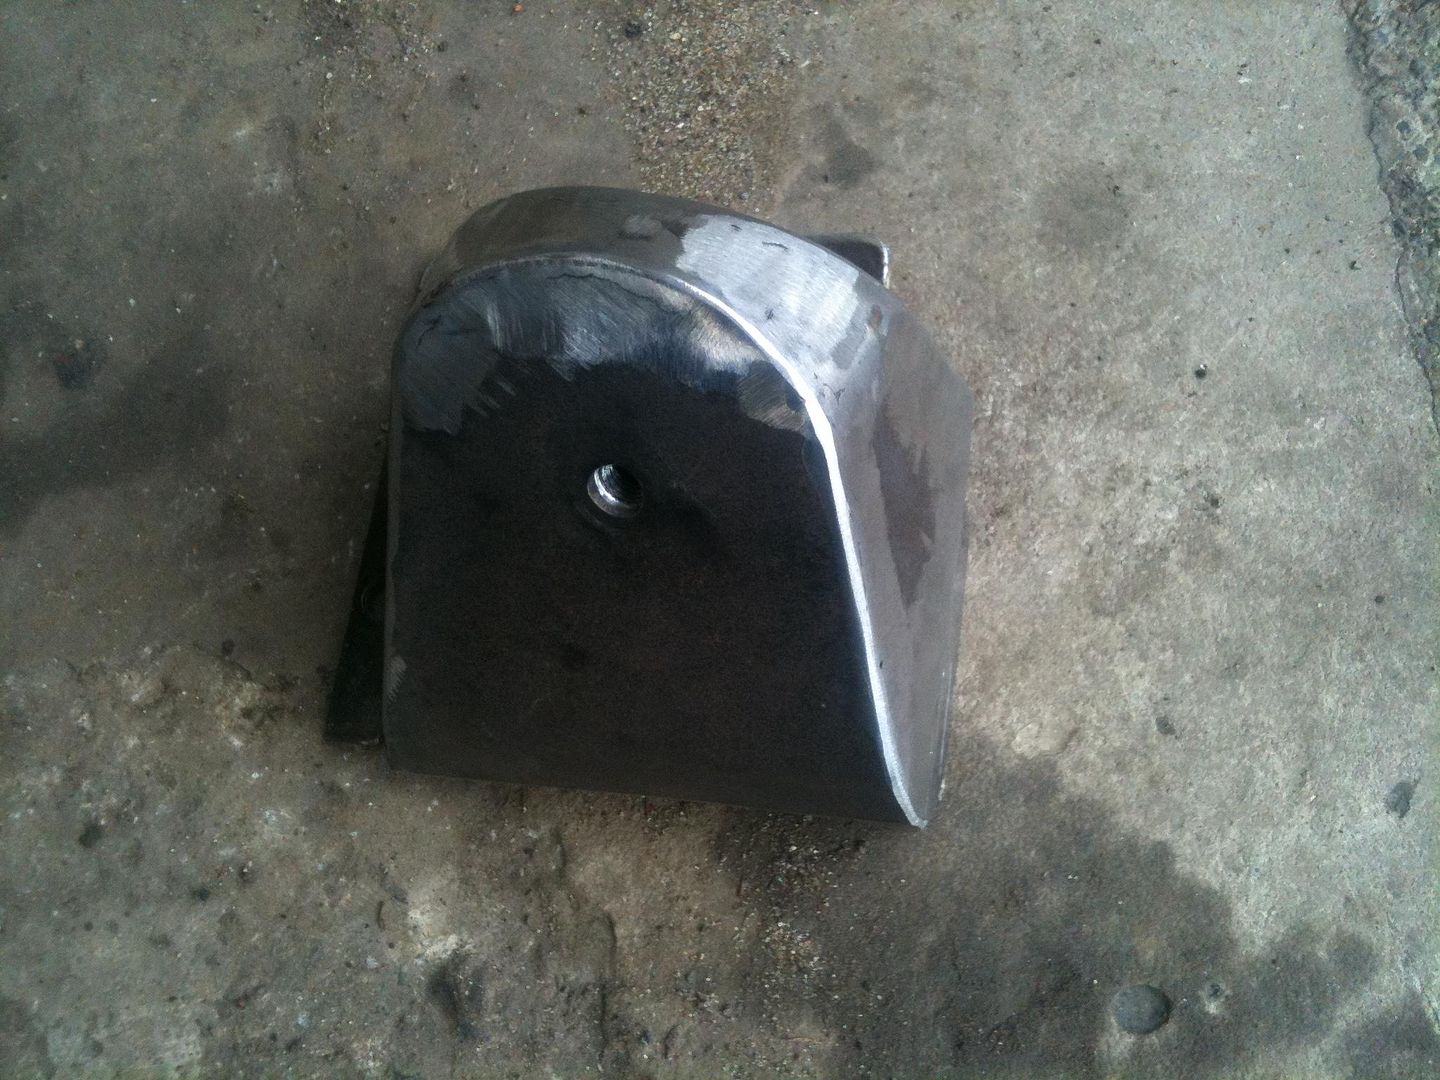
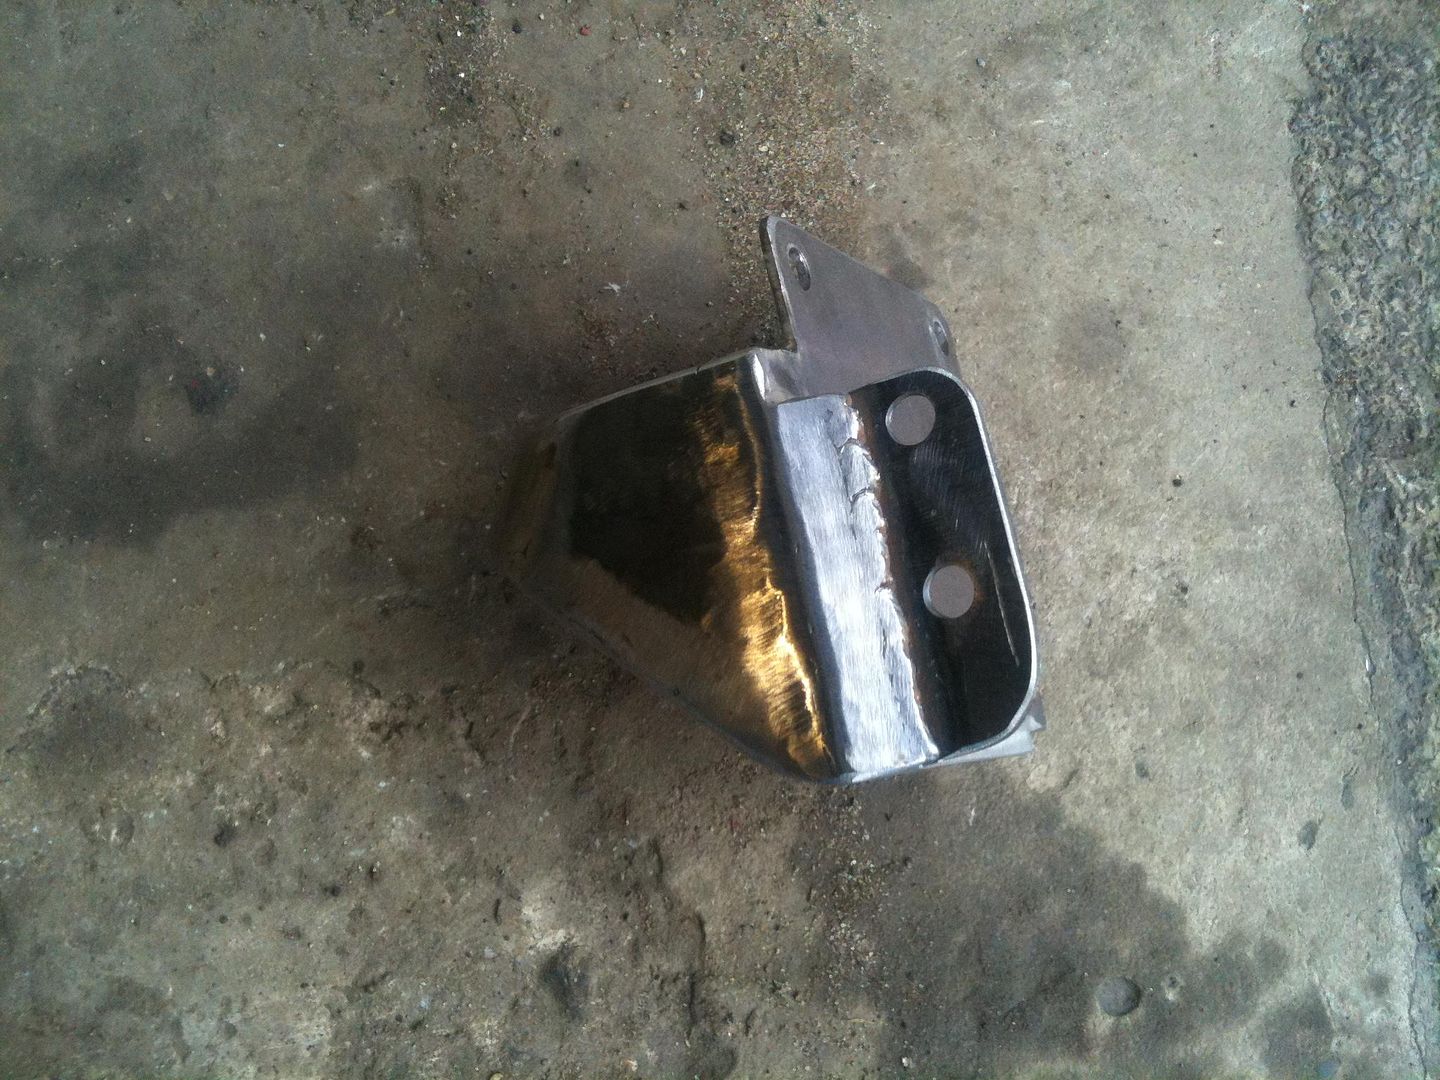
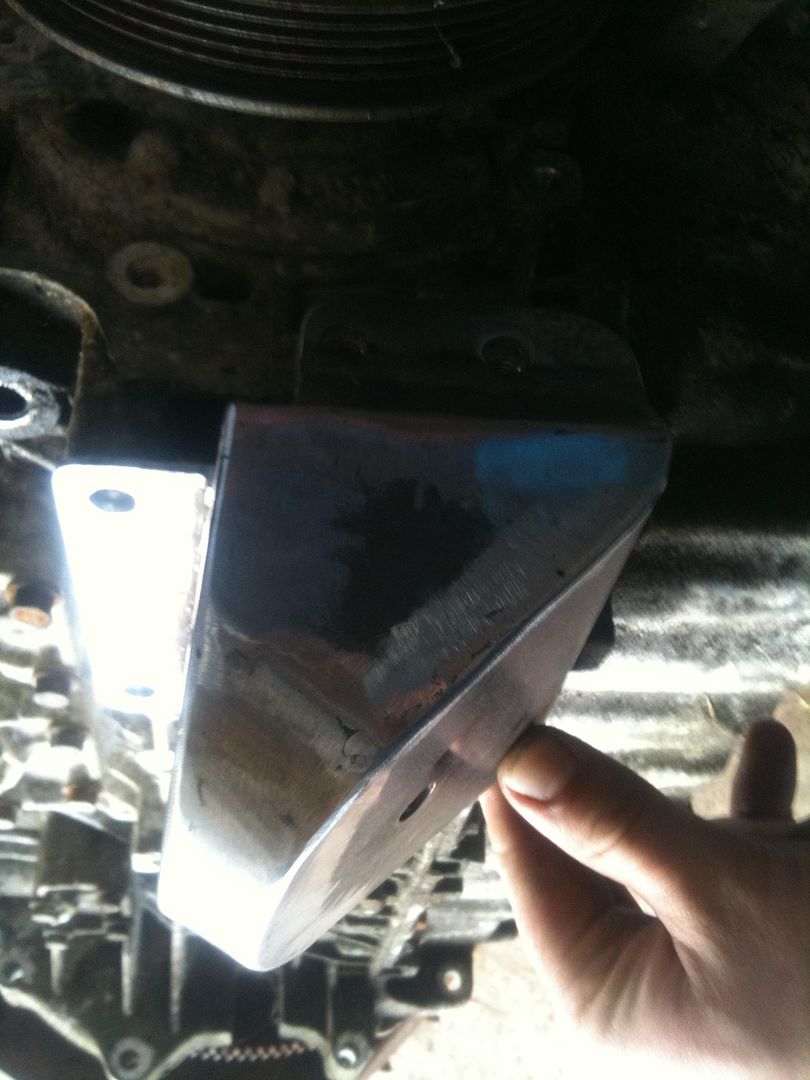
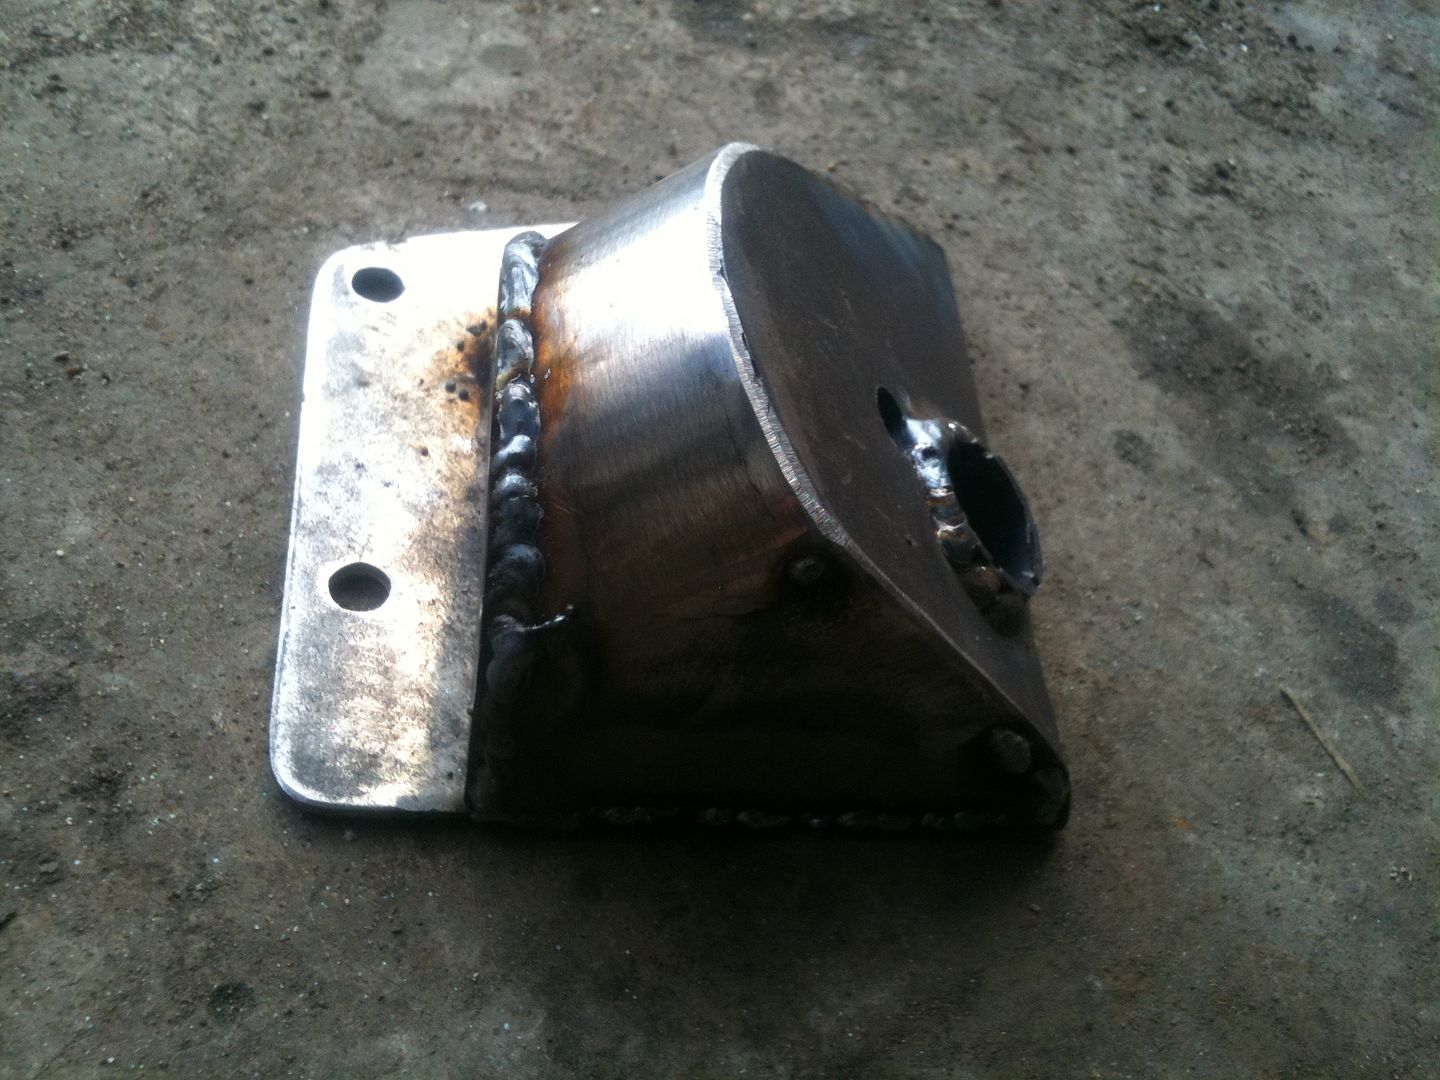
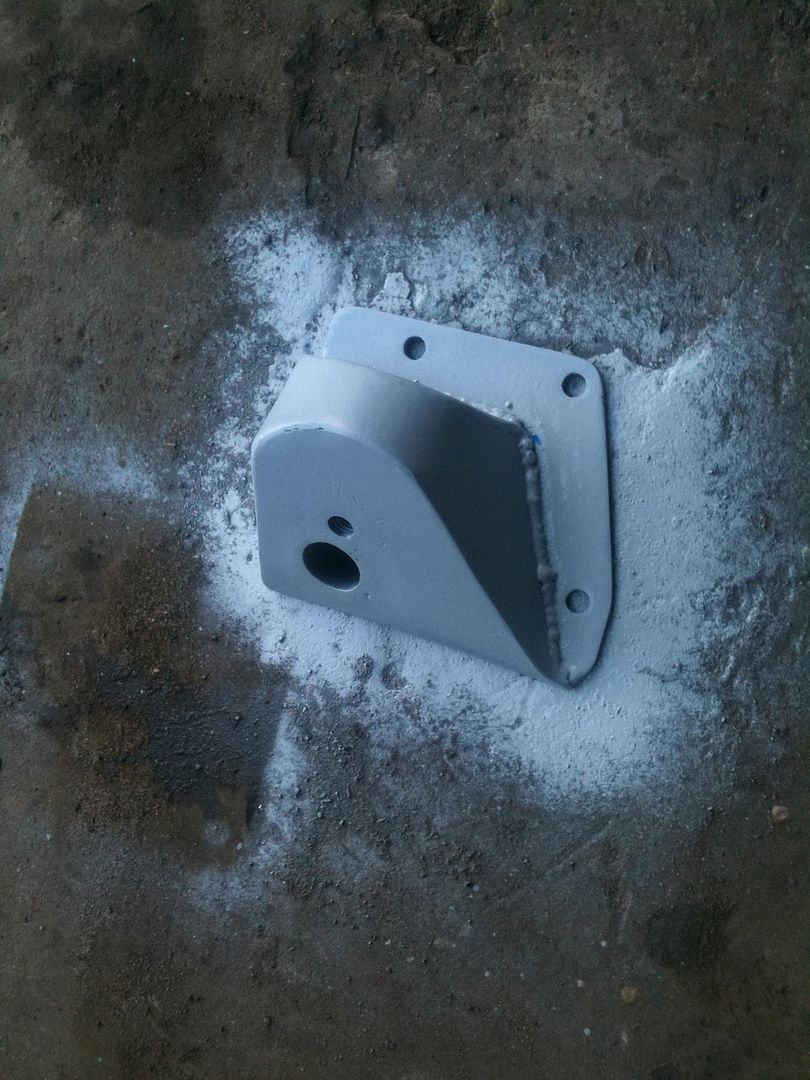
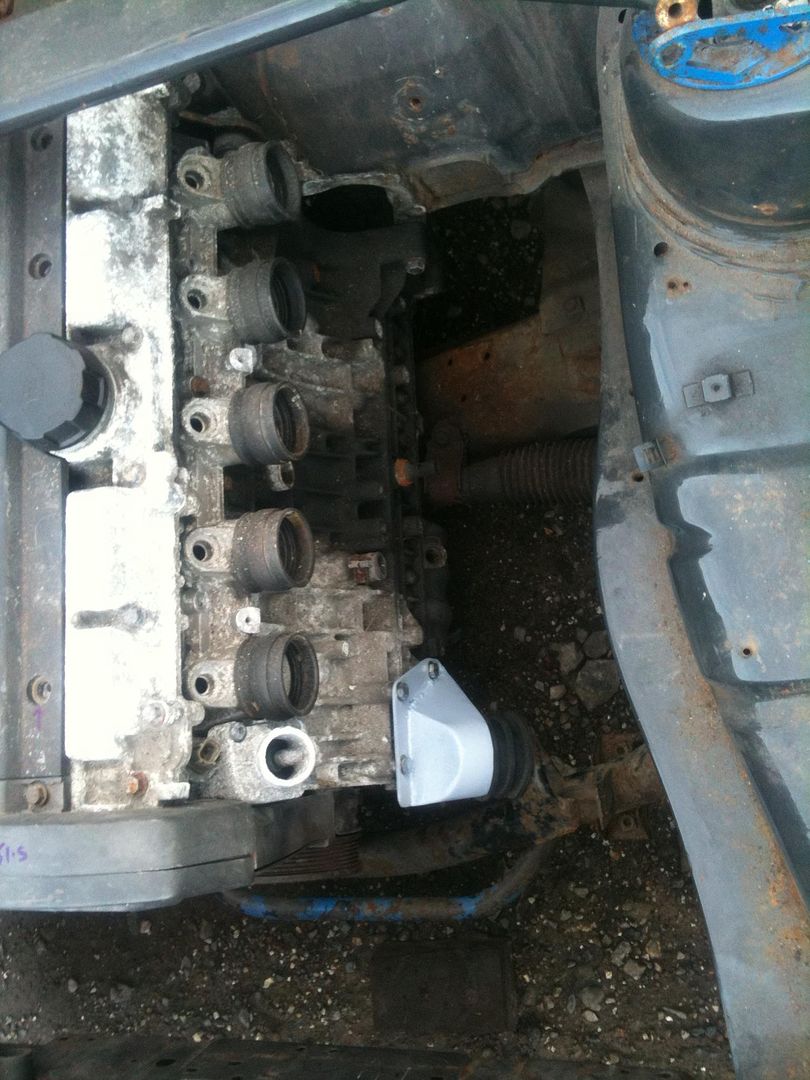
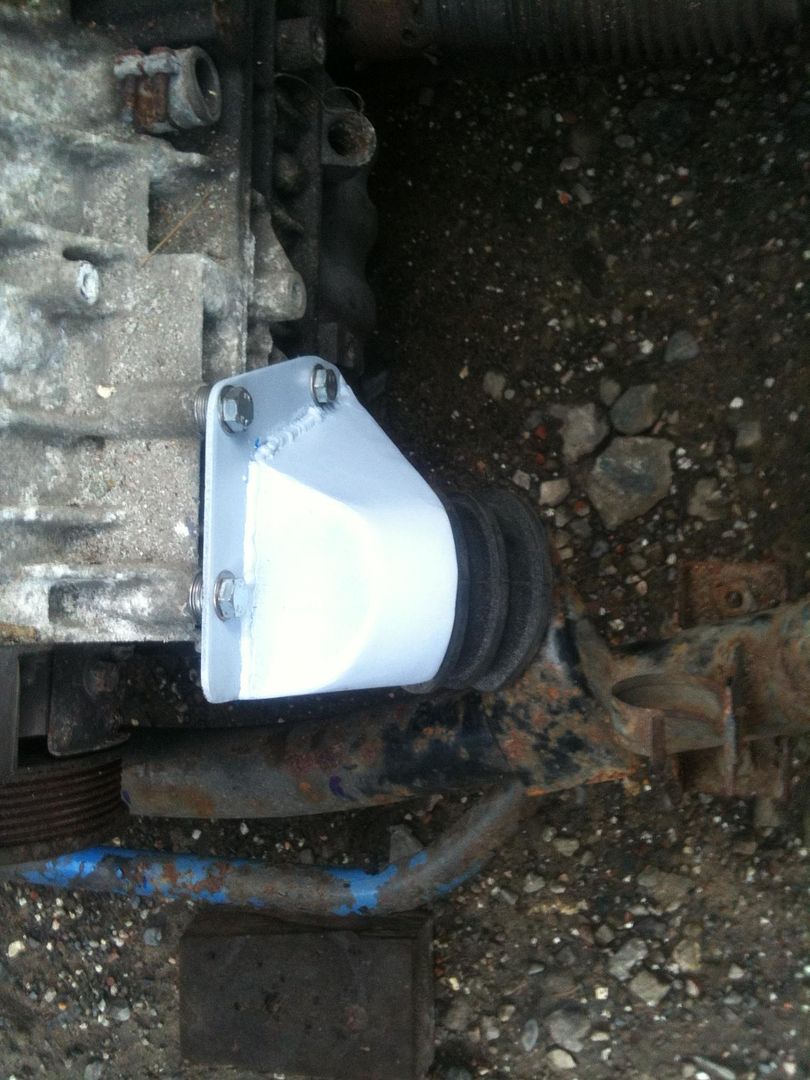
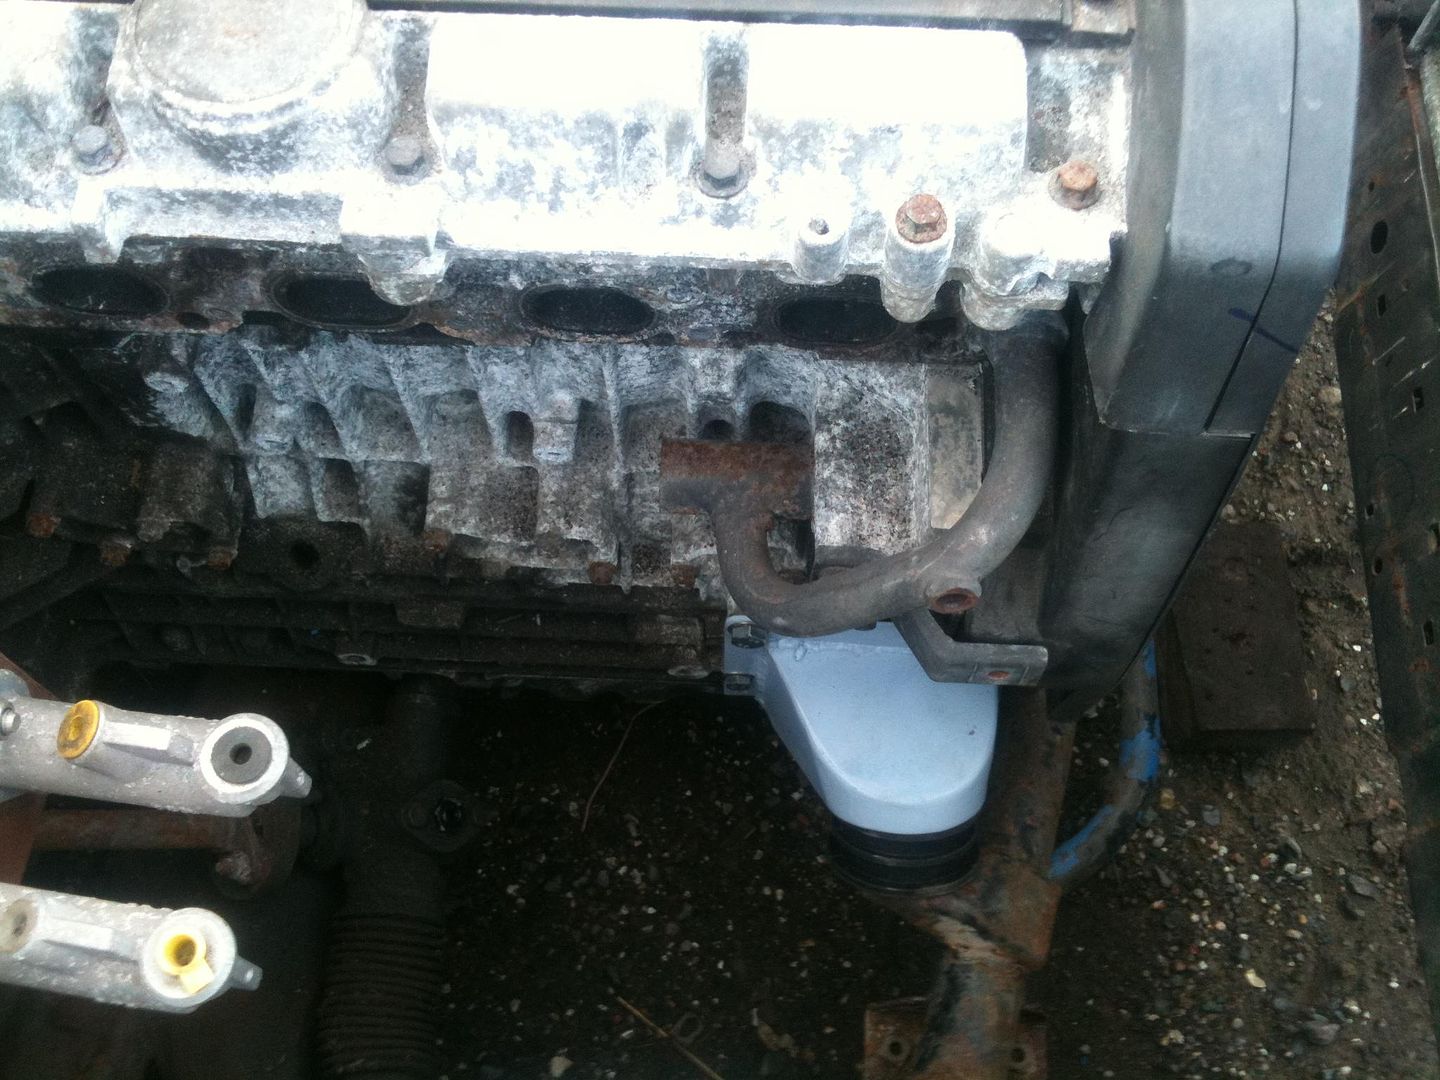
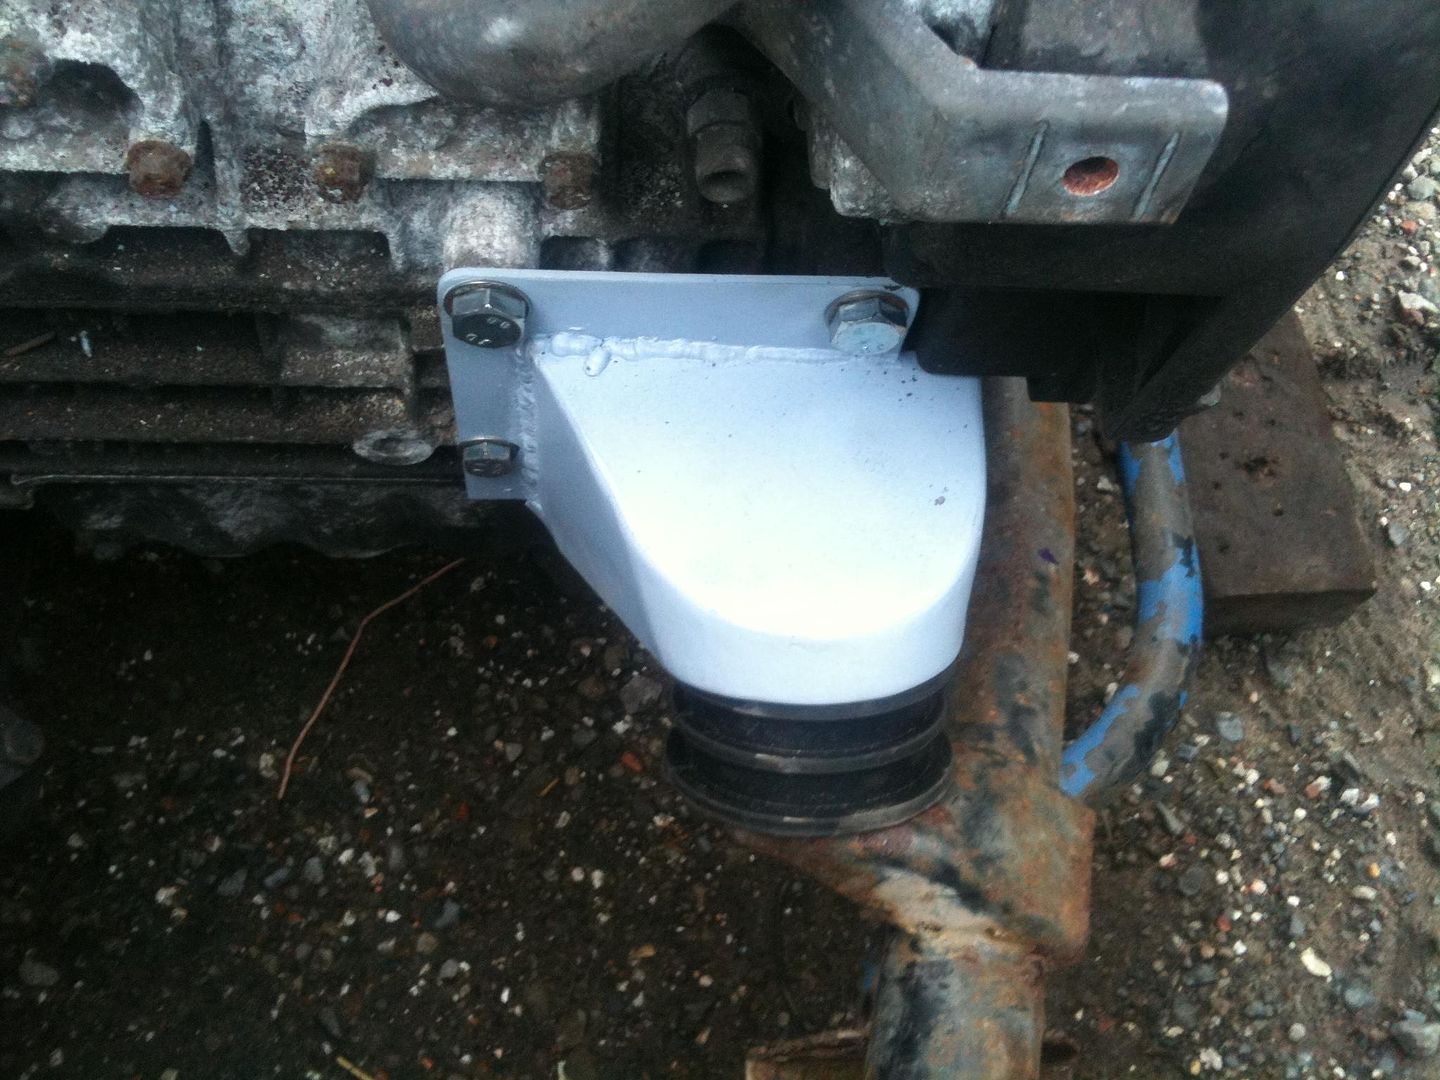
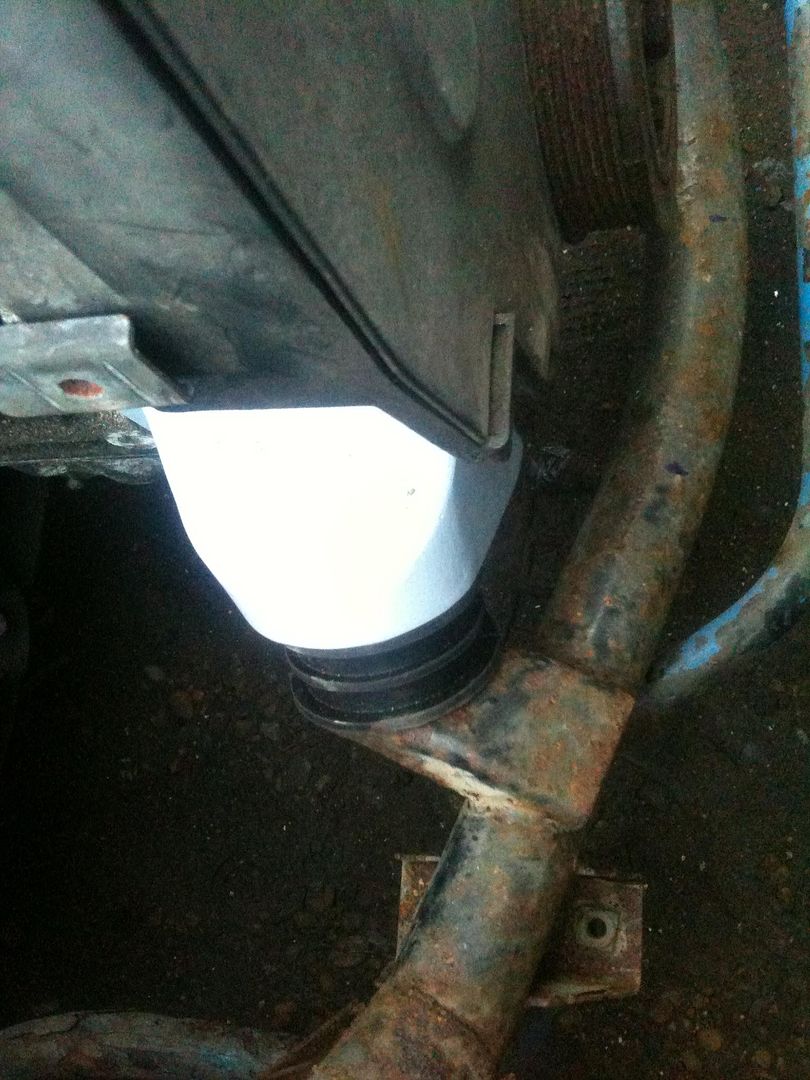
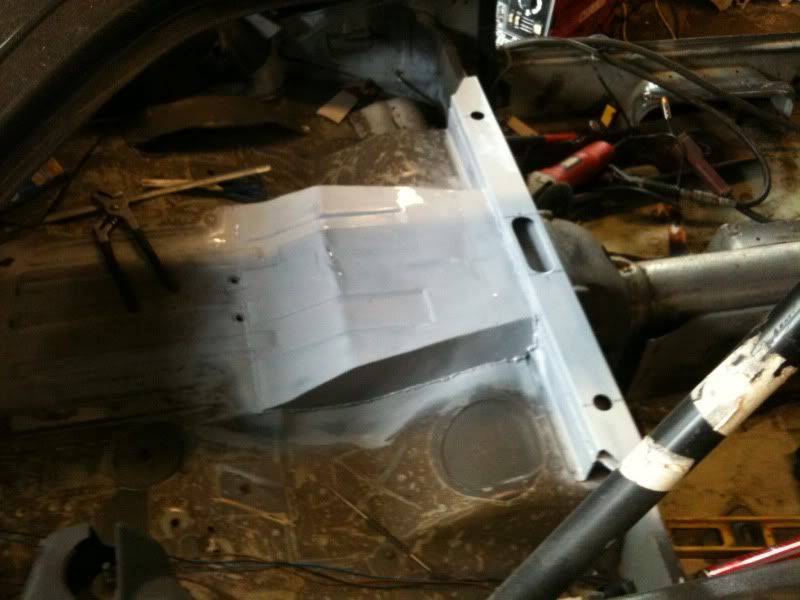
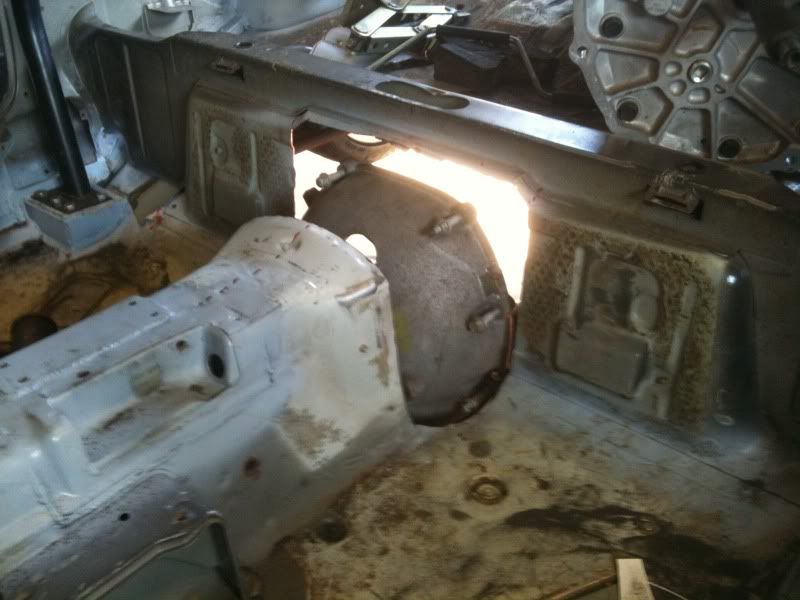
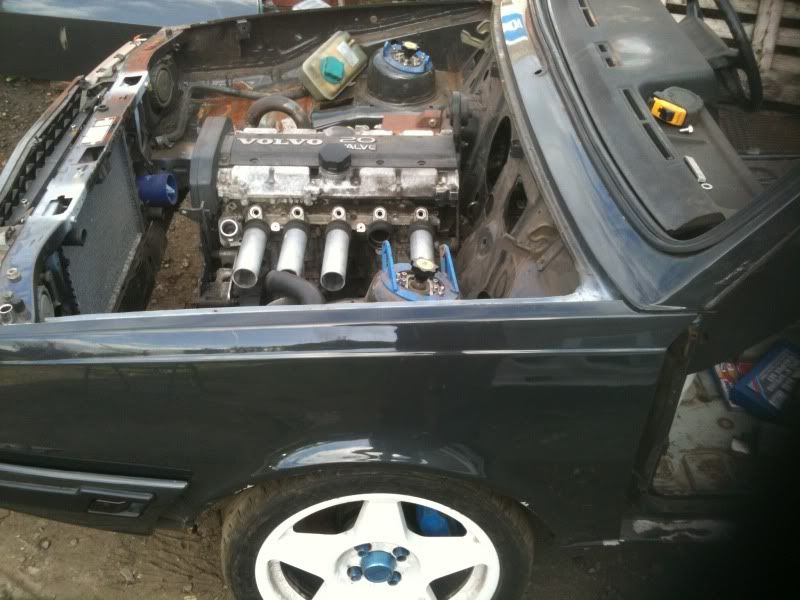
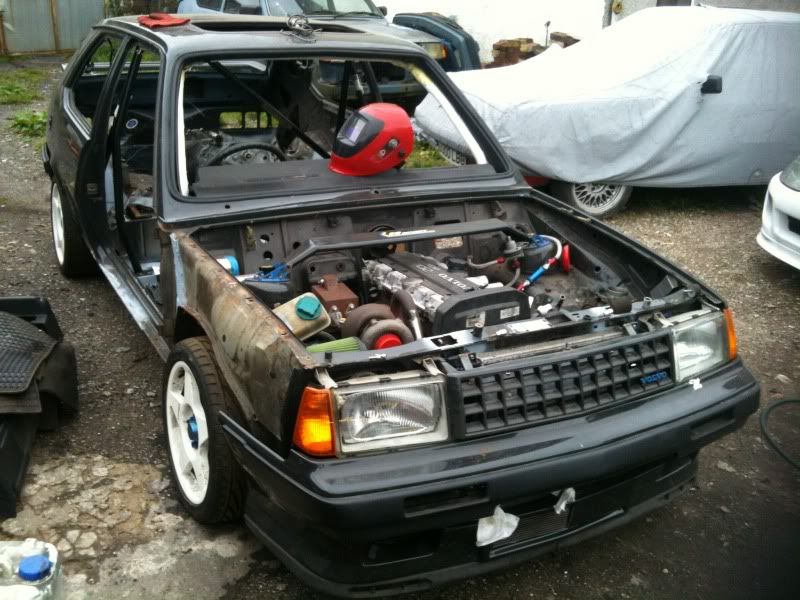
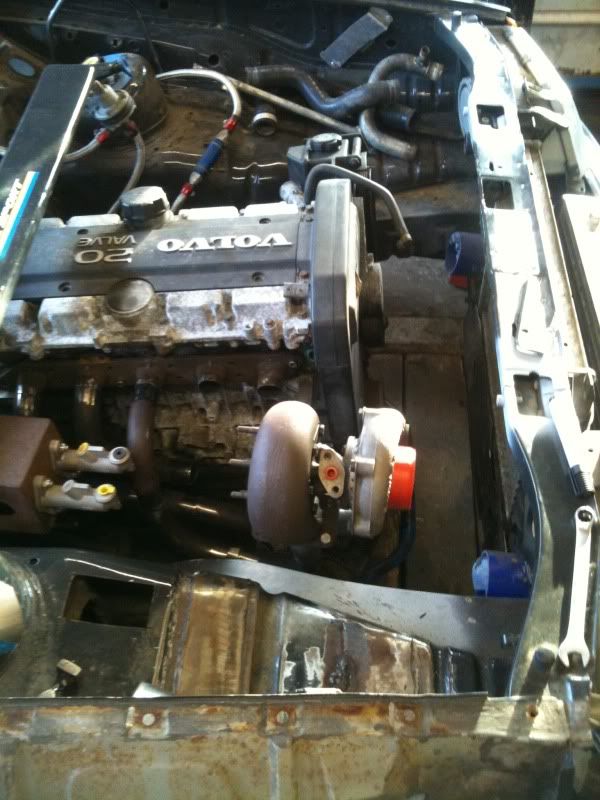
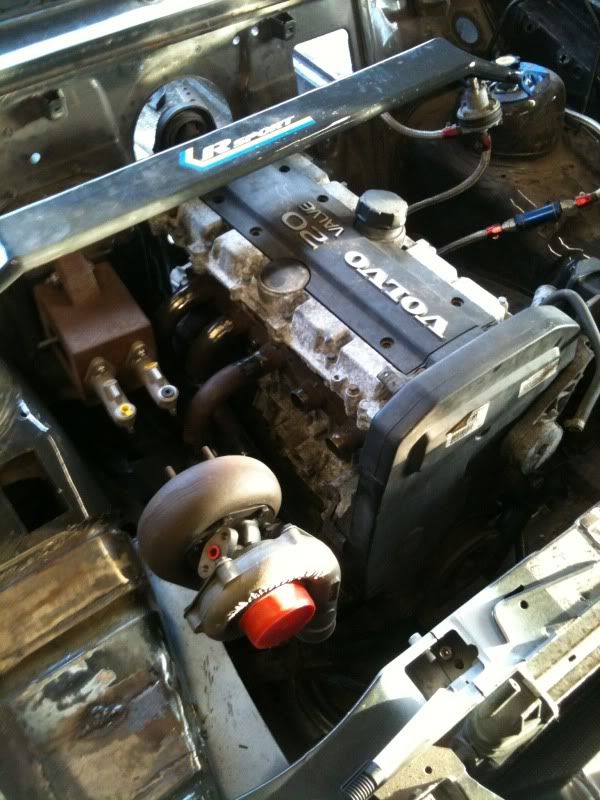
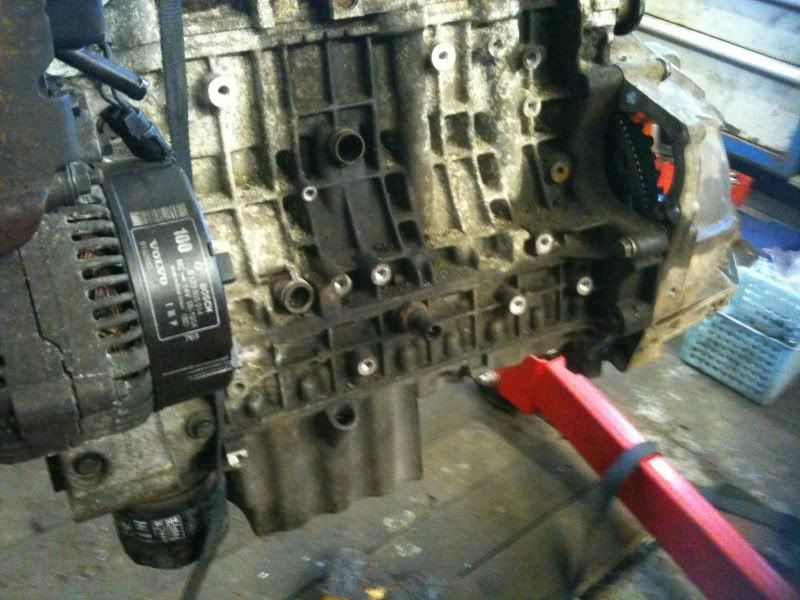
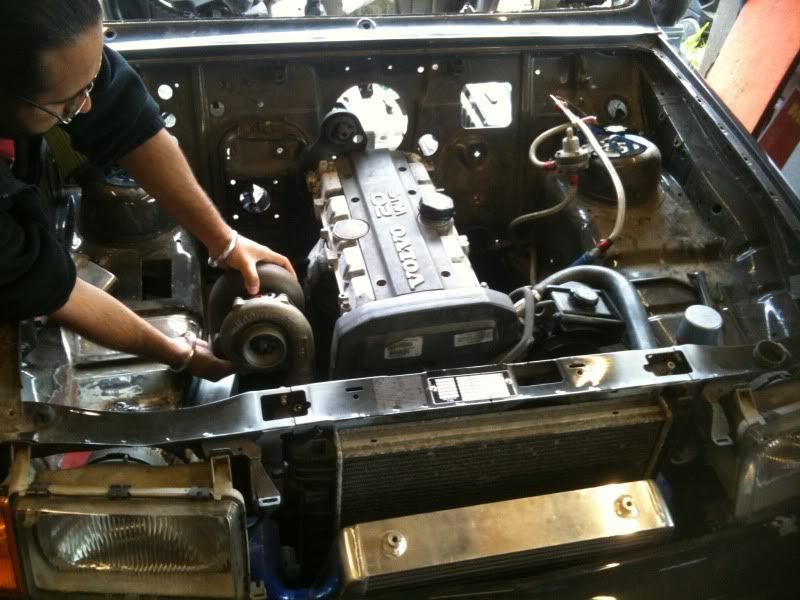
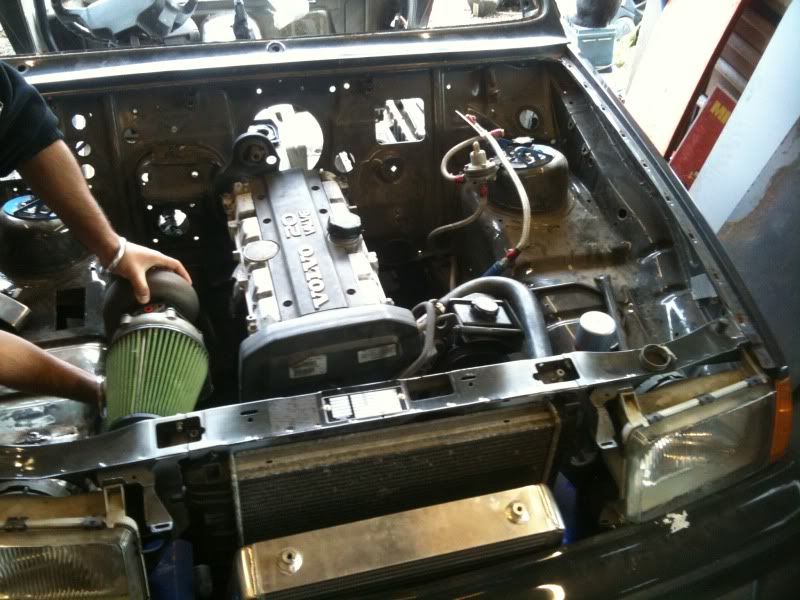
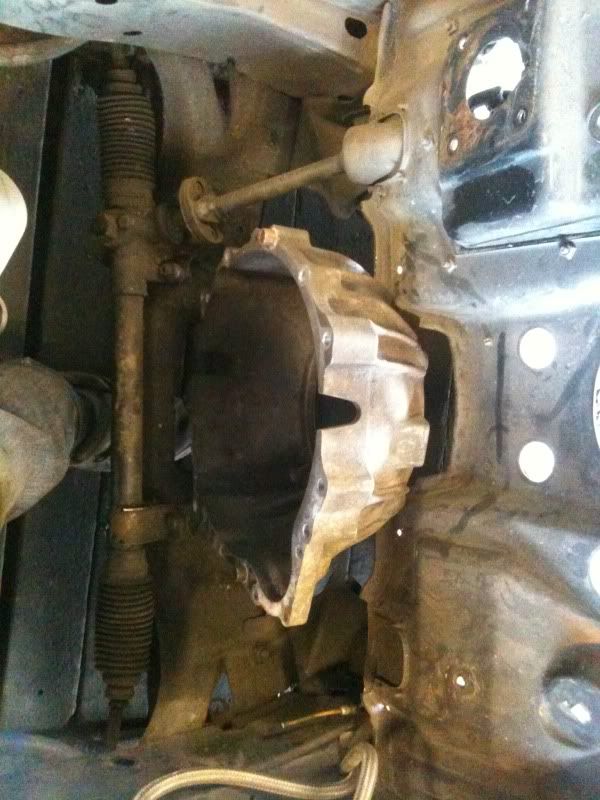
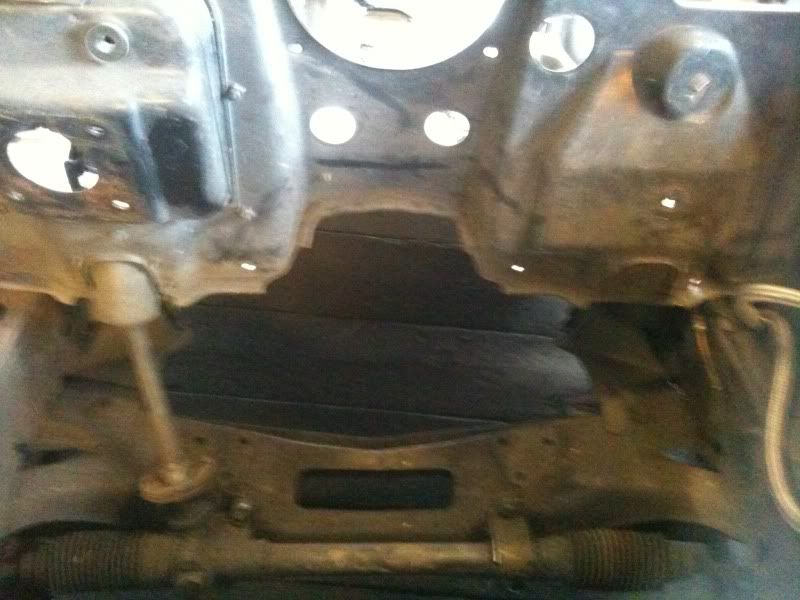
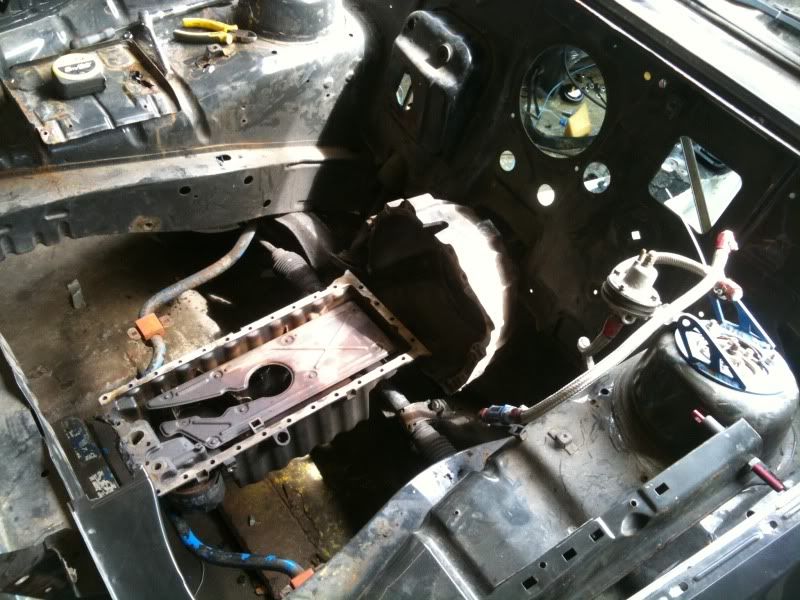
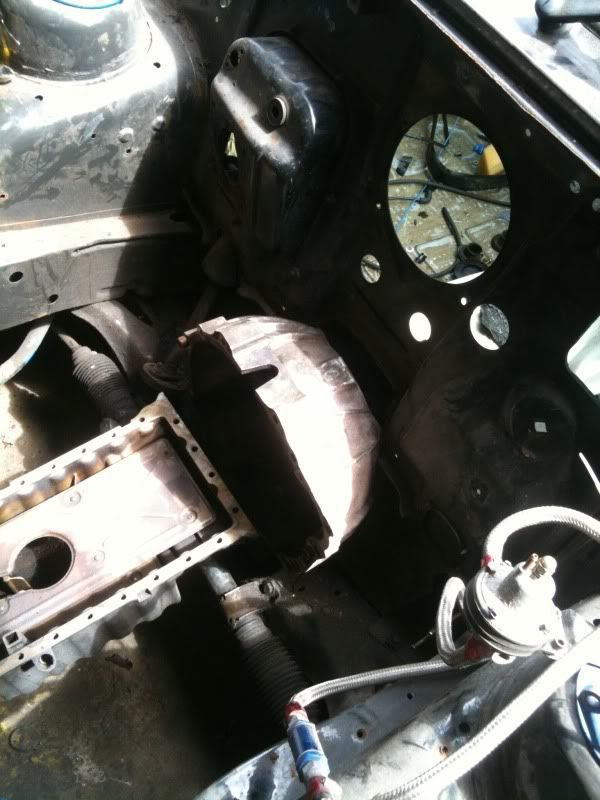
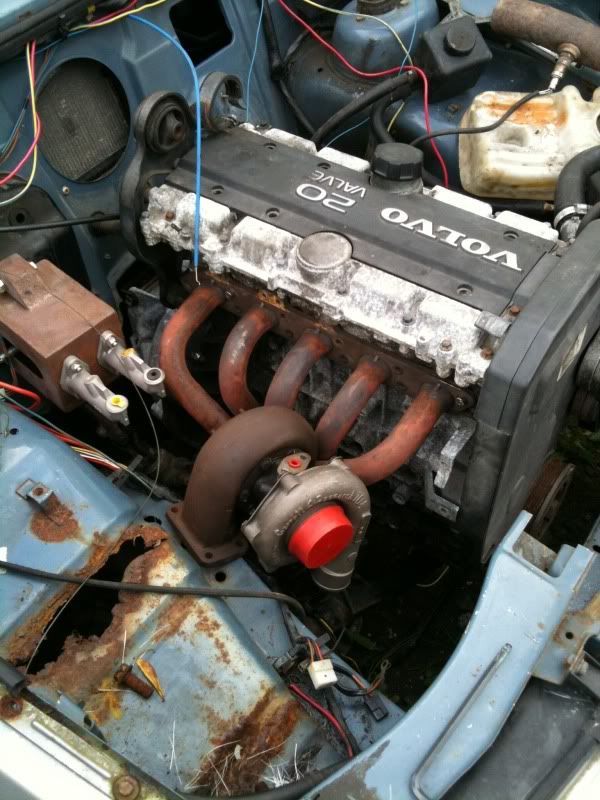
Right the engine mounts are finally done which means i can crack on with the bulkhead and tunnel fabrication, the engine is sitting on a standard 340 engine crossmember which make replacement nice and easy. I have great clearance for exhaust and inlet etc, and i have also modified the sump to allow for fitment of a pas rack at a later date if i need to.
Adam

-
-
Firstly some parts turned up...
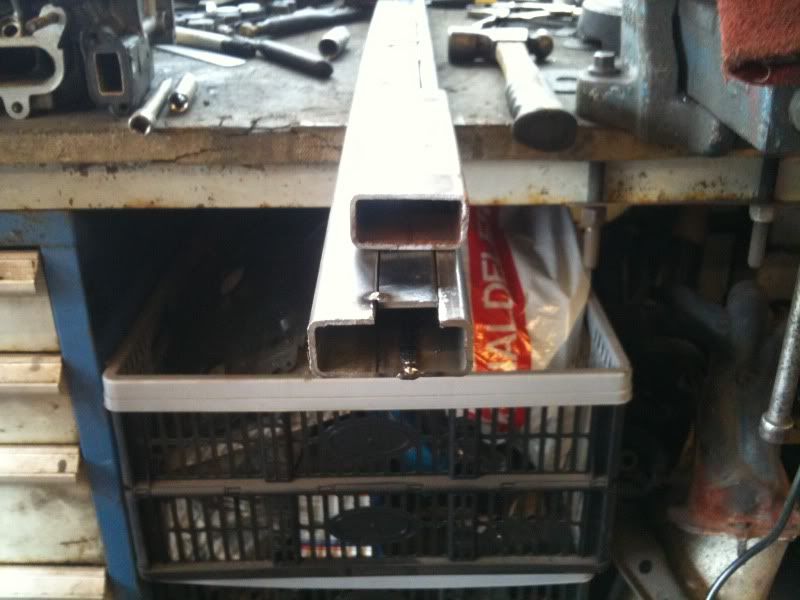
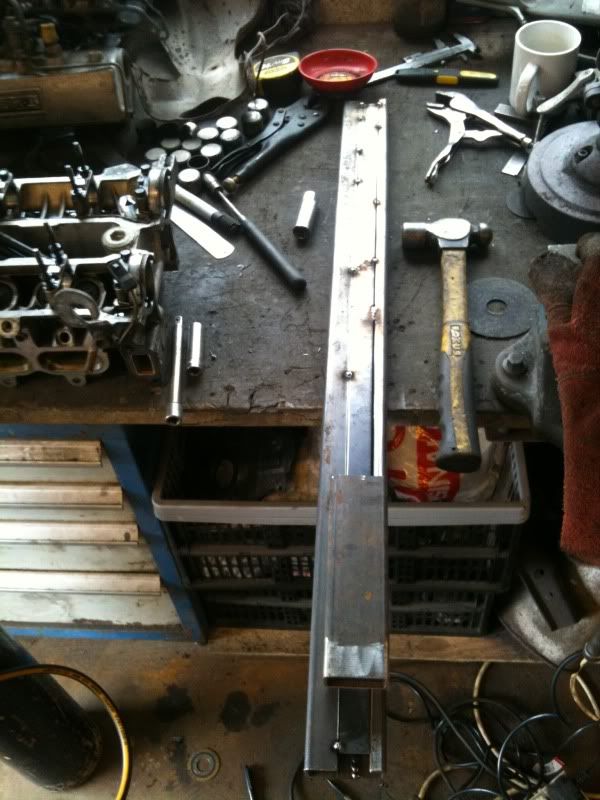
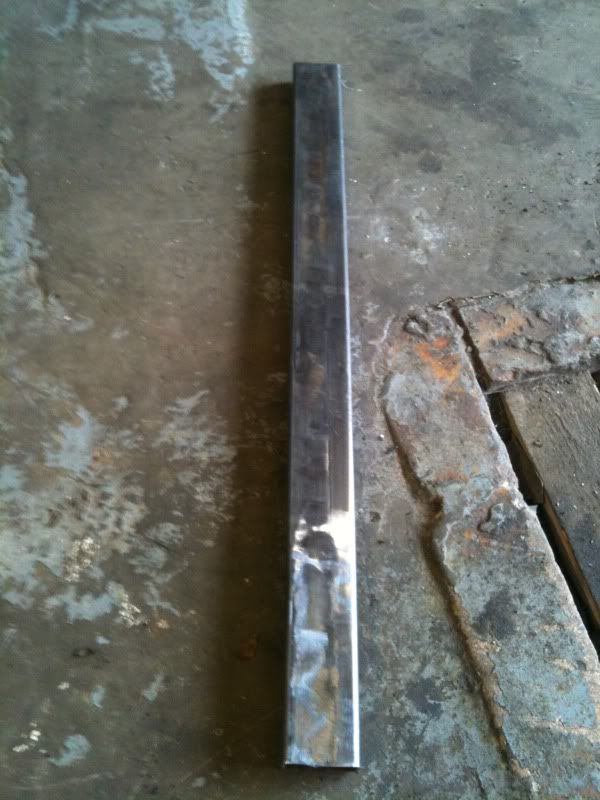
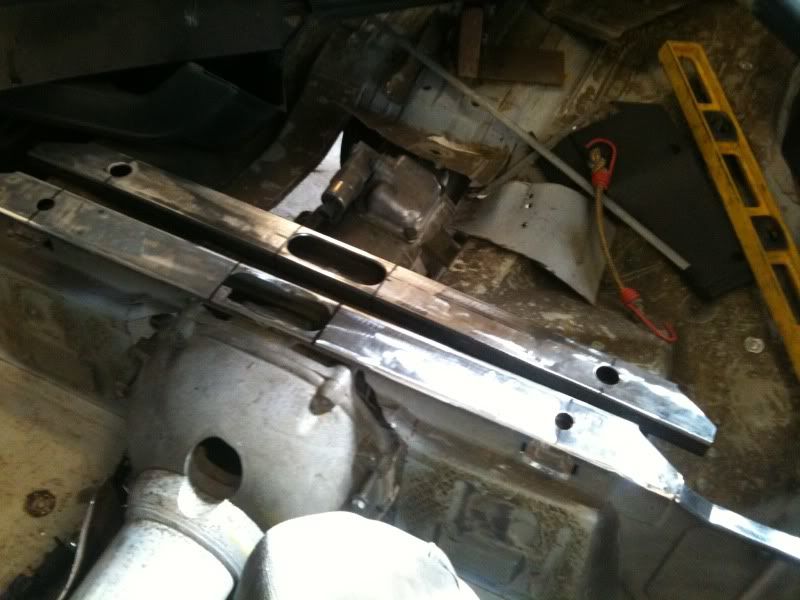
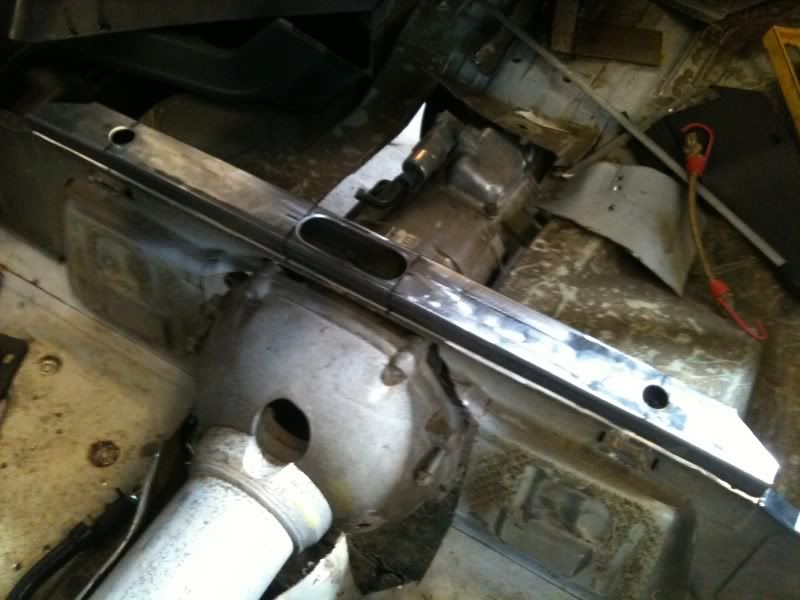
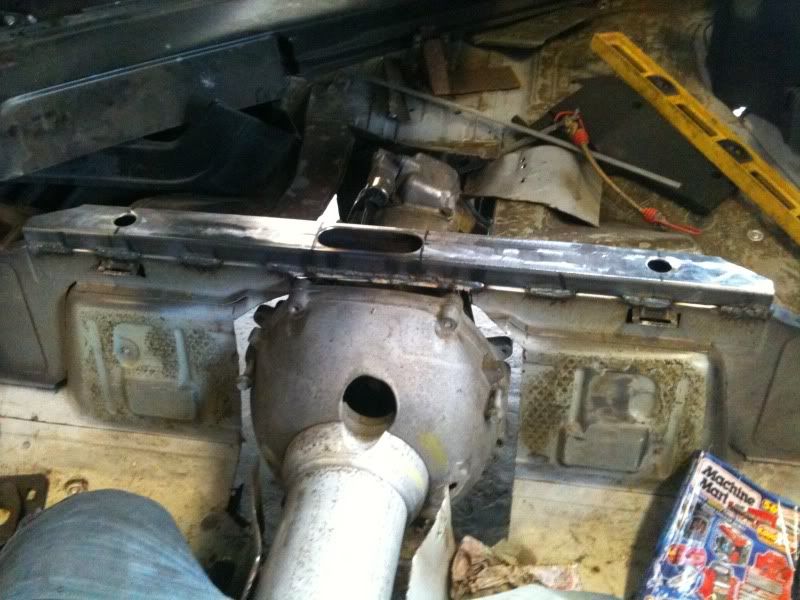
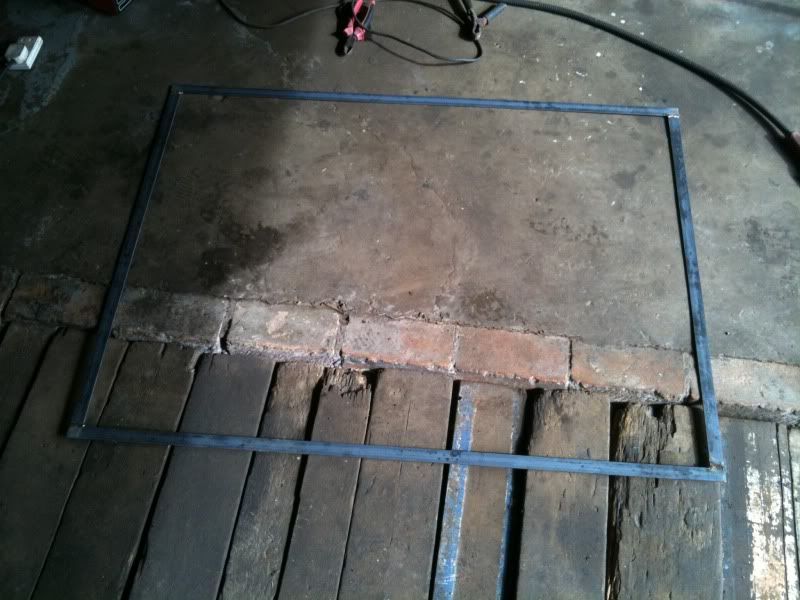
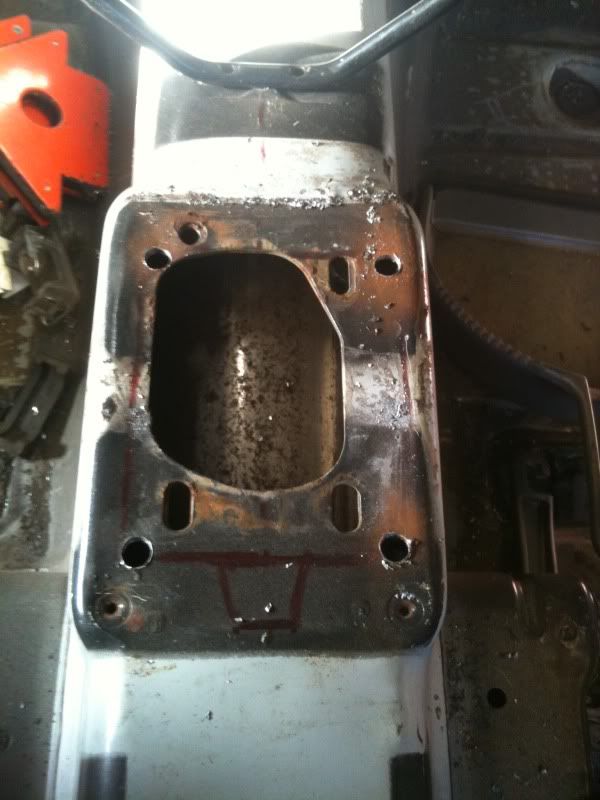
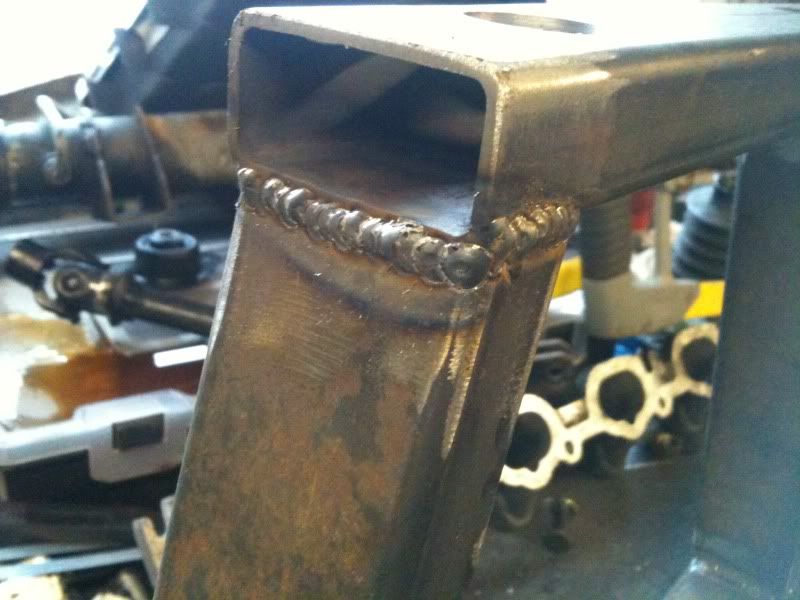
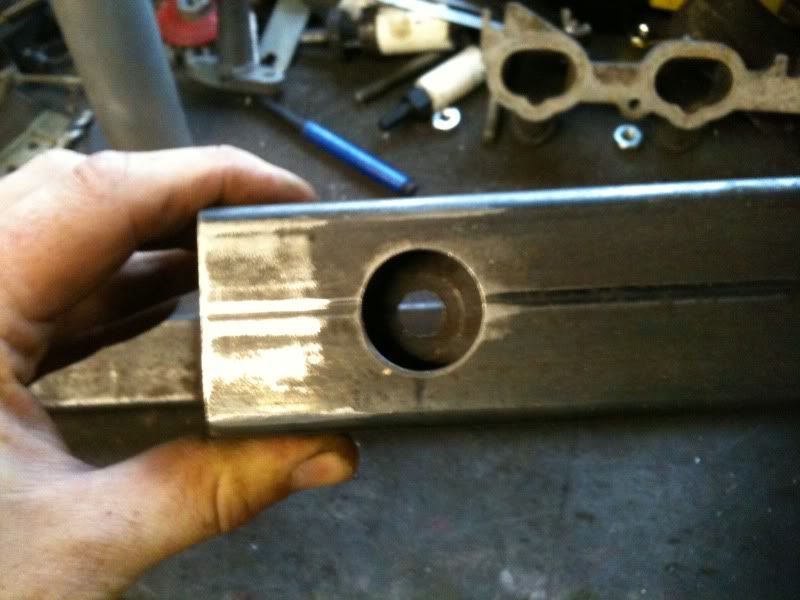
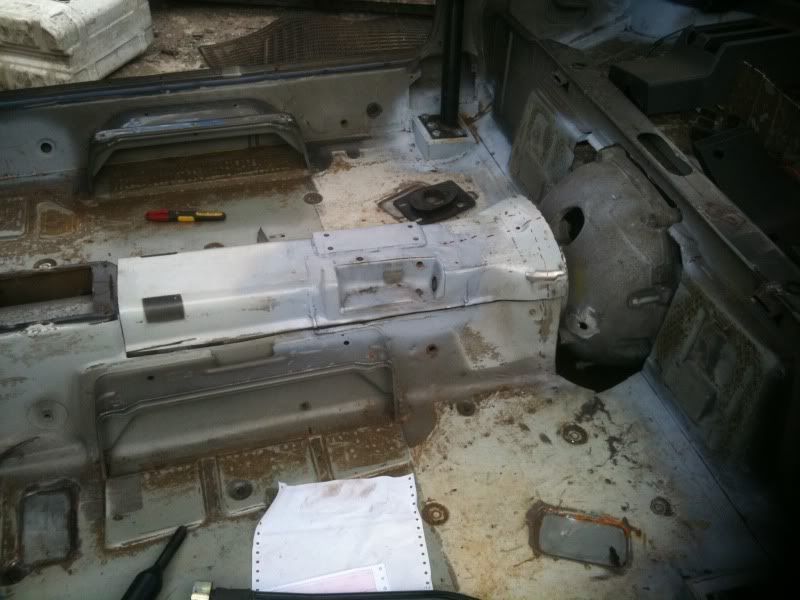
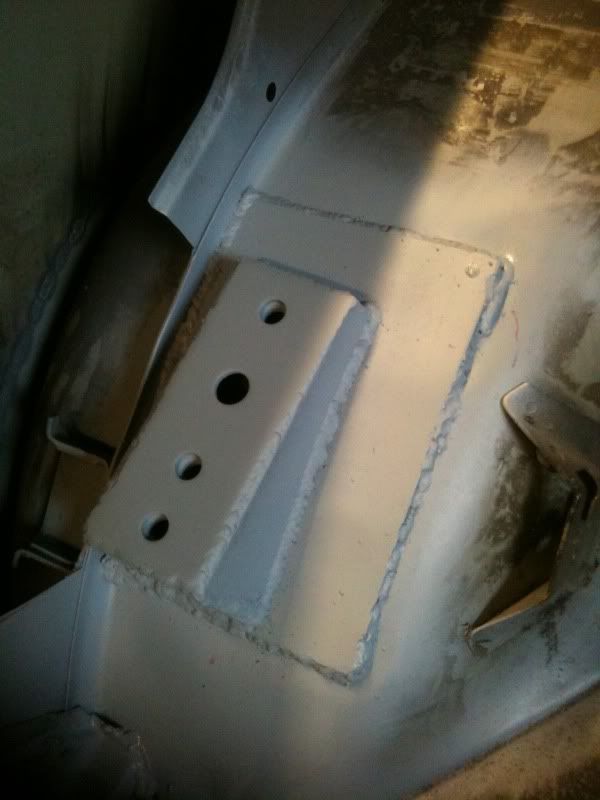
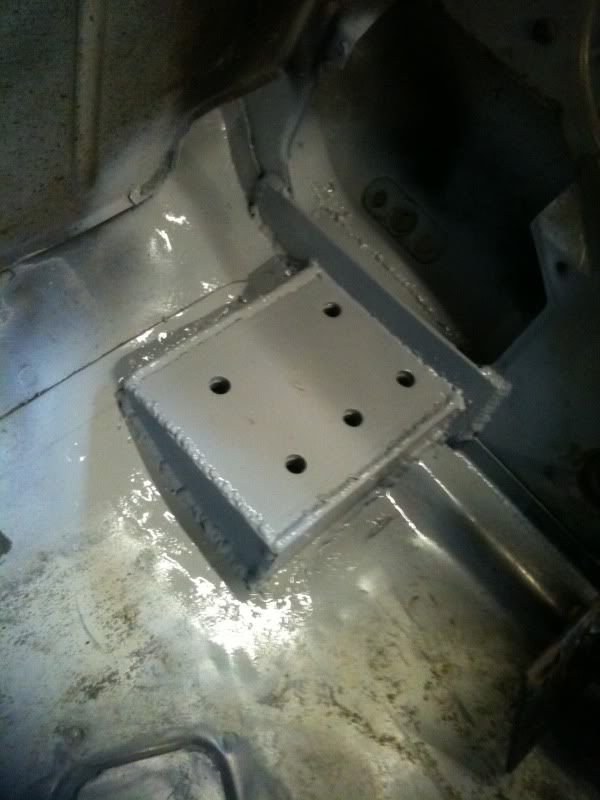
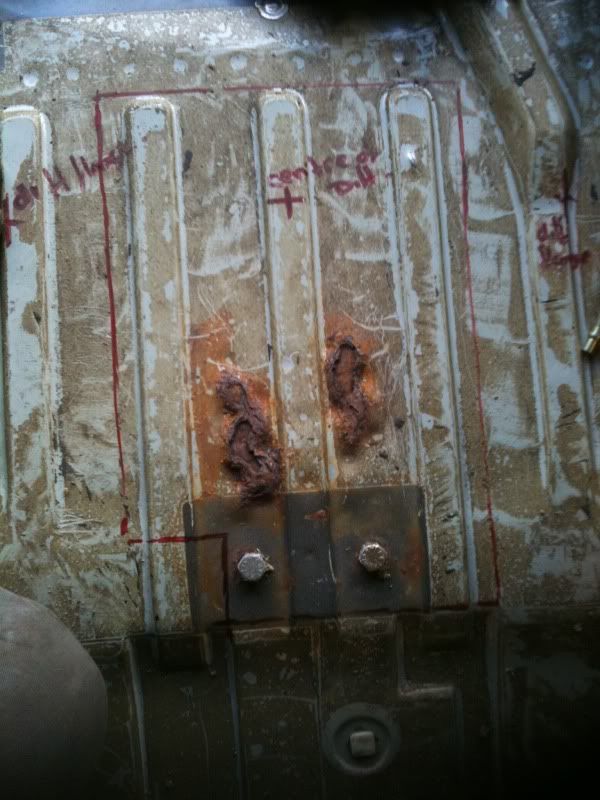
The centre of the car is reinforced with a box section like pressing, this size box wasnt available off the shelf so i made some out of some 2 x 1 to look as factory as possible, i then drilled it and cut it to match the original. This box is neccesary as i have cut most of the box away from under it.
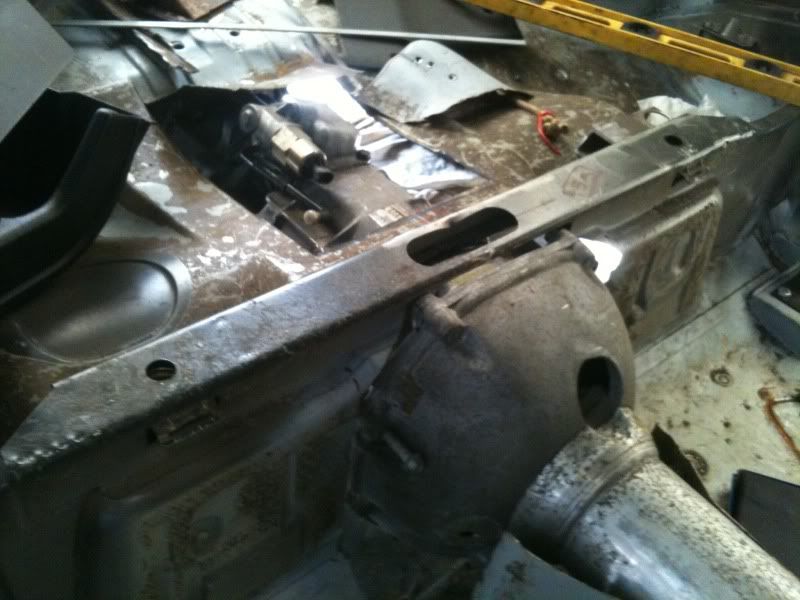
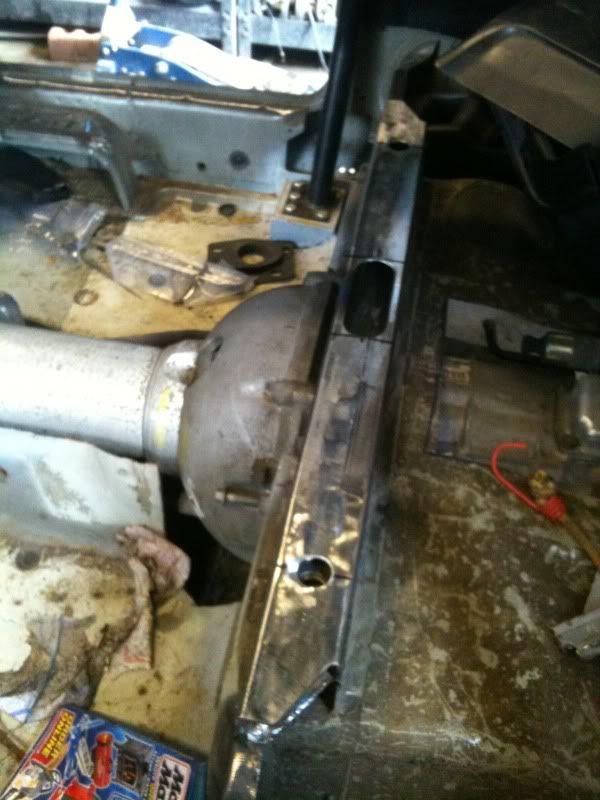
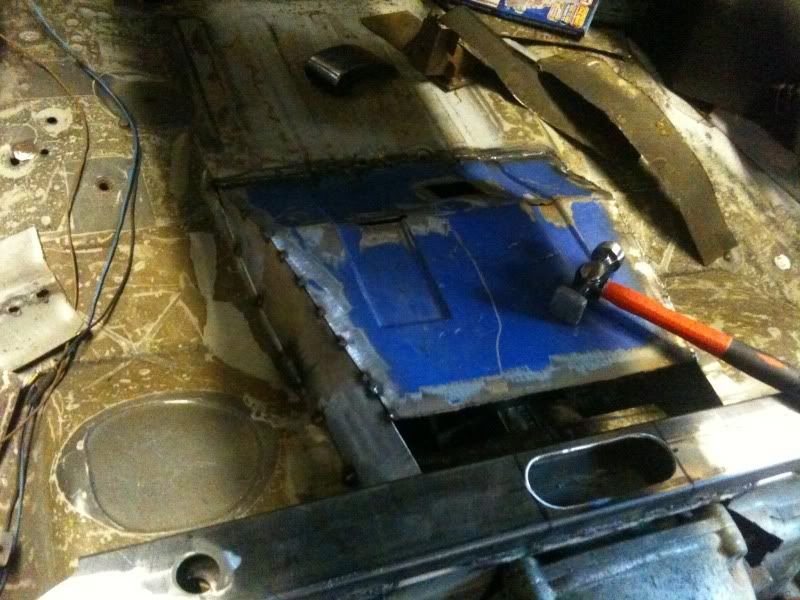
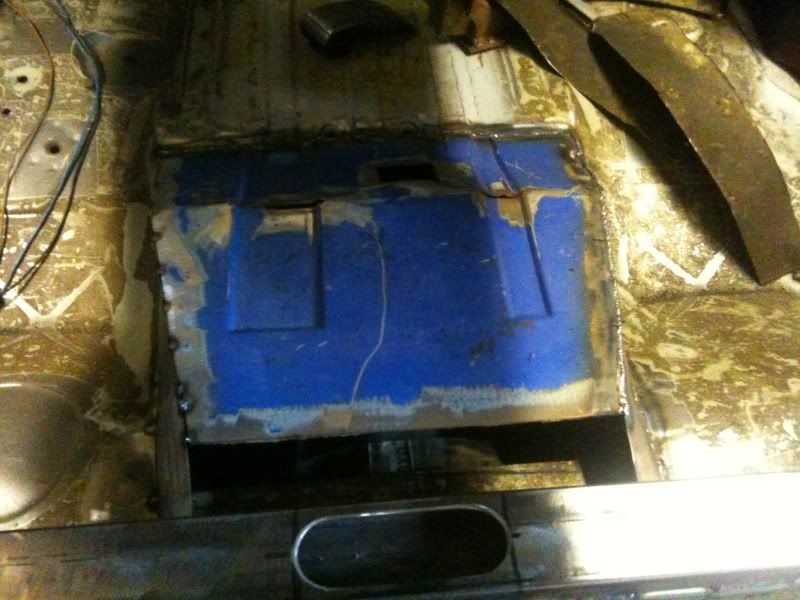
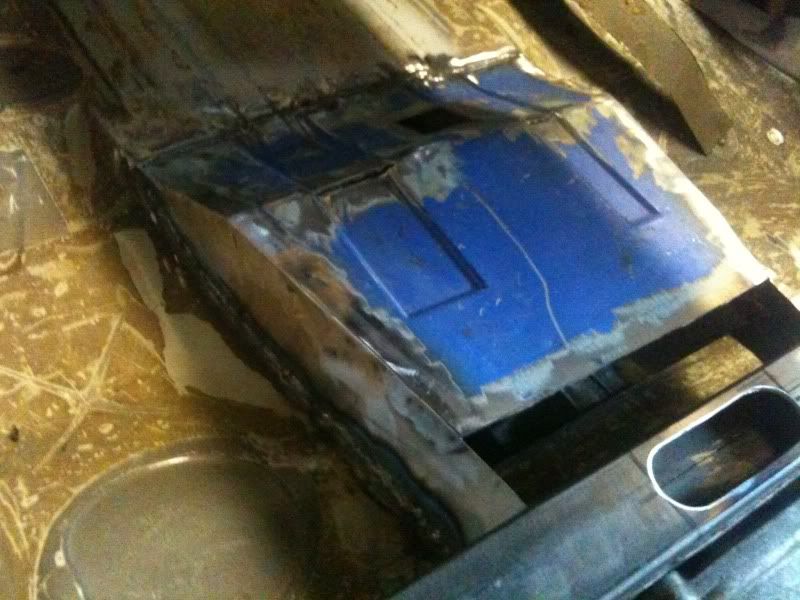
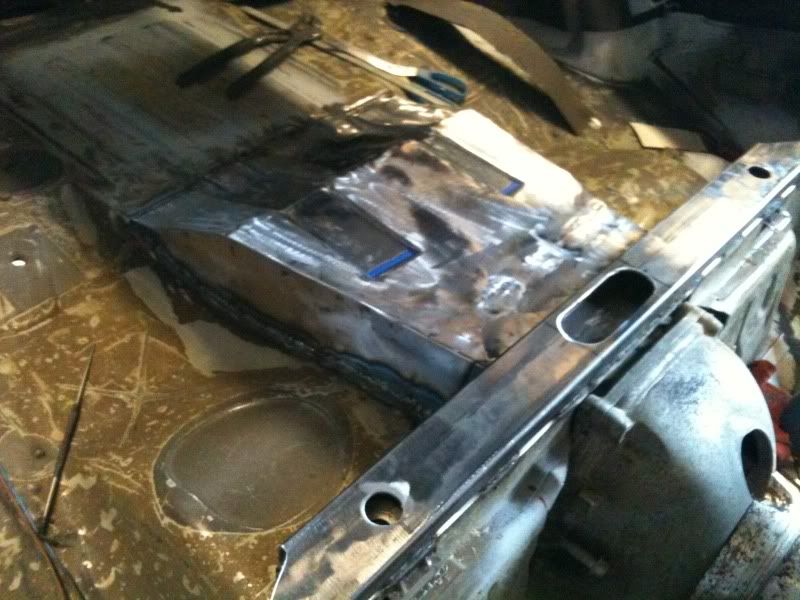
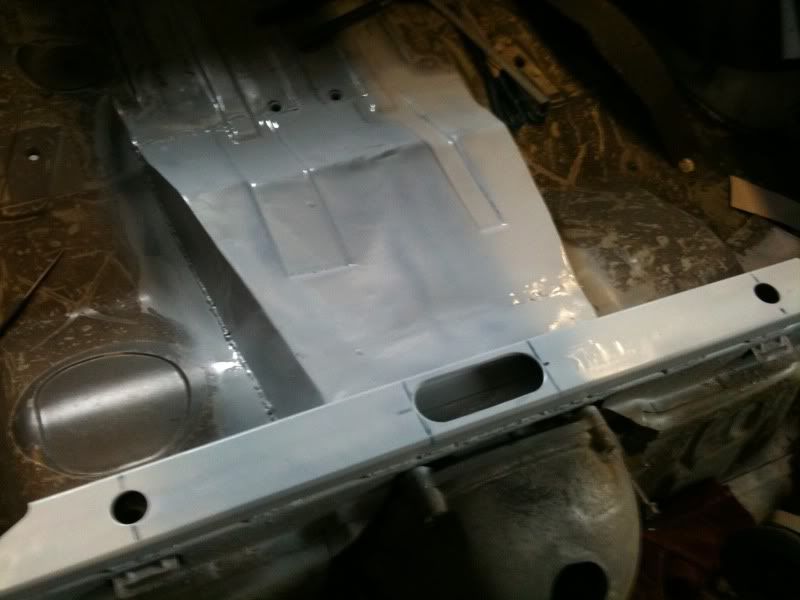
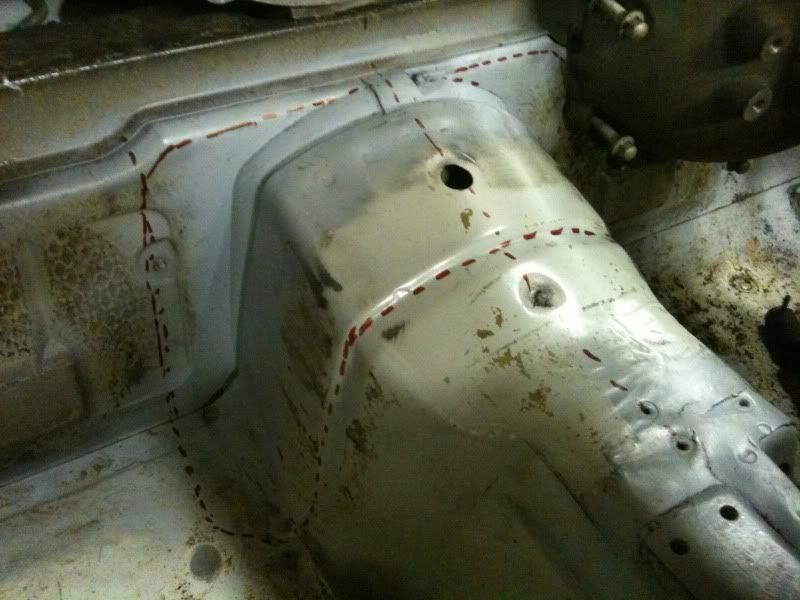
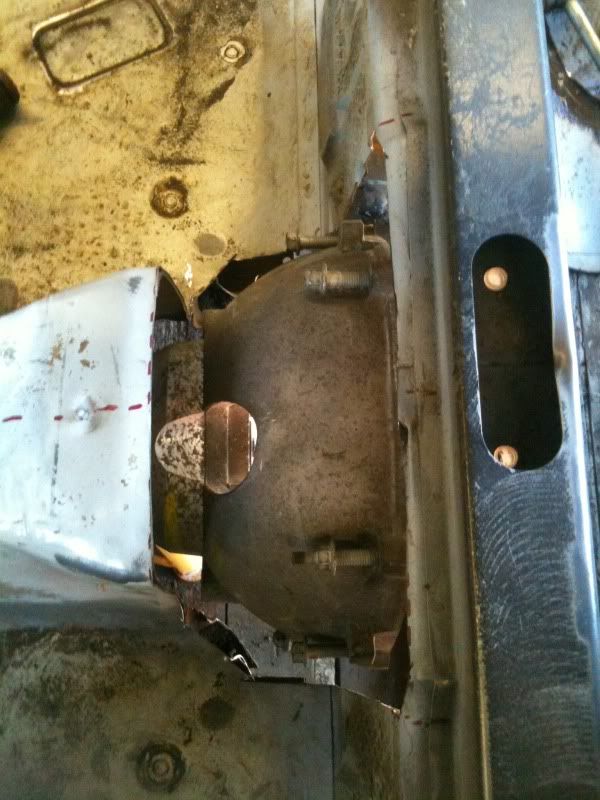
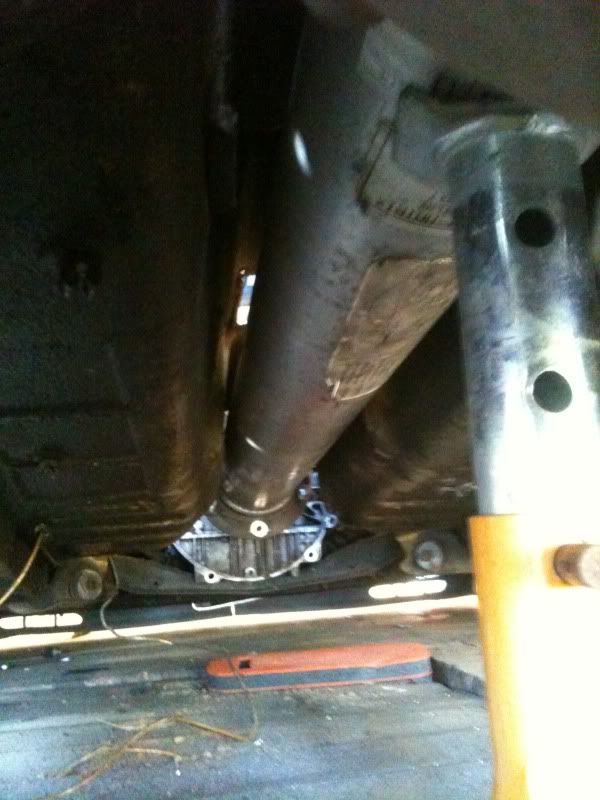
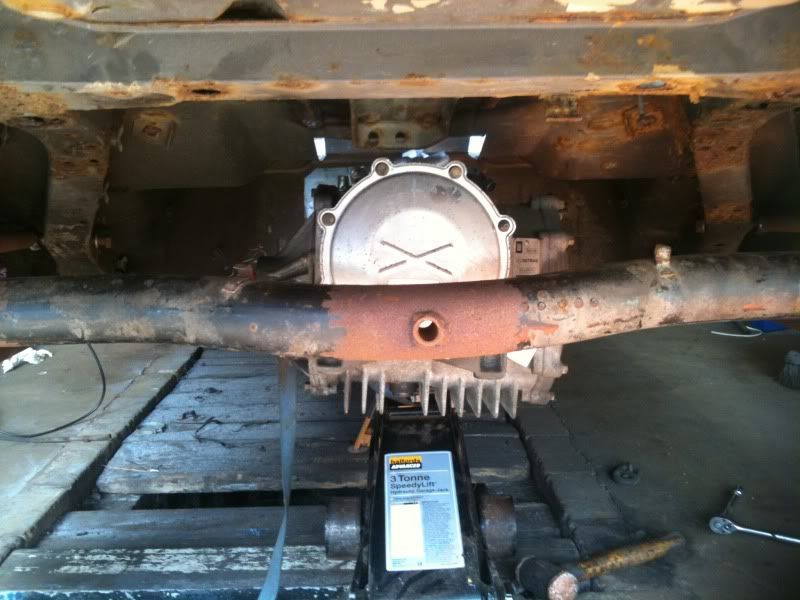
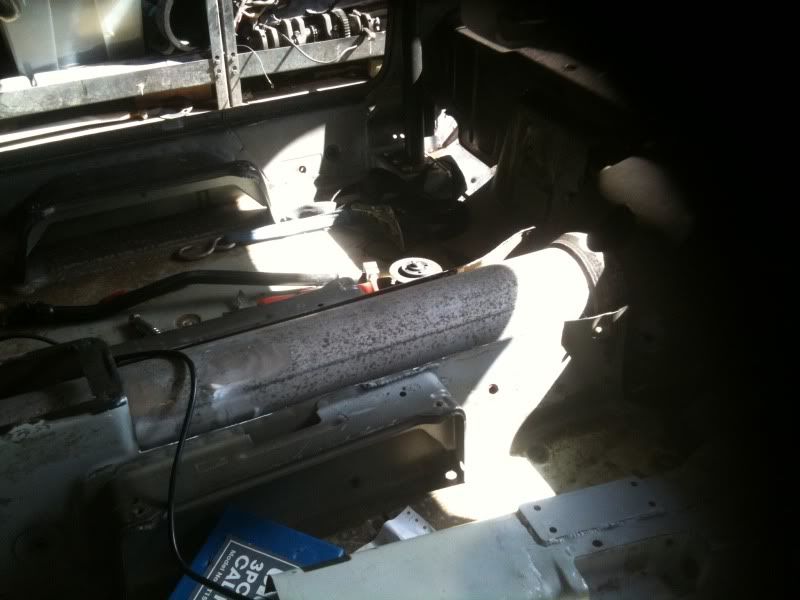
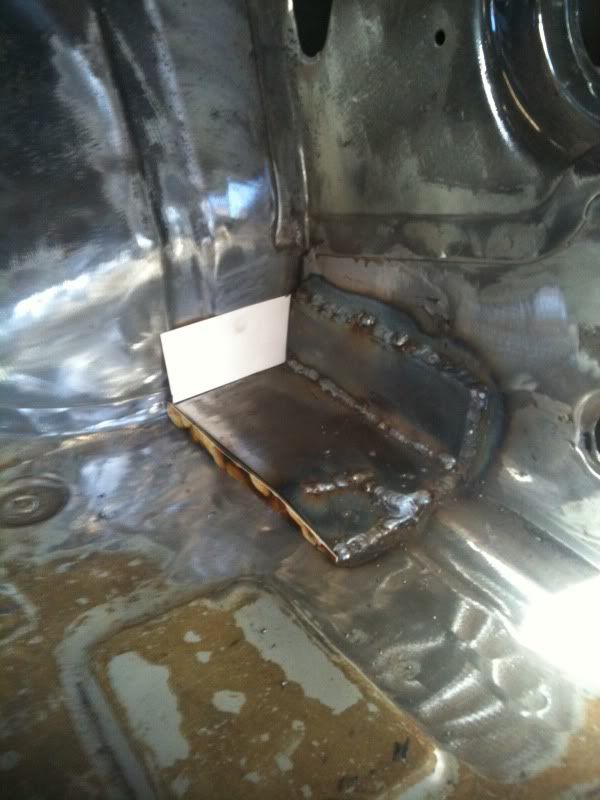
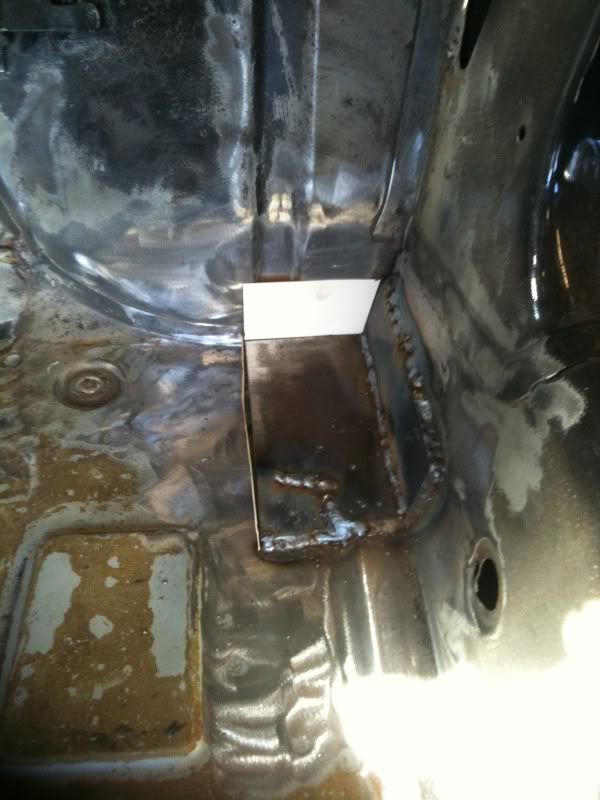
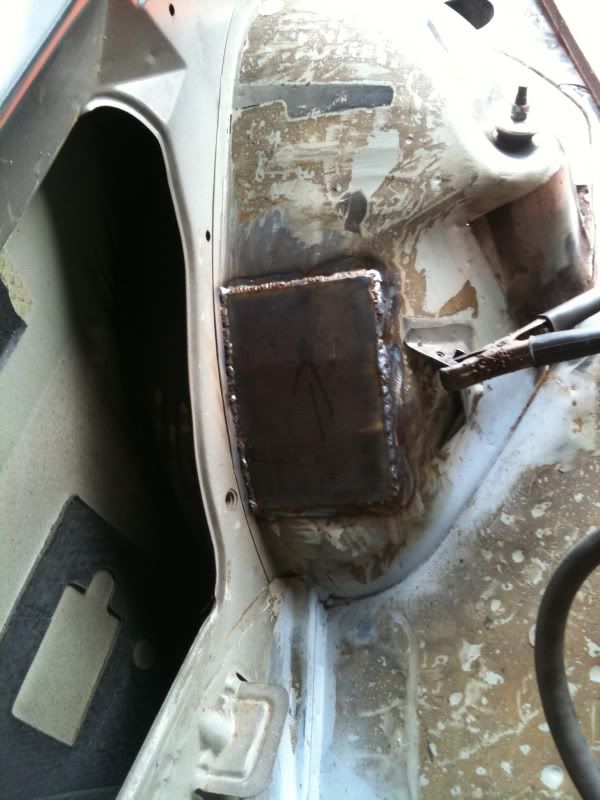
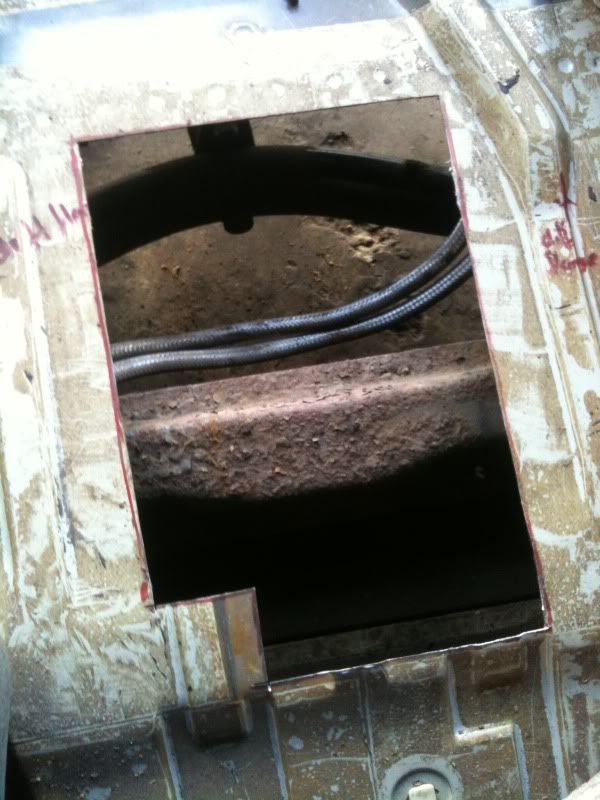
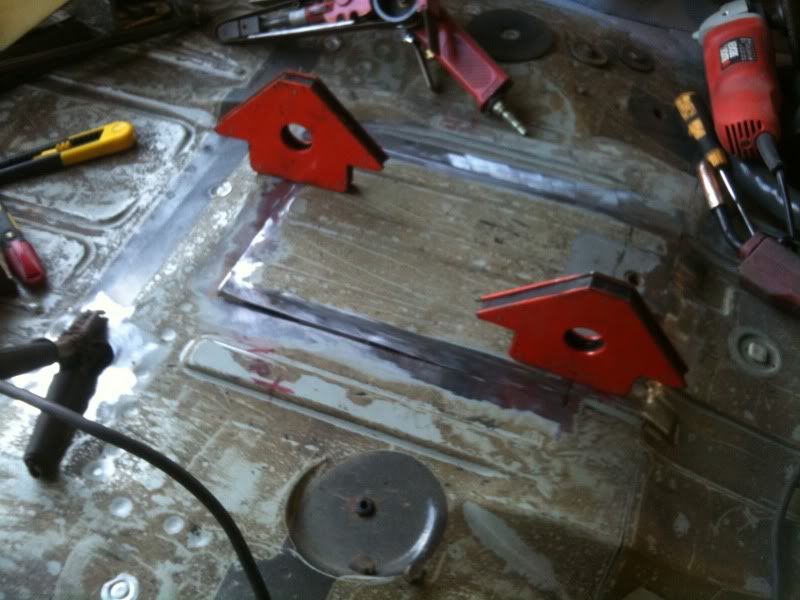
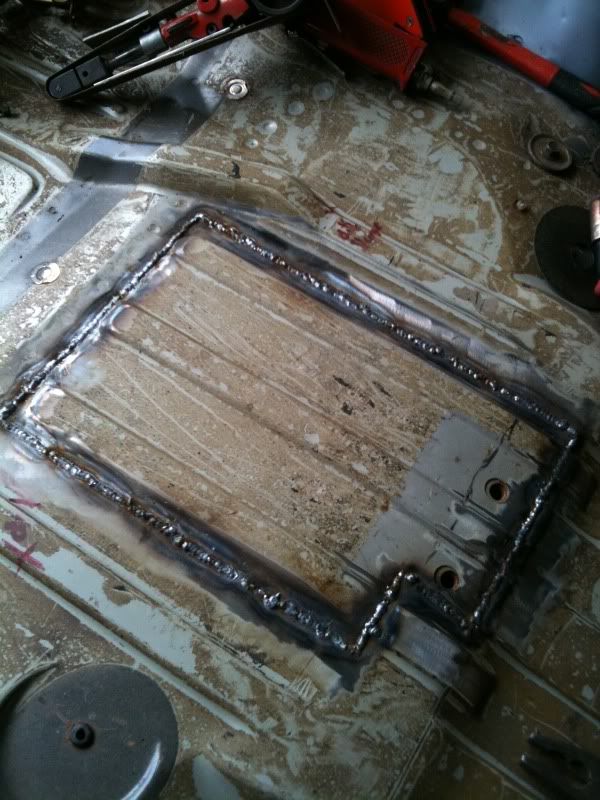
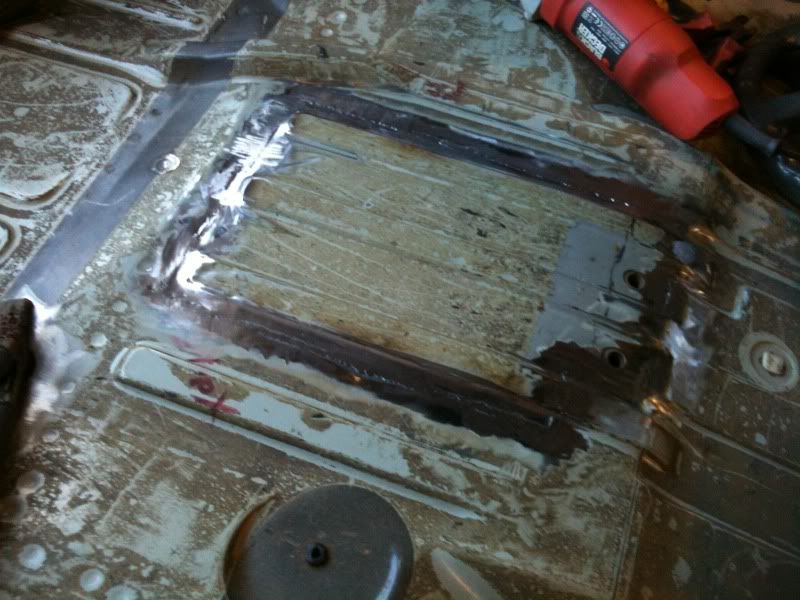
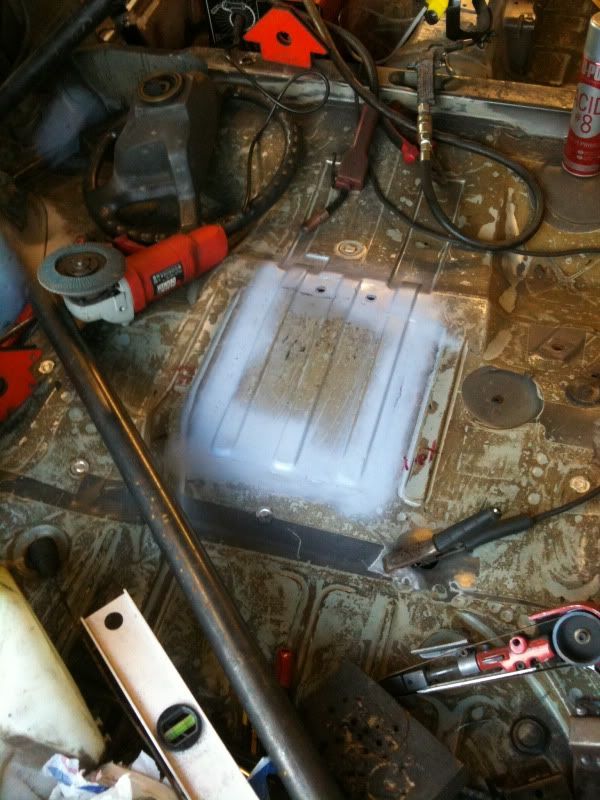
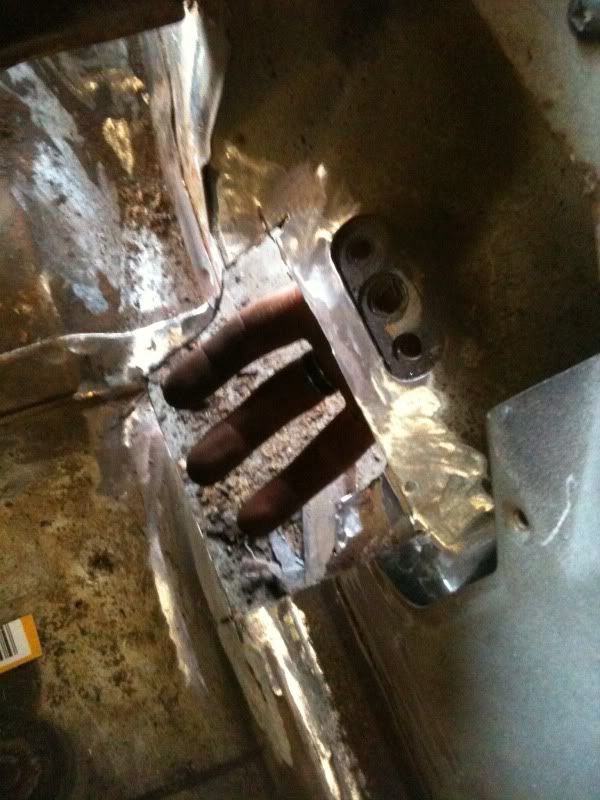
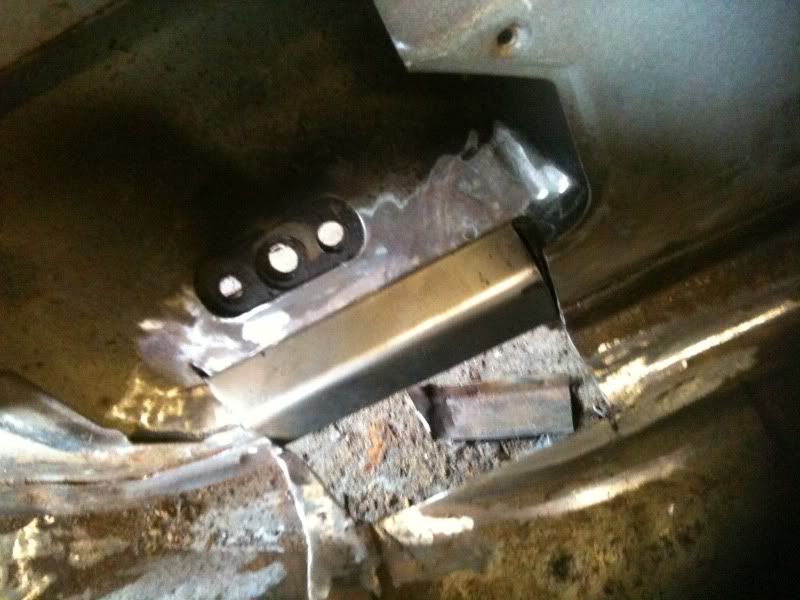
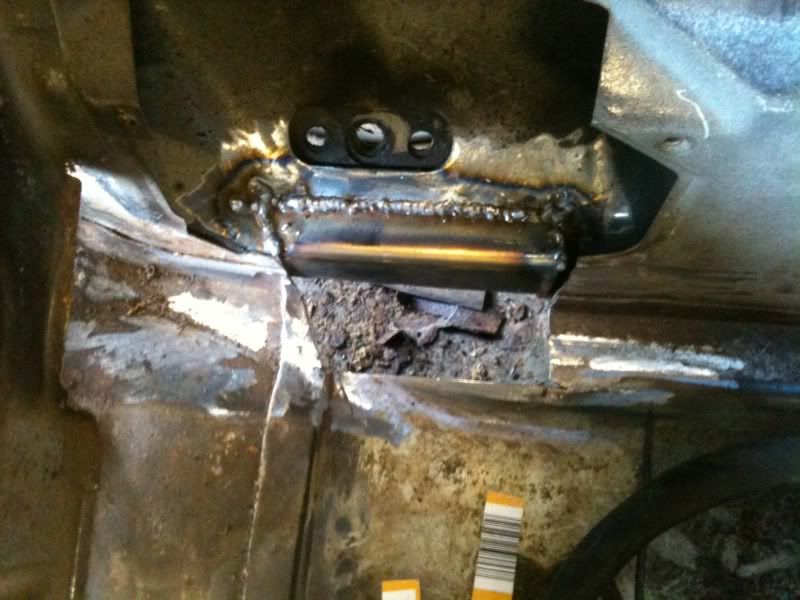
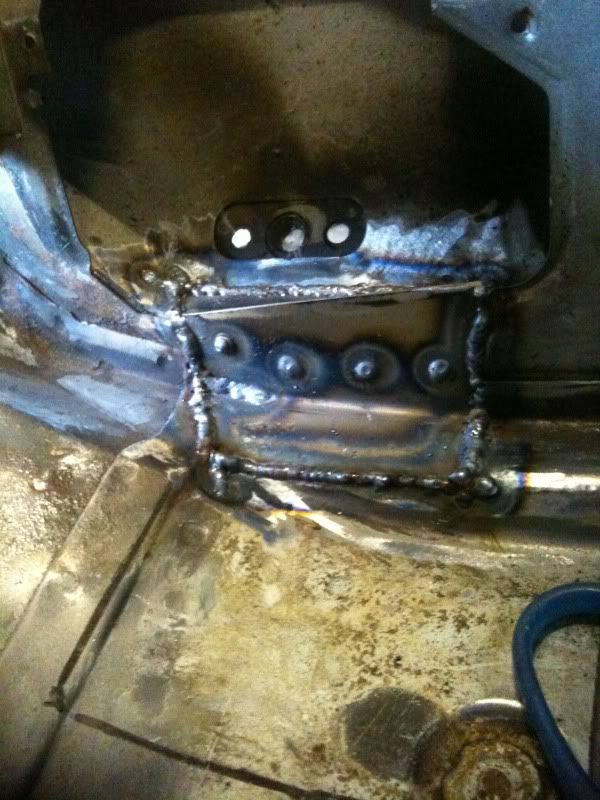
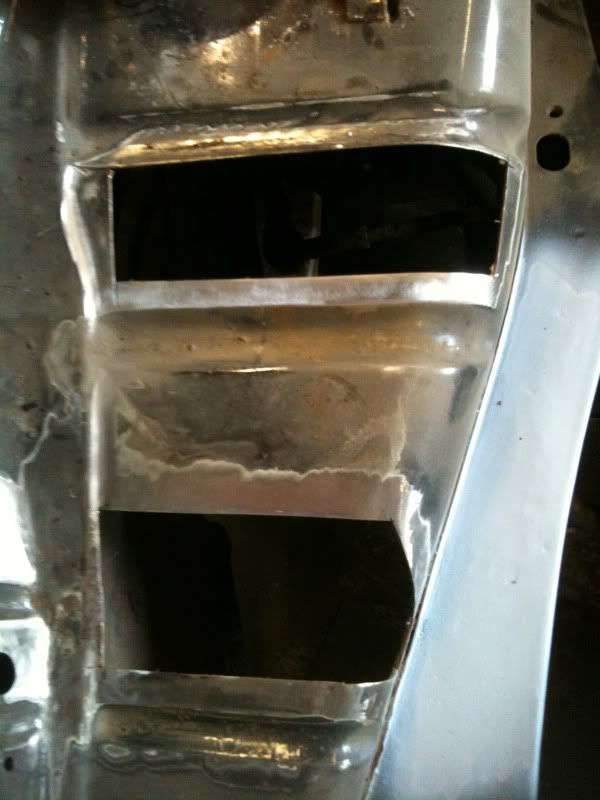
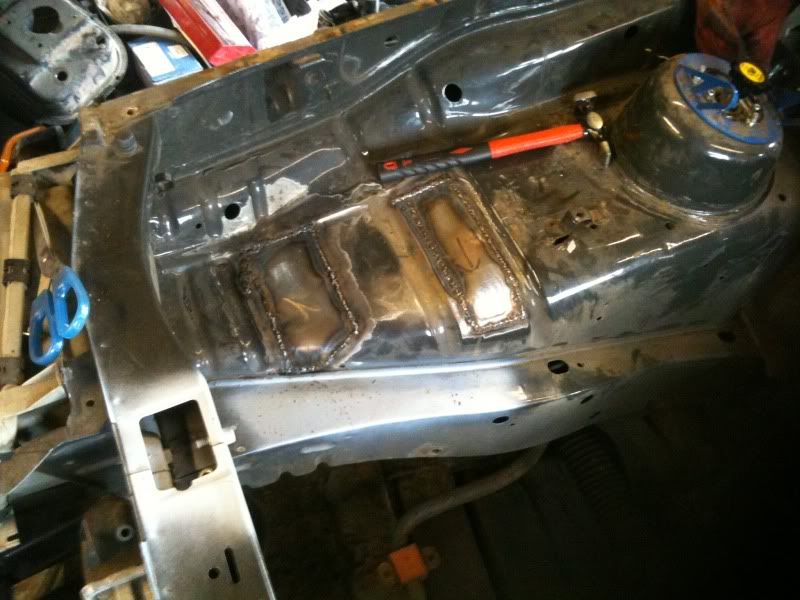
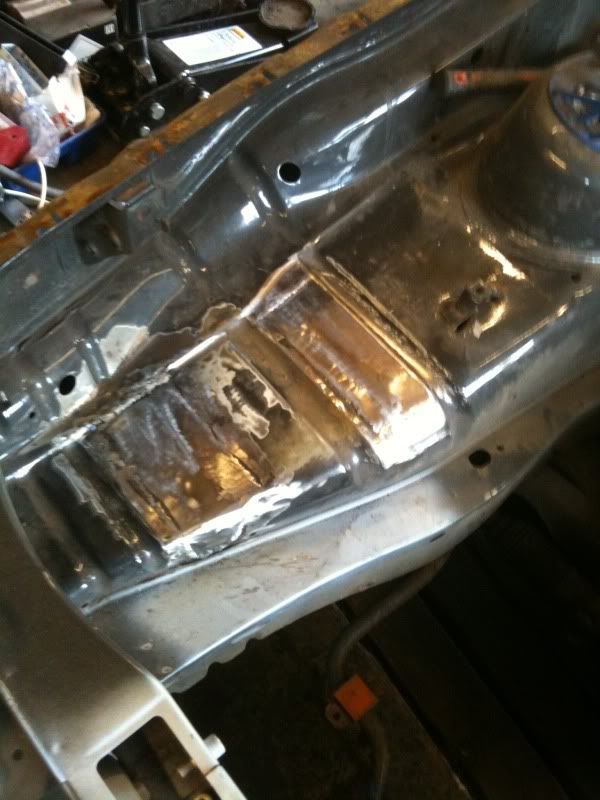
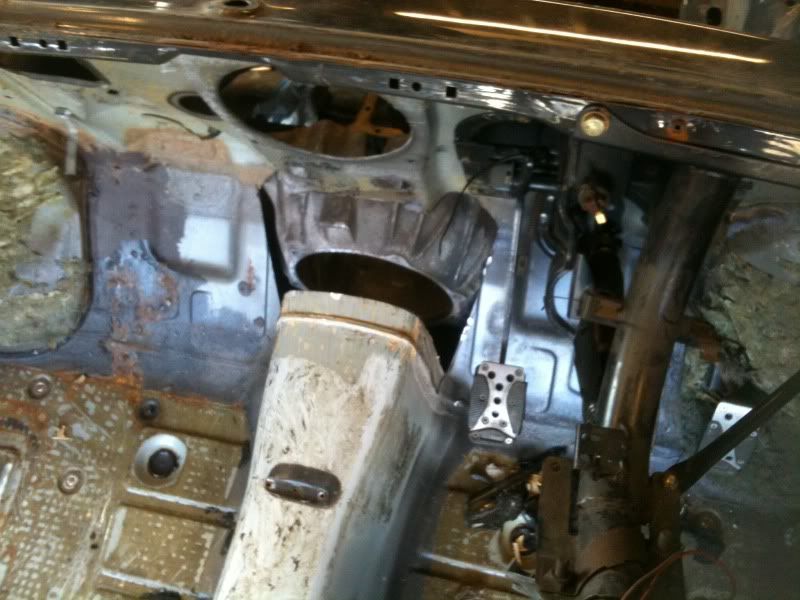
Well i continued to work on the car and convince myself i had enough ground clearance under the diff and gearbox until it kept eating away at me knowing i could gain some clearance; so i moved the mounting around another 30mm upwards, so i'm now very happy about that. Although this caused a few problems in the boot floor area, the gearbox has a reverse lockout solenoid on the top which i needed to cut out the boot floor to clear.
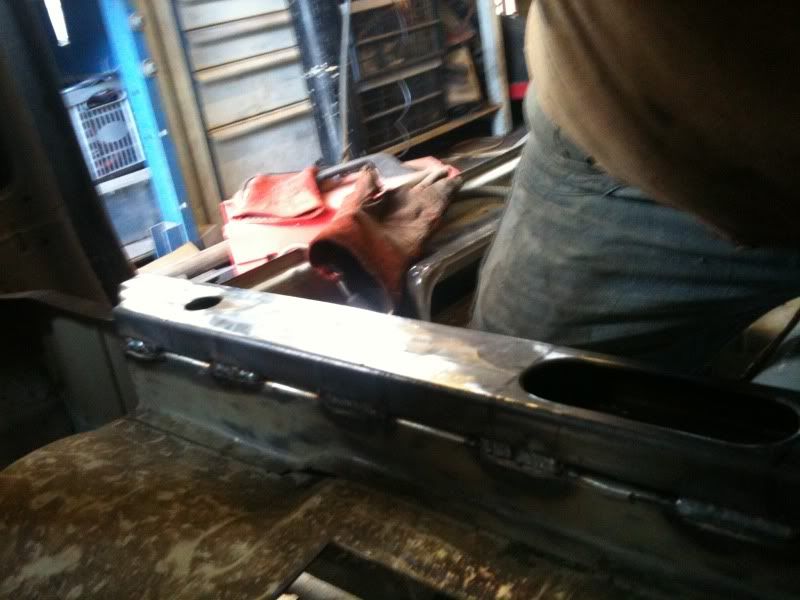
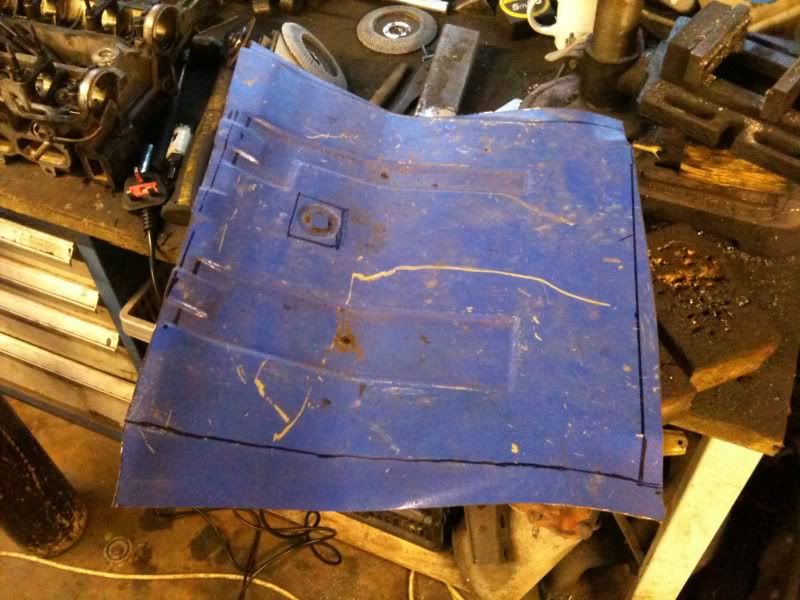
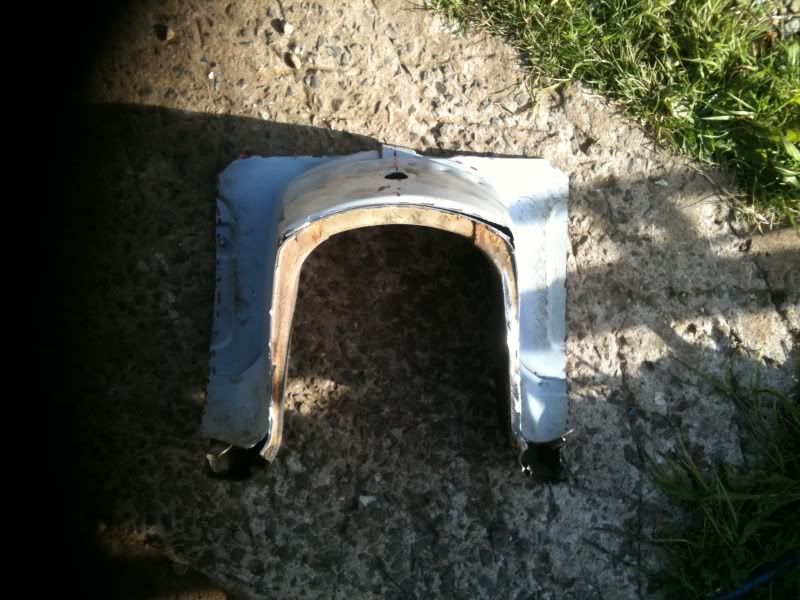
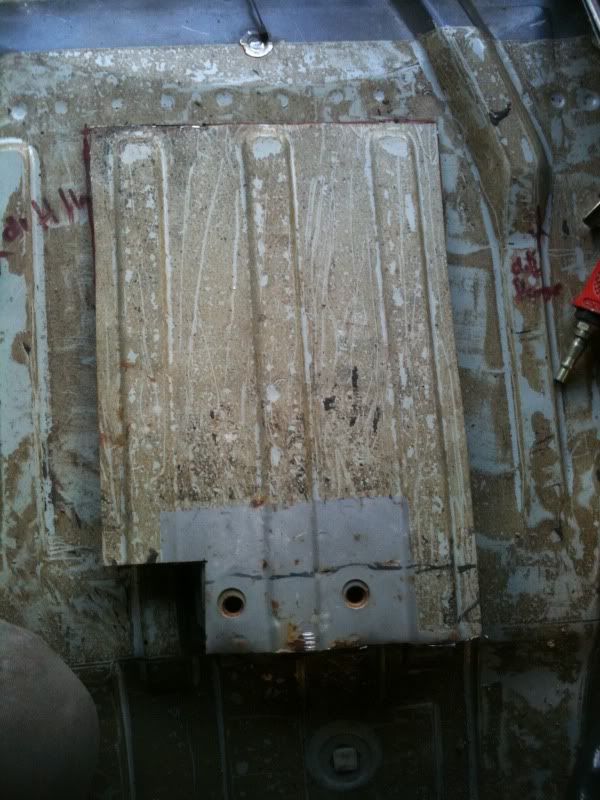
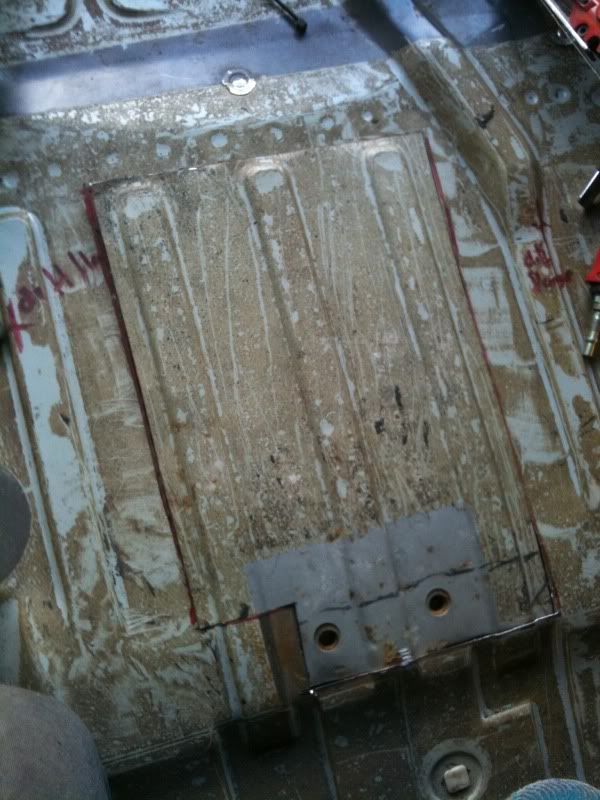
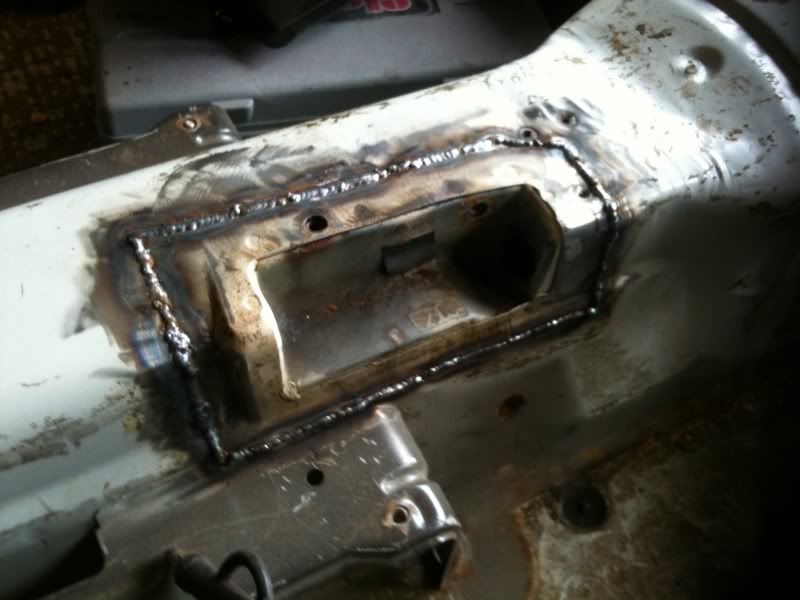
To box this back in i cut a section of the boot floor out along some press lines. I then cut a section of floor out of my doner car to make the floor look more factory than flat plate. This wil require a little filling before paint but i am very happy with teh way this turned out.
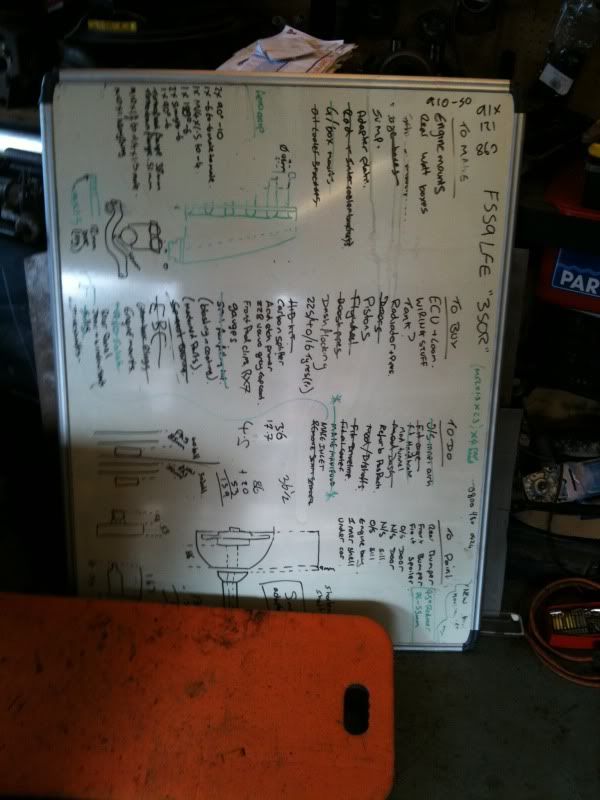
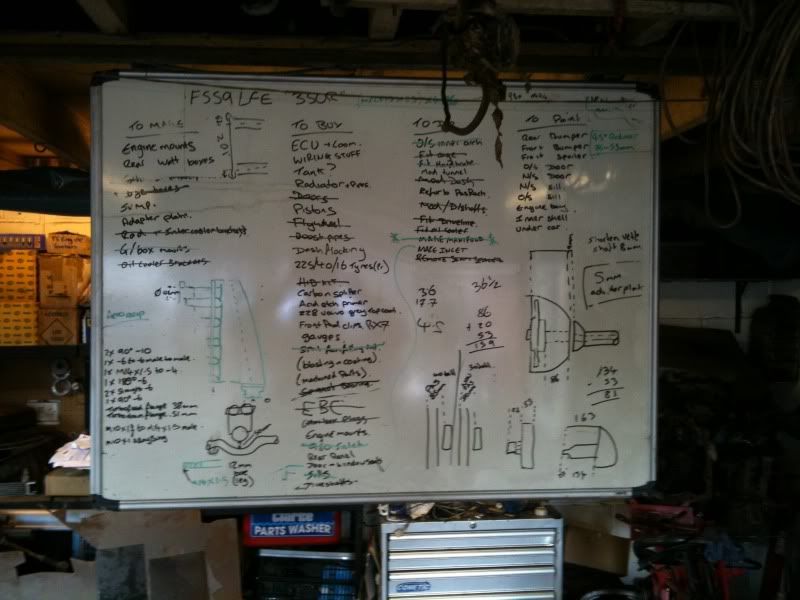
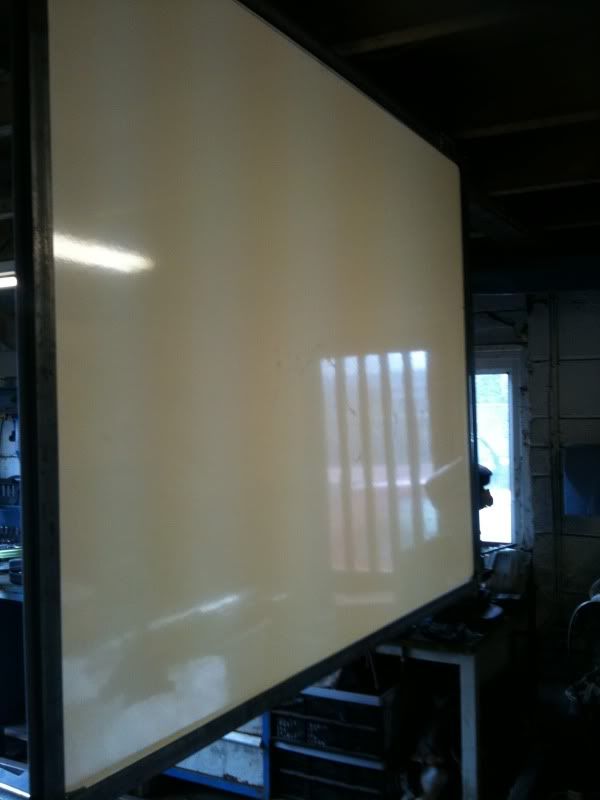
Over the summer months both my housemates were away so the garage was my domain, which was fine. Except that my white board was lent up against one of my housemates tool box, so my solution is as per pictures..... :lol:
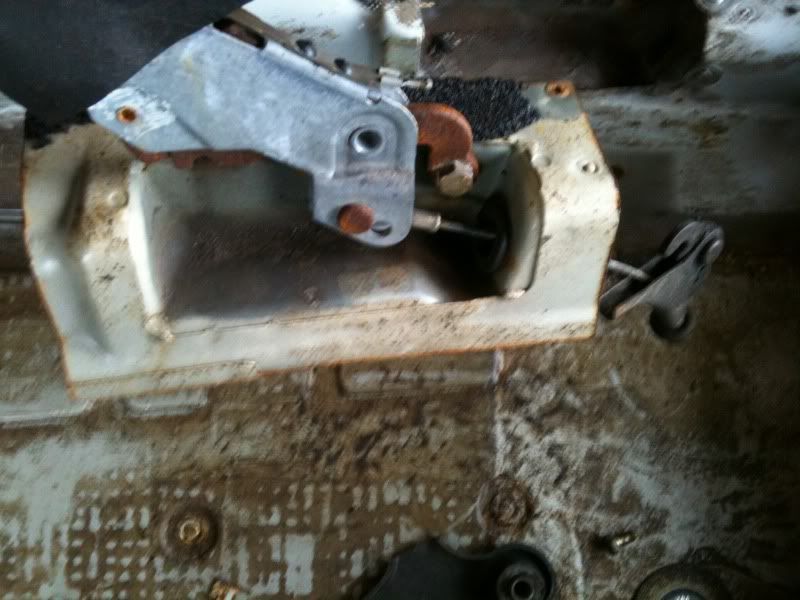
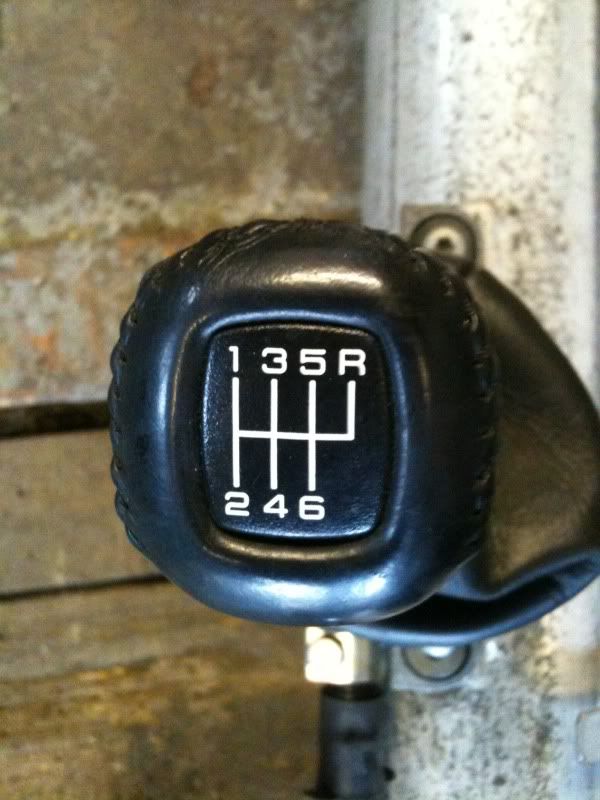
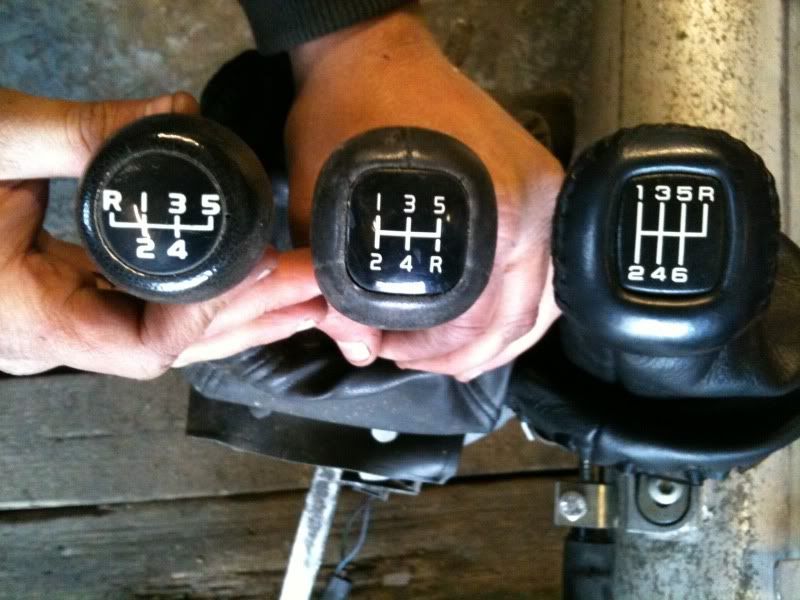
I also had a small look at the gear linkage assembly and made a rough start.
Cheers for looking Adam
-
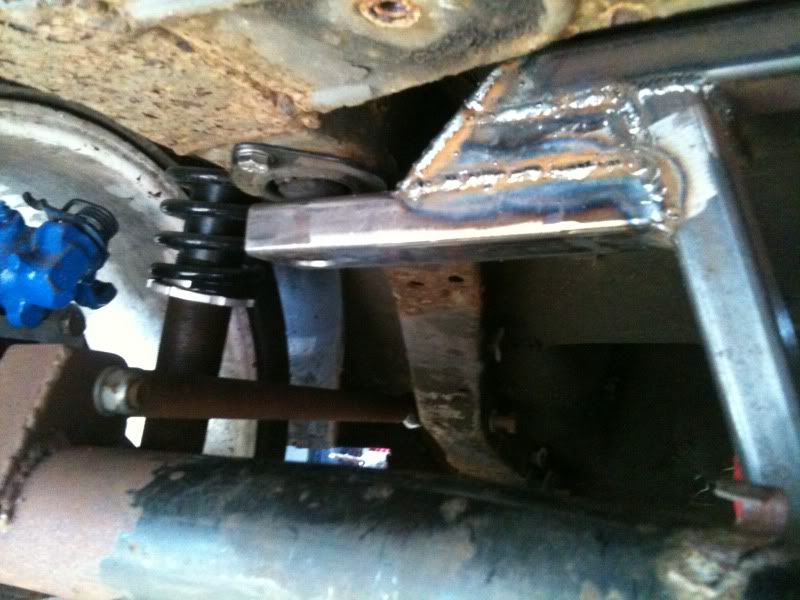
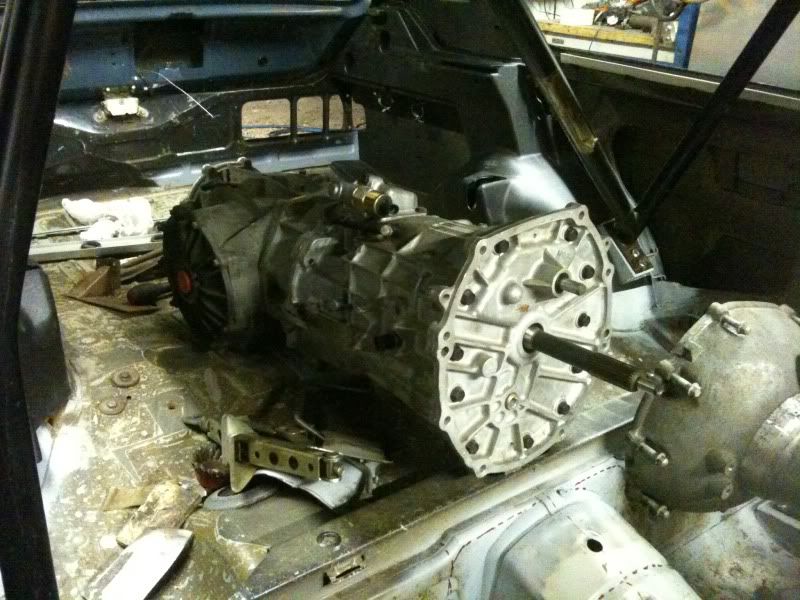
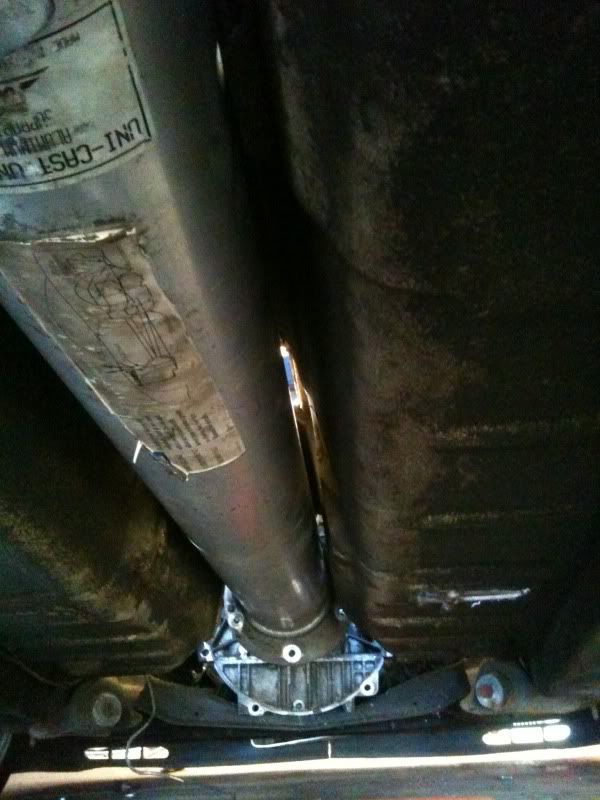
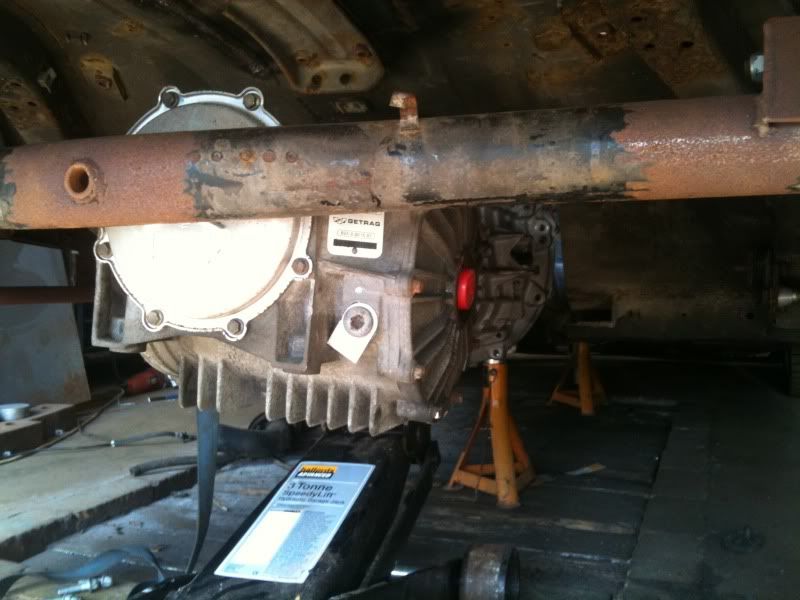
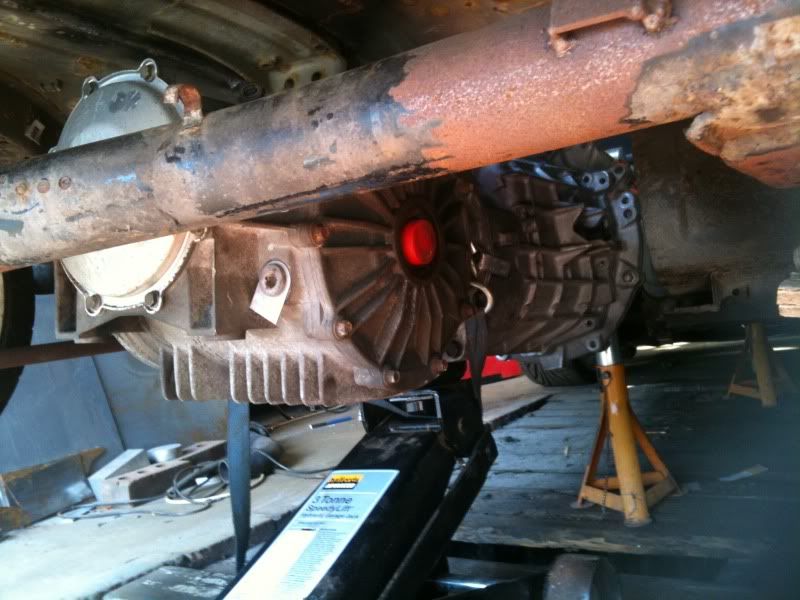
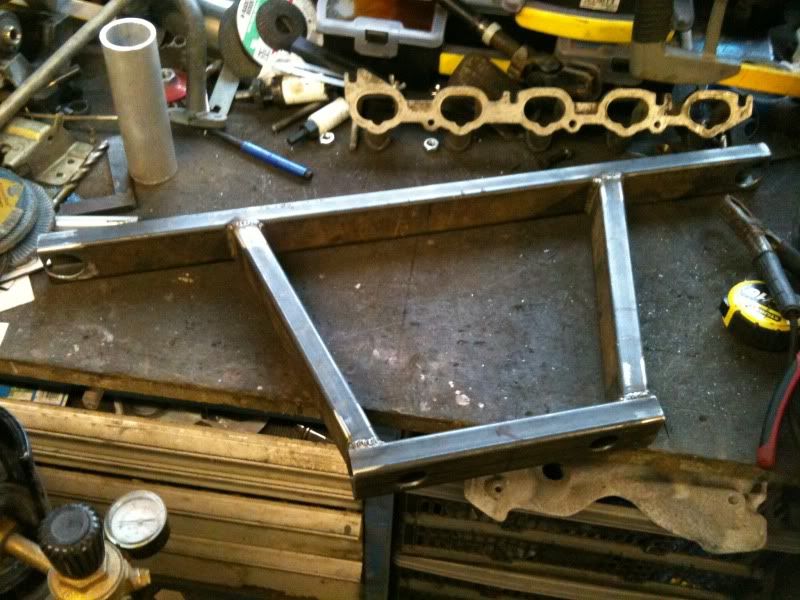
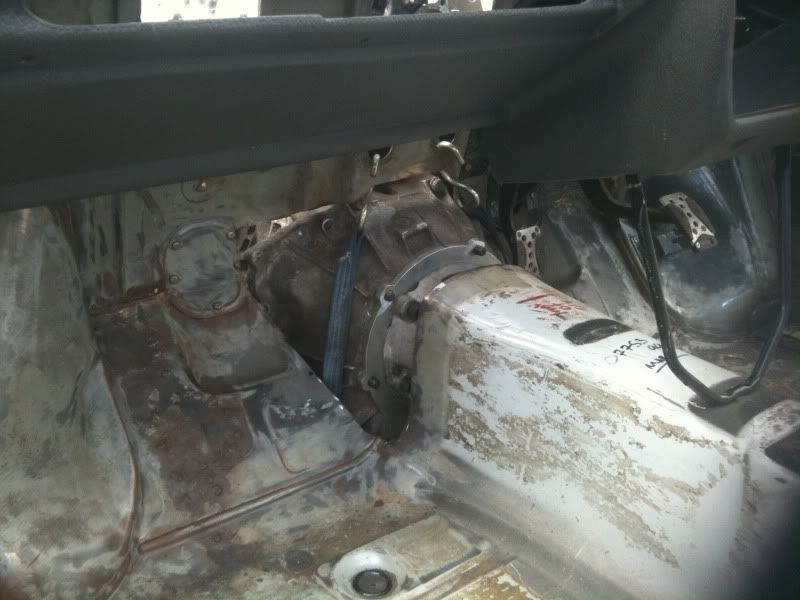
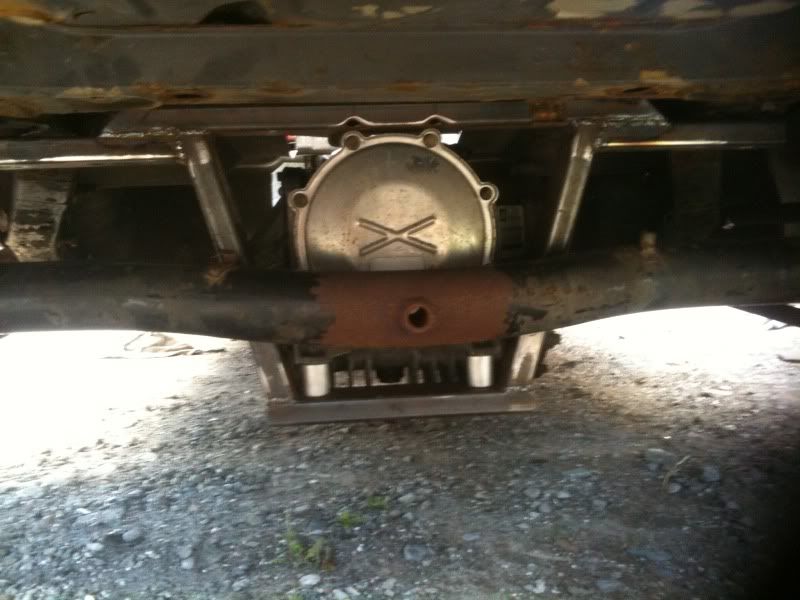
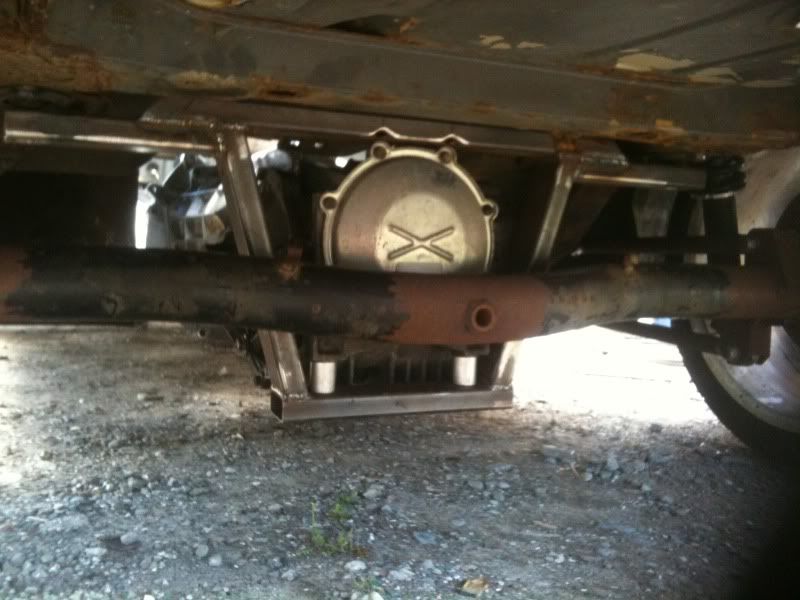
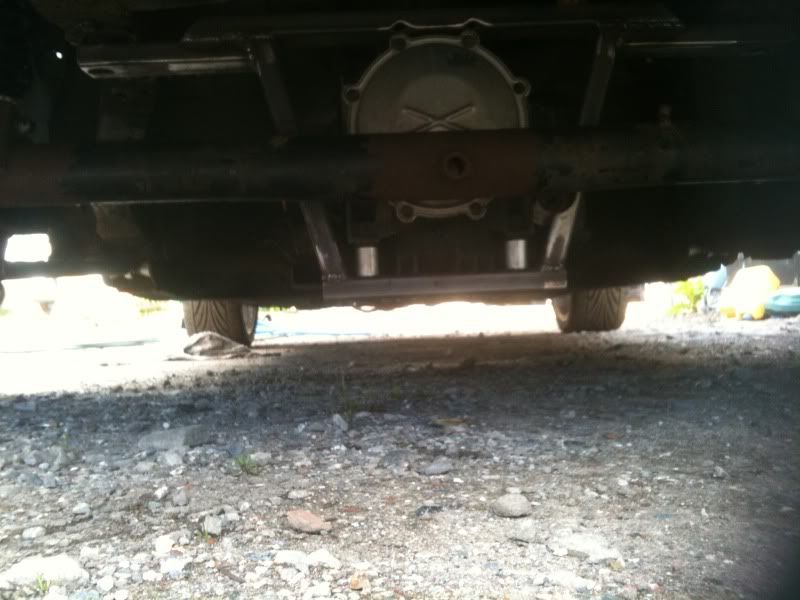
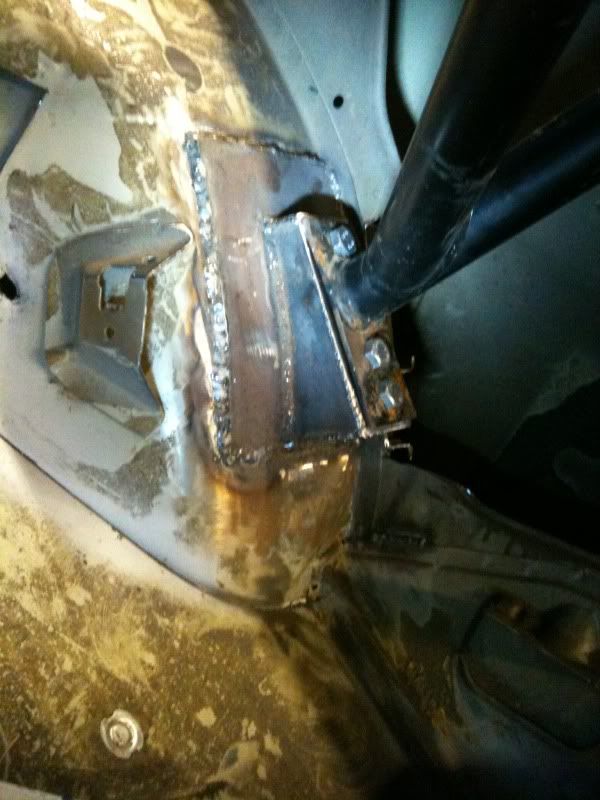
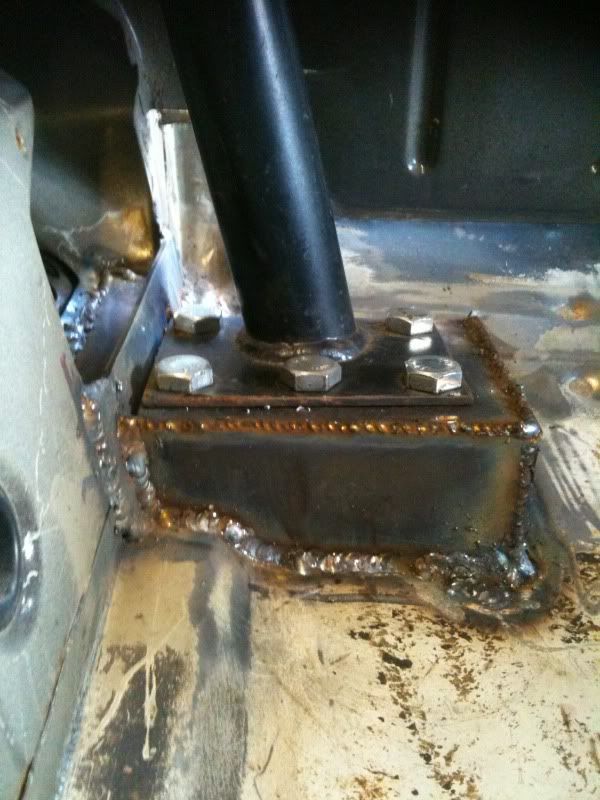
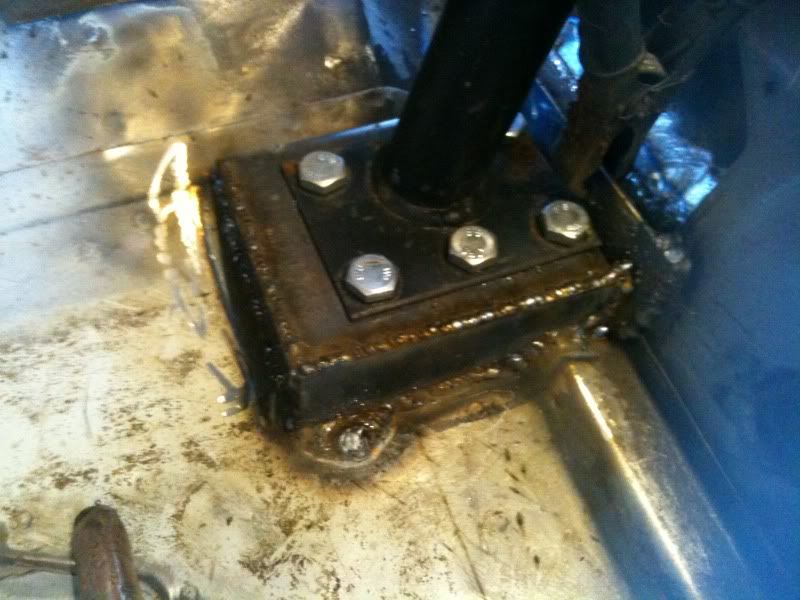
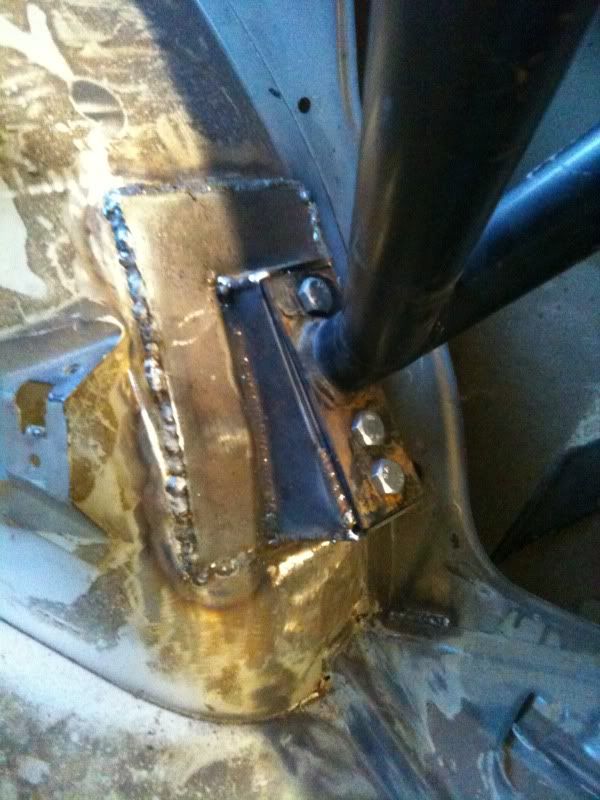
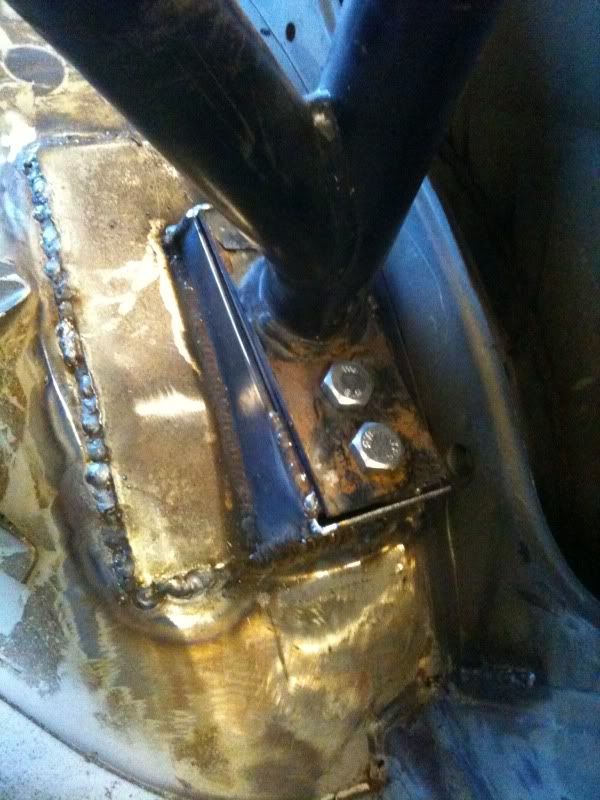
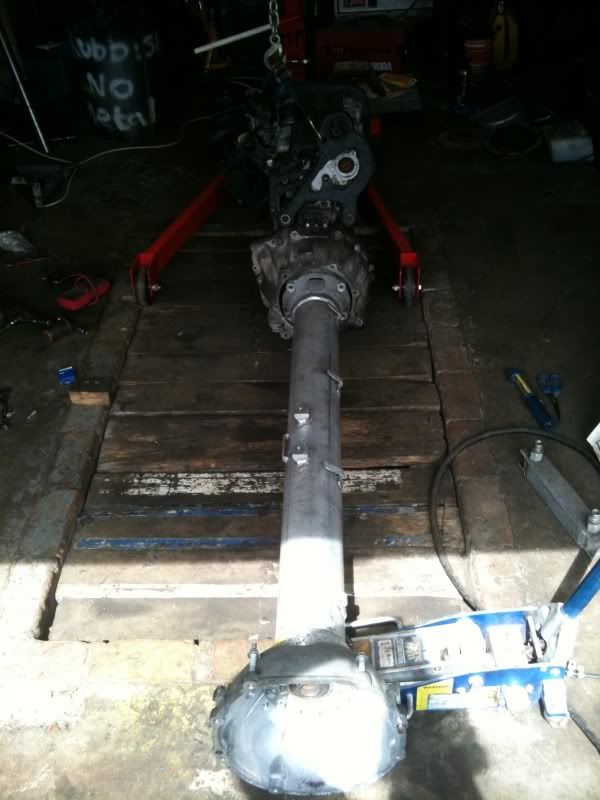
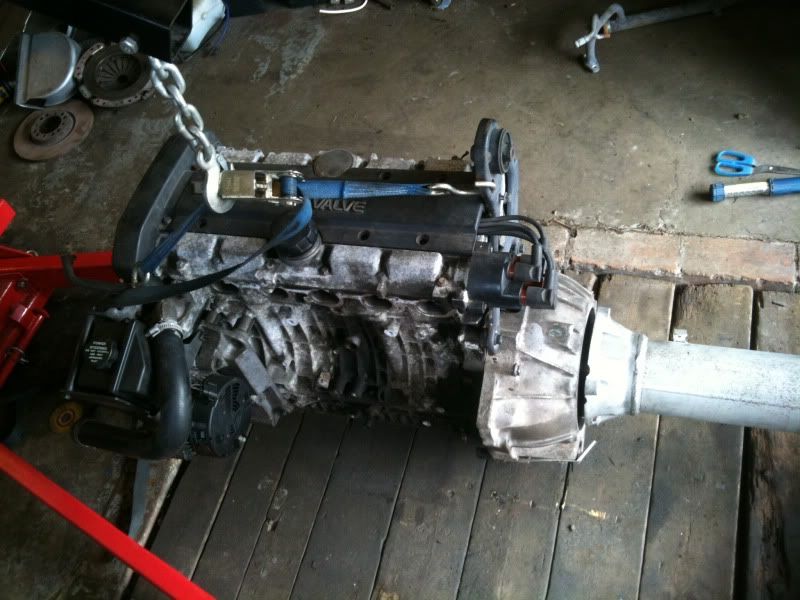
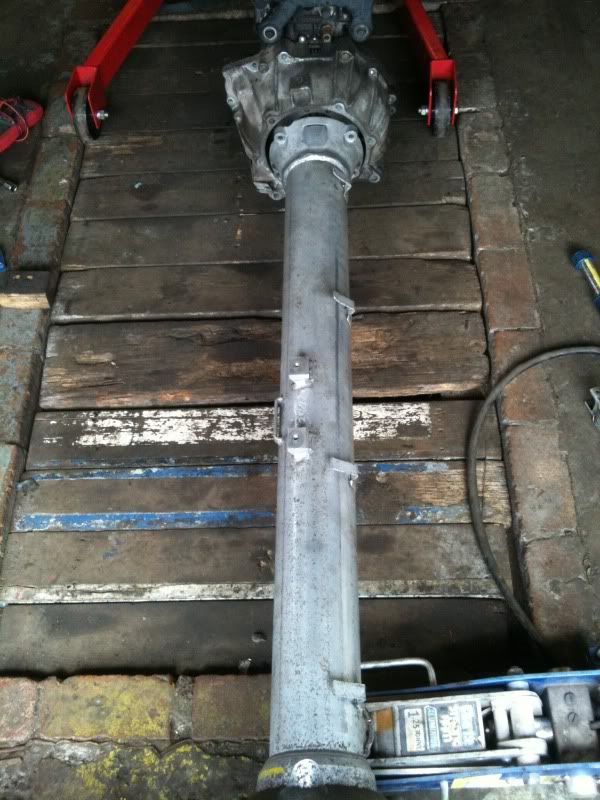
I have been busy on this but its been a long process with not alot of visual changes. But the gearbox is in and mounted on a cradle i made, this will be reinforced and braced further up the car to two other mounting points. The tunnel has been cut to accept the bellhousing at the rear of the torque tube.
The handbrake box in the tunnel was catching on the torque tube, so i have removed the rear of the tunnel so i can make the gear linkage and then refit 20mm further up.
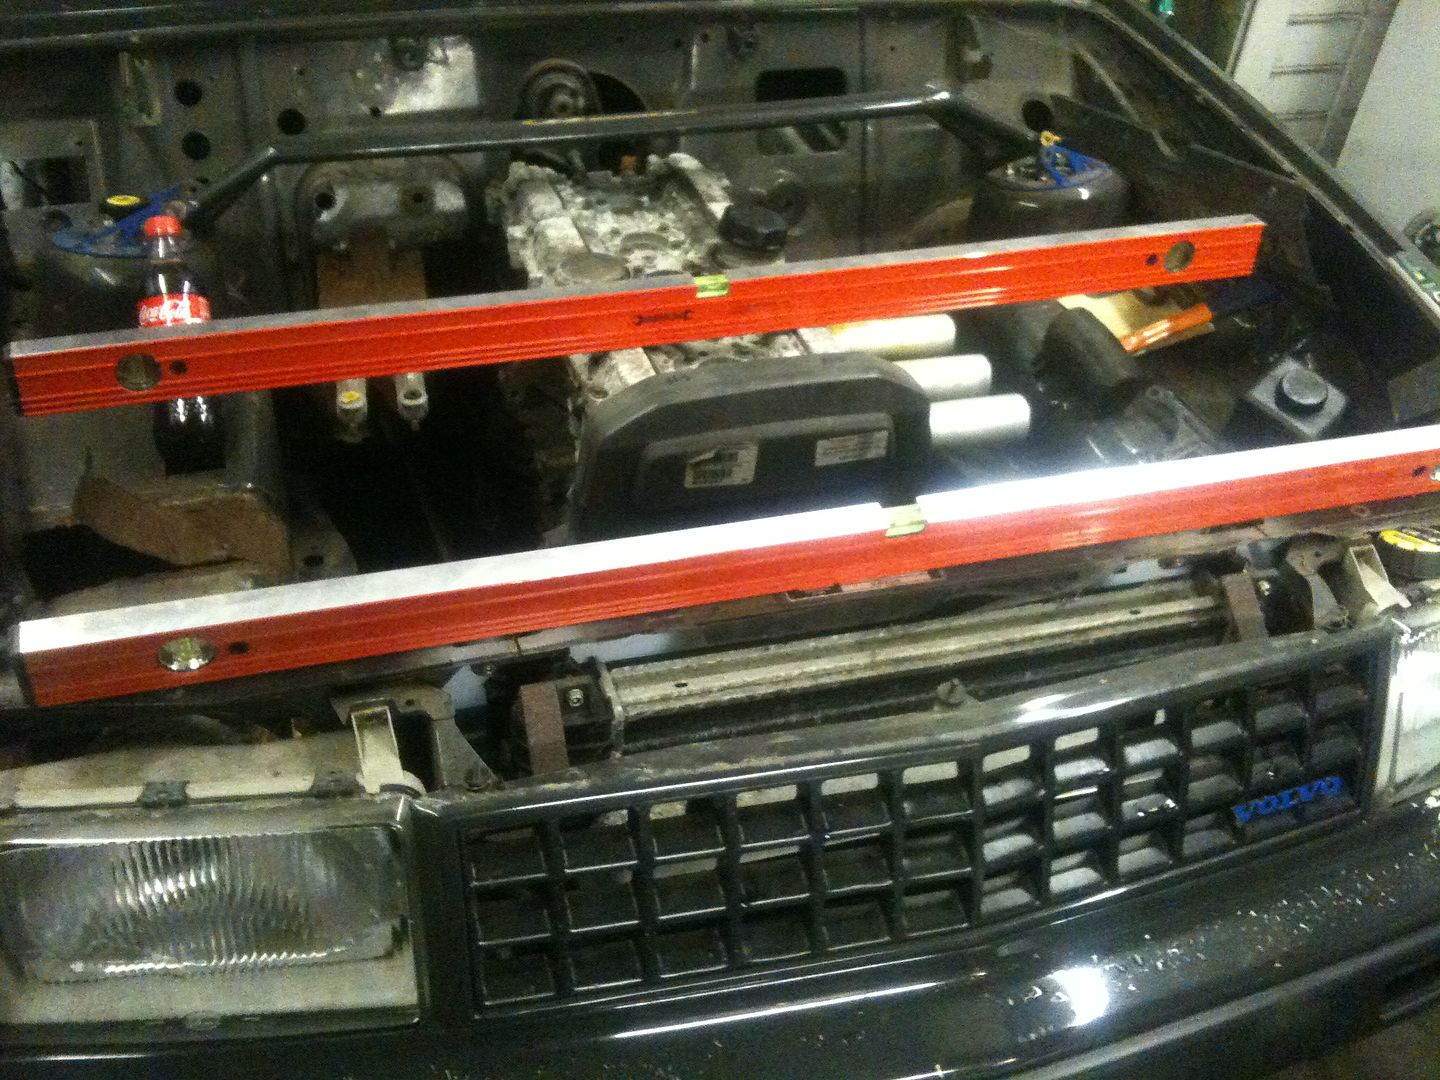
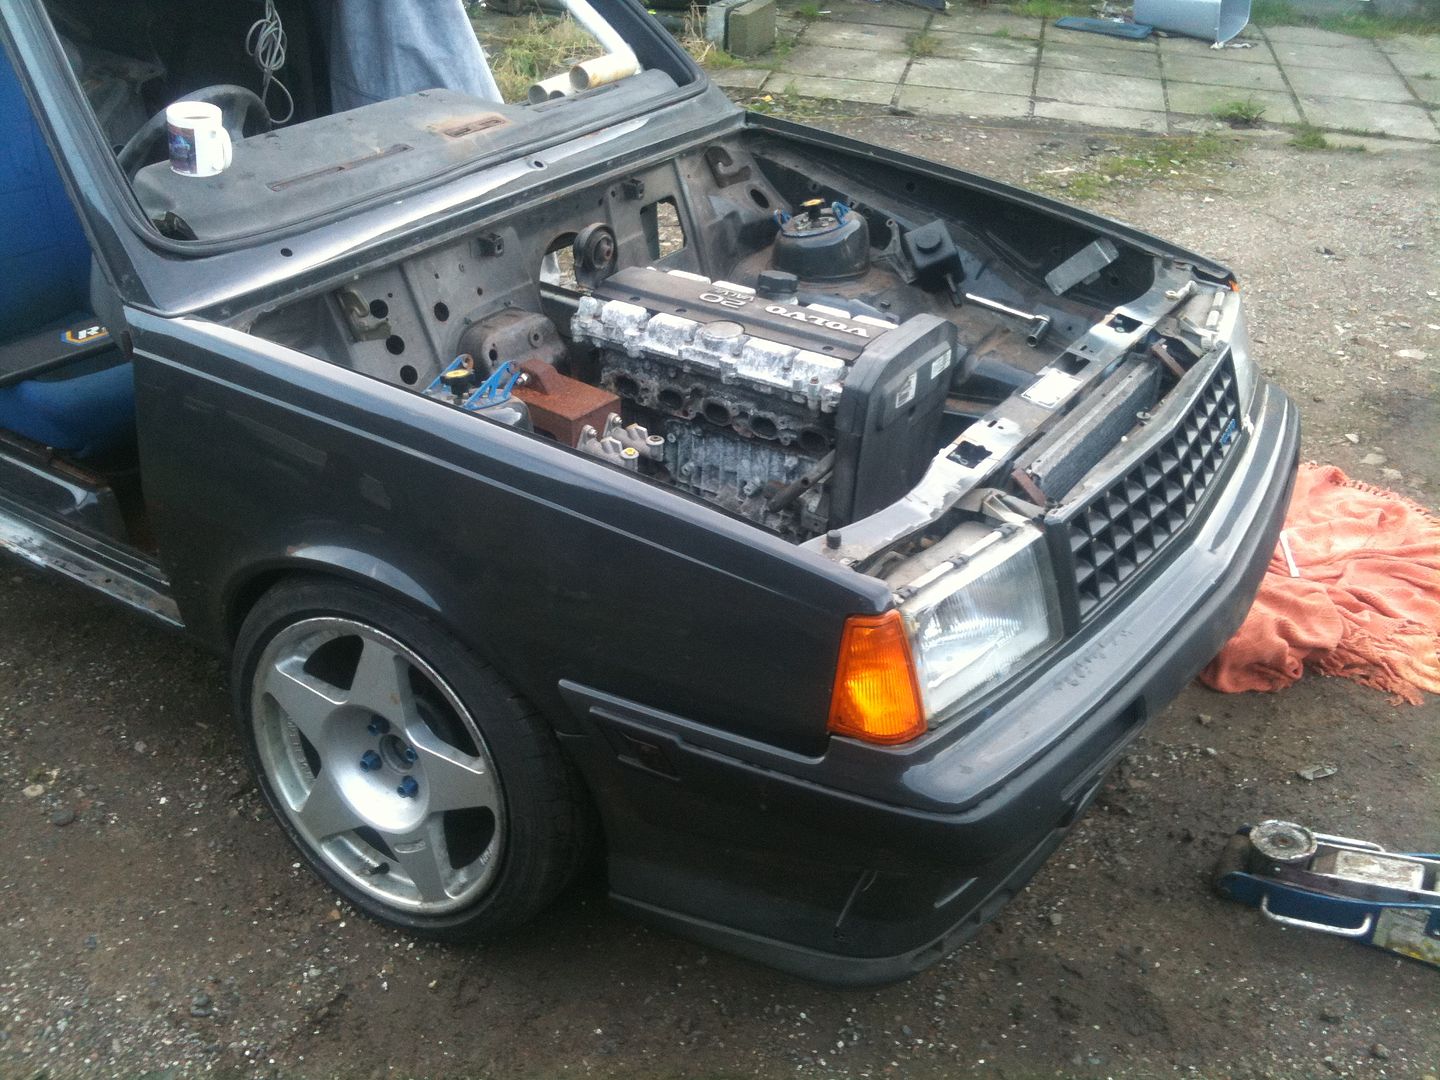
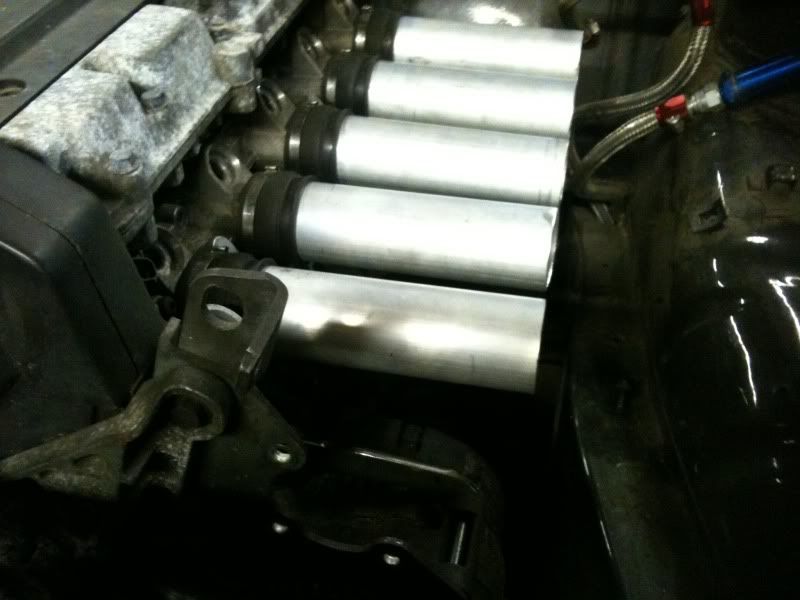
I am very happy with the position the engine ended up in with the centreline of the wheels around the midway point between 3 and 4 cylinders.
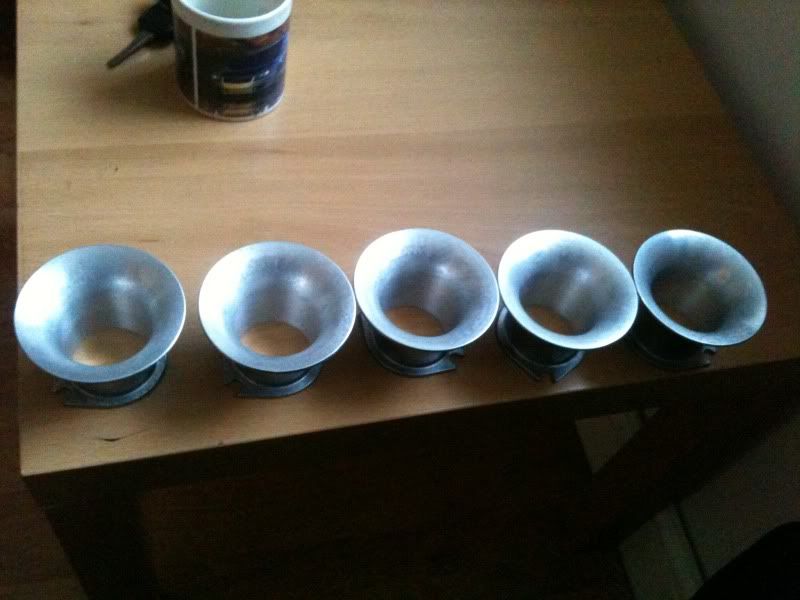
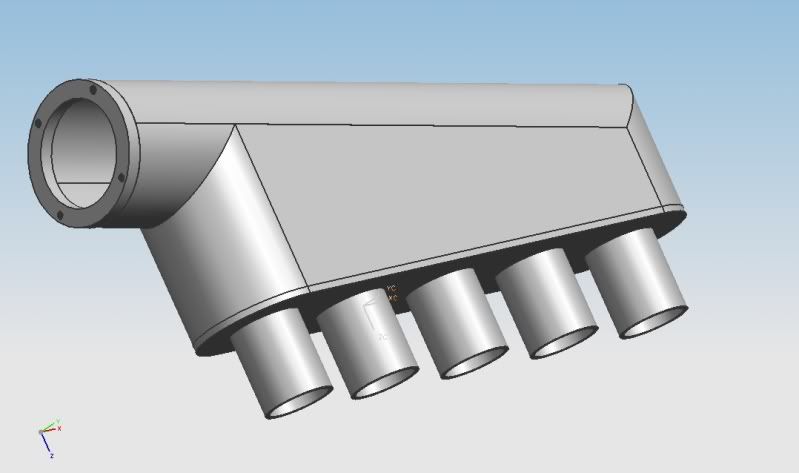
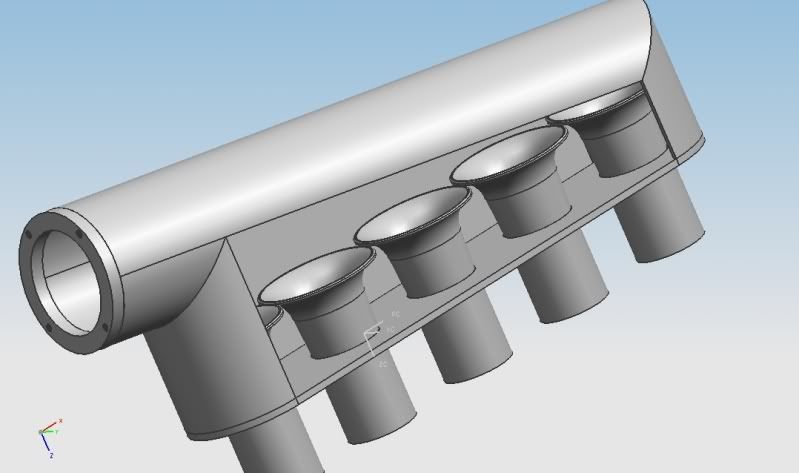
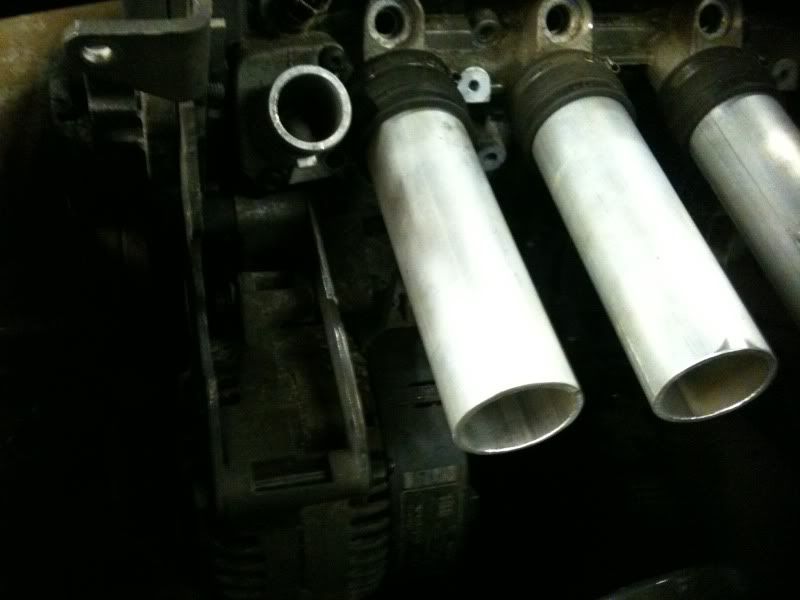
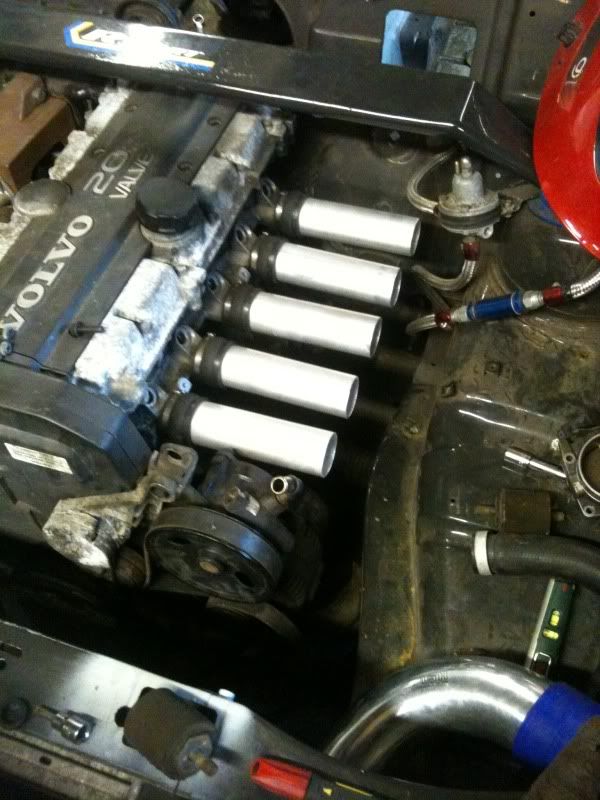
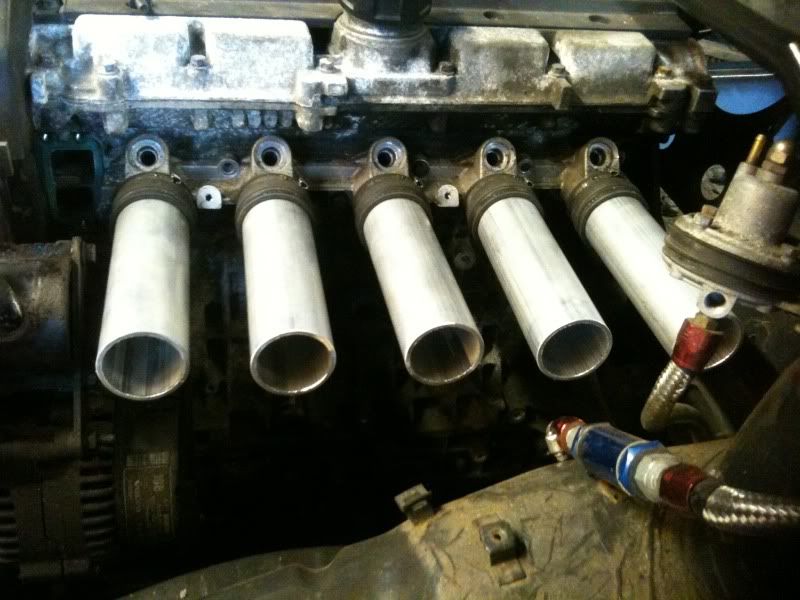
The trumpets for my intake turned up aswell so once i had the measurements i drew a manifold up in CAD.
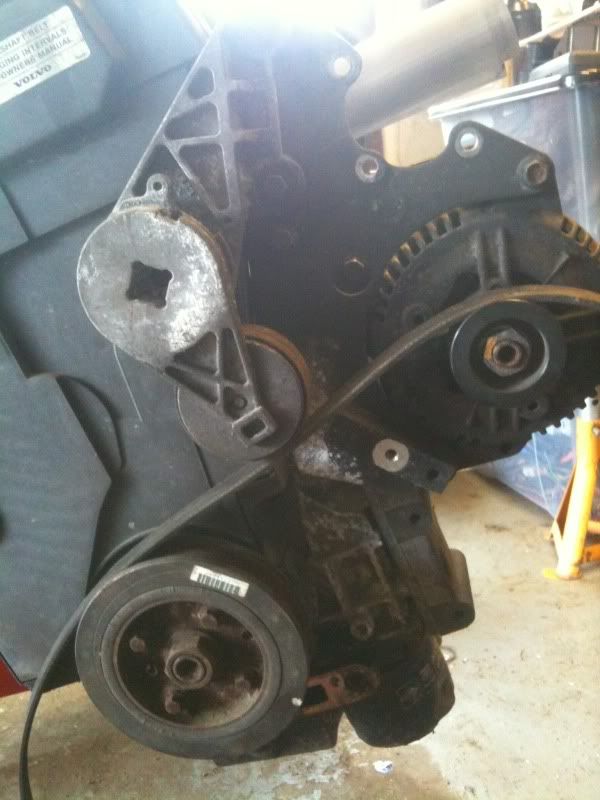
As i have decided to run an electric PAS pump i have had a brief look at belt routing with just the alternator and crank pulley. Im pretty sure im going to ditch teh tensioner and run a stretchy belt like all the new fords.
I also cut the rear arch trim around the cage feet.
Cheers for looking
Adam
-
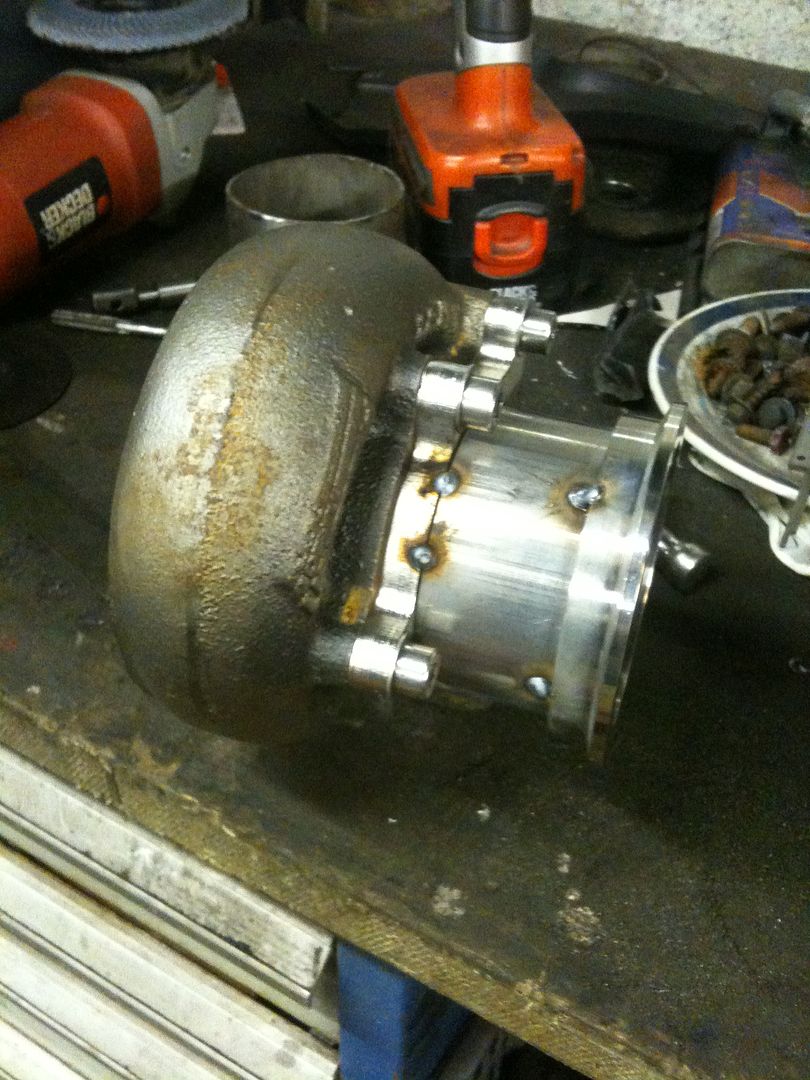
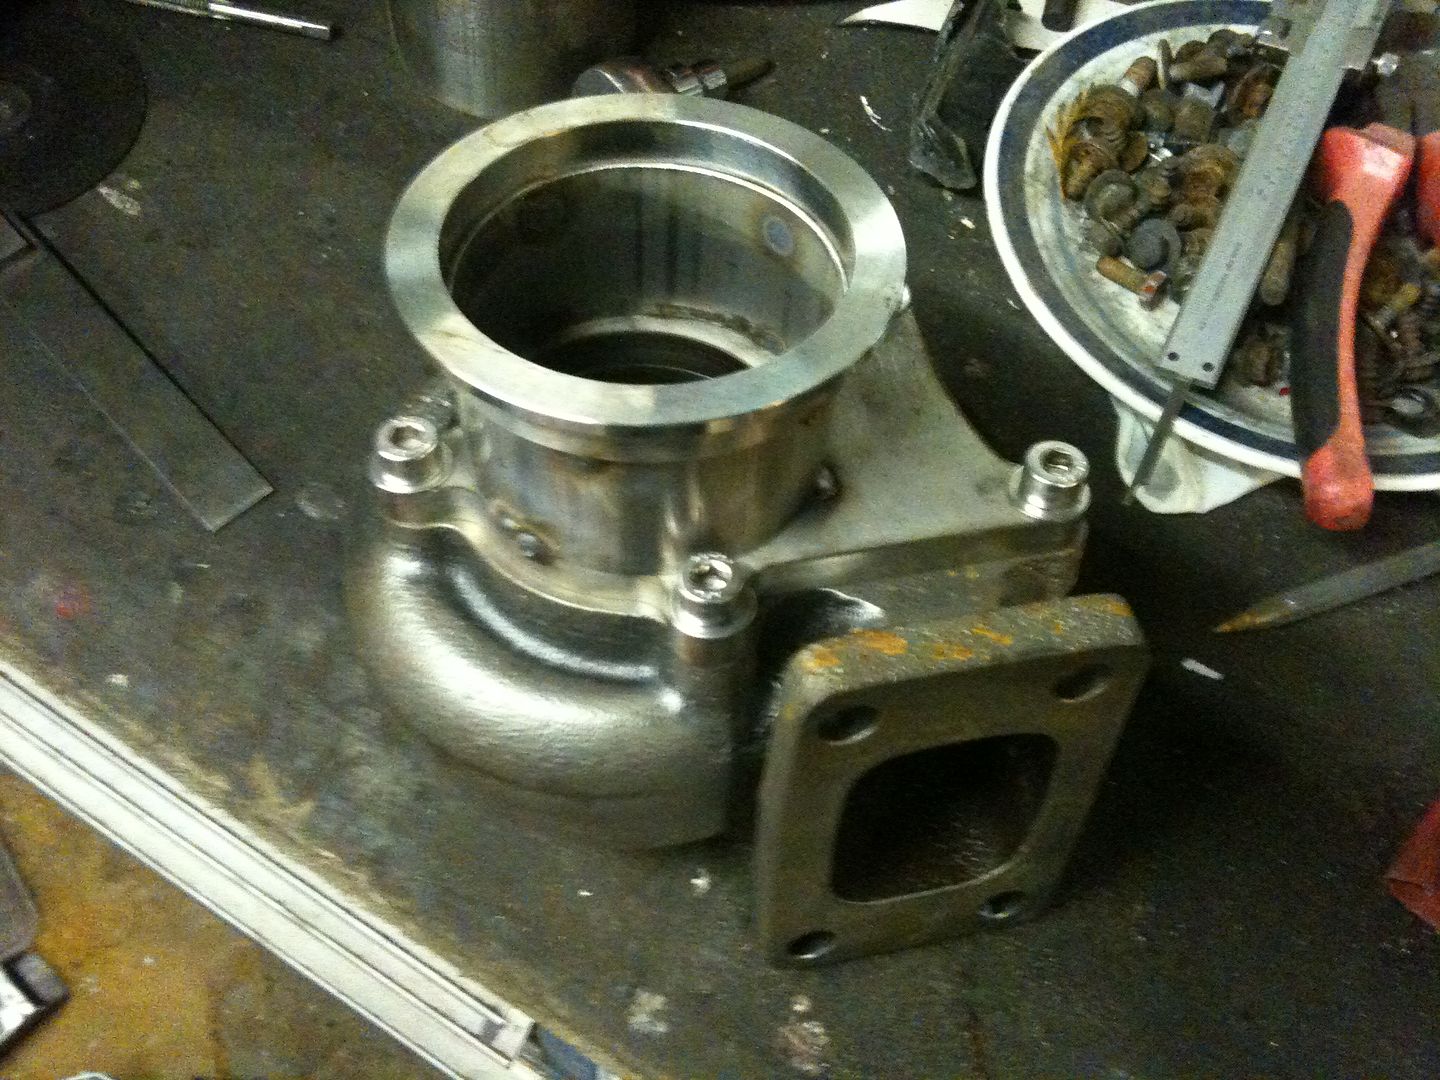
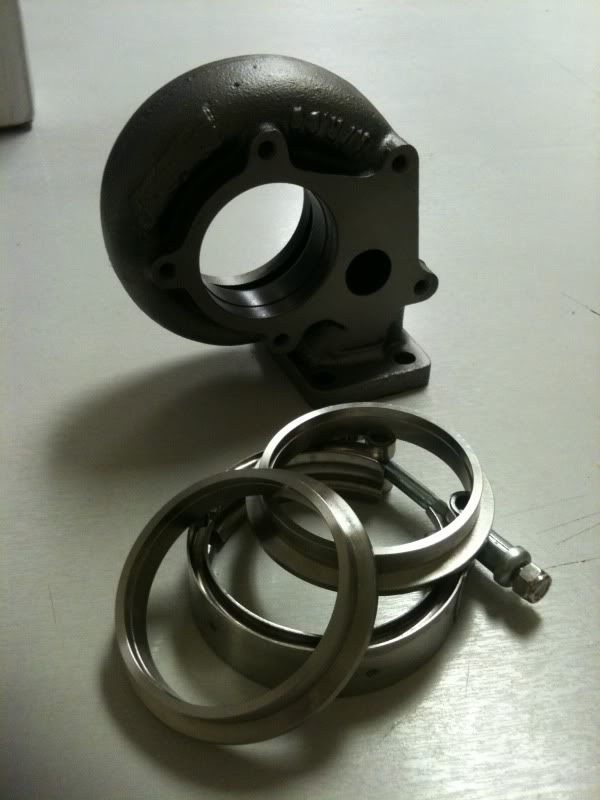
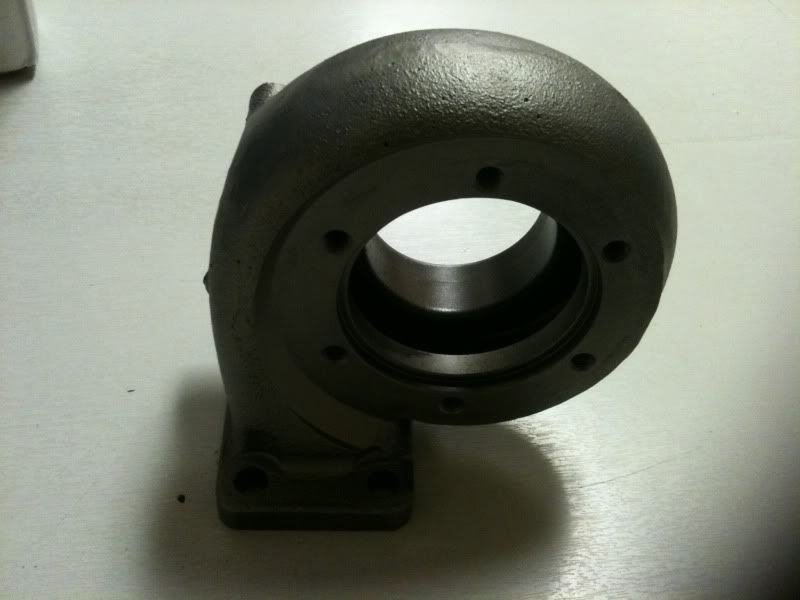
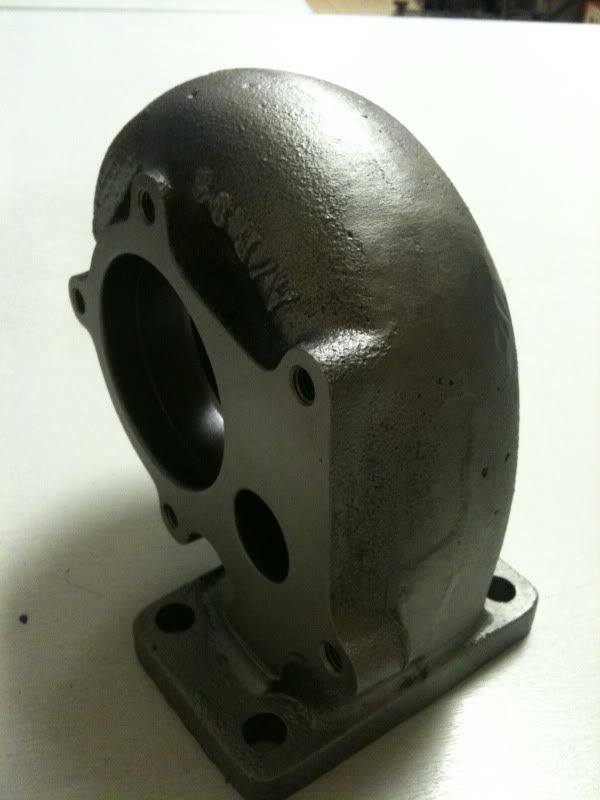
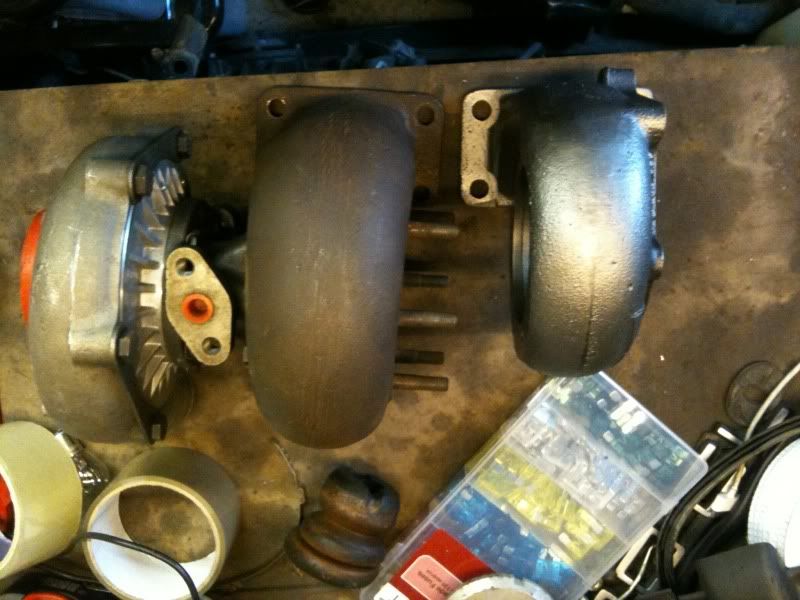
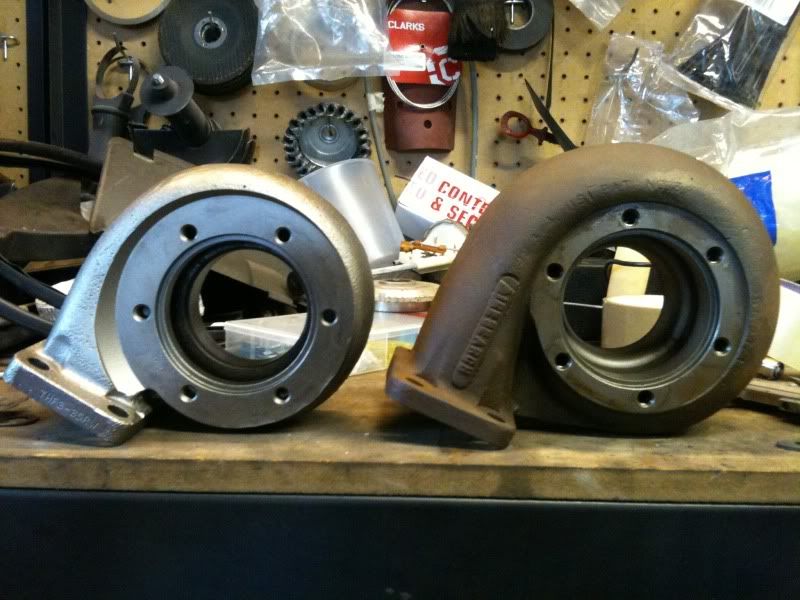
Well i have been receiving lots of little parcels in the post!!!! :D I have bought a .63 housing to suit a GT35 wheel which will make the turbo more usable. And 3" V band kit to use with.
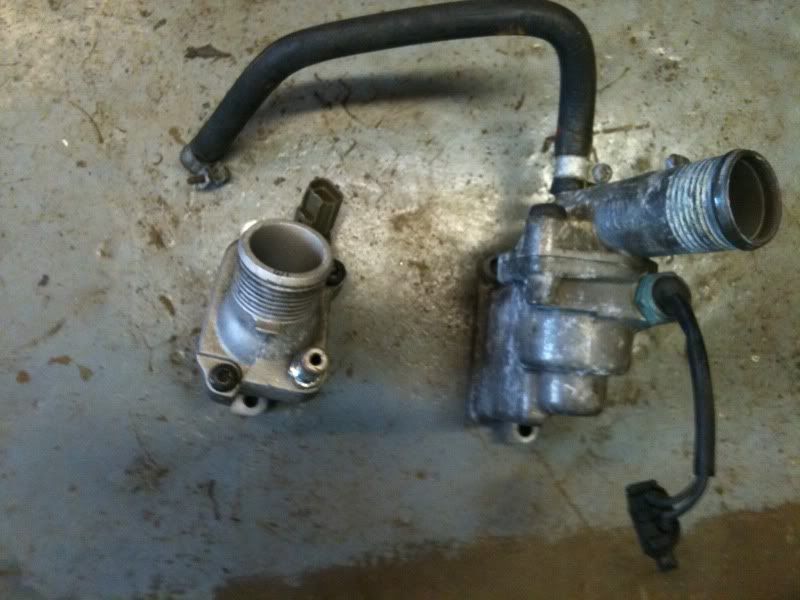
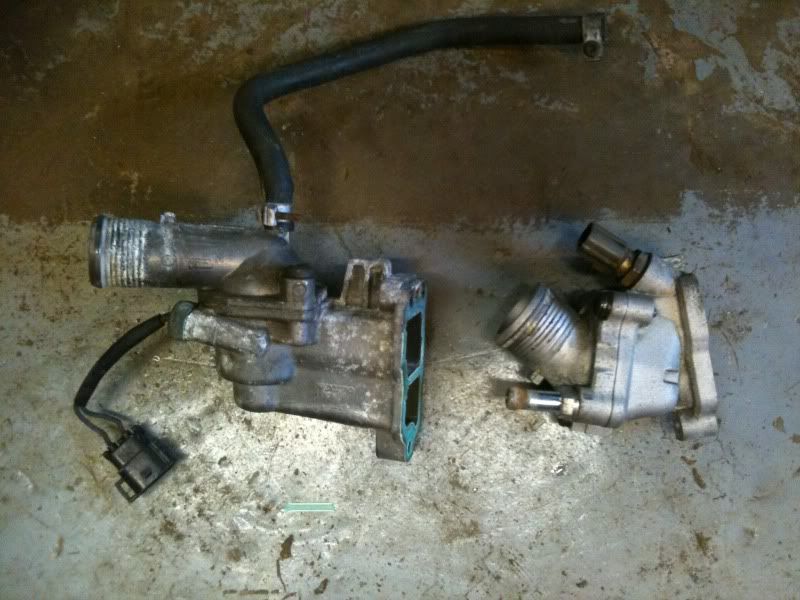
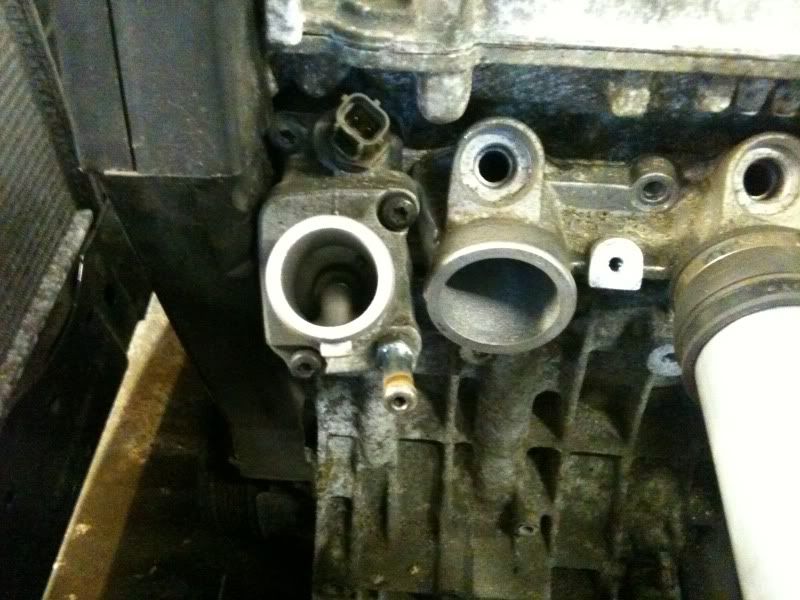
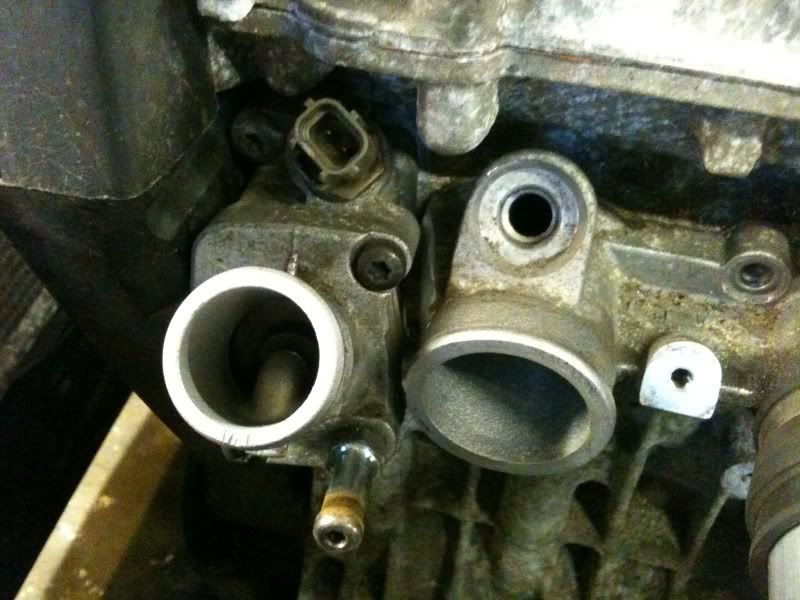
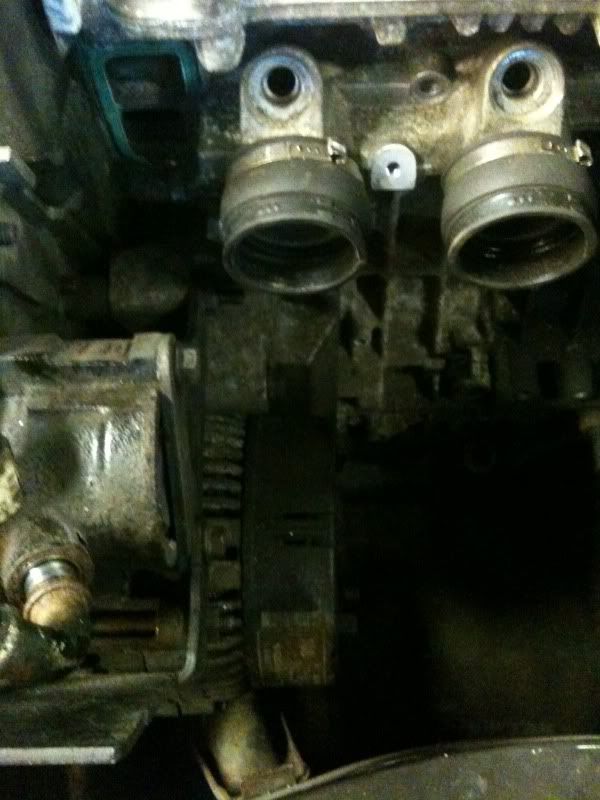
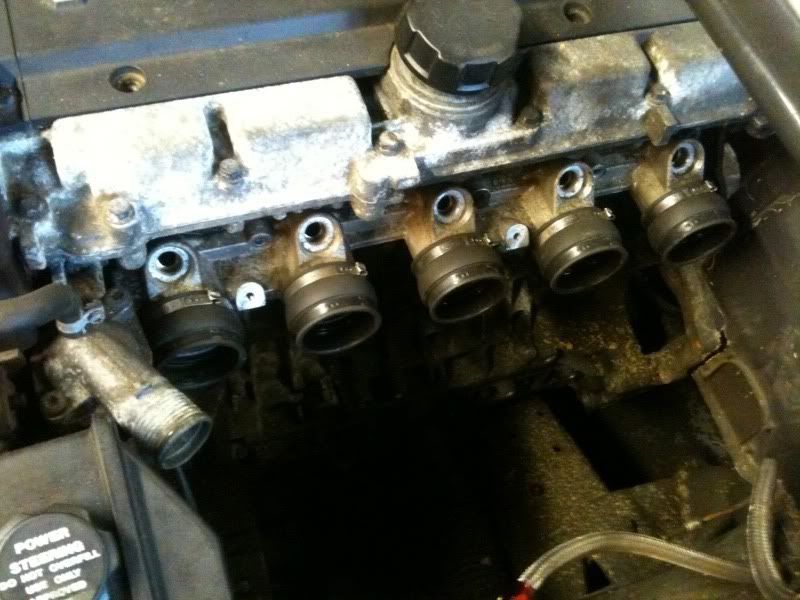
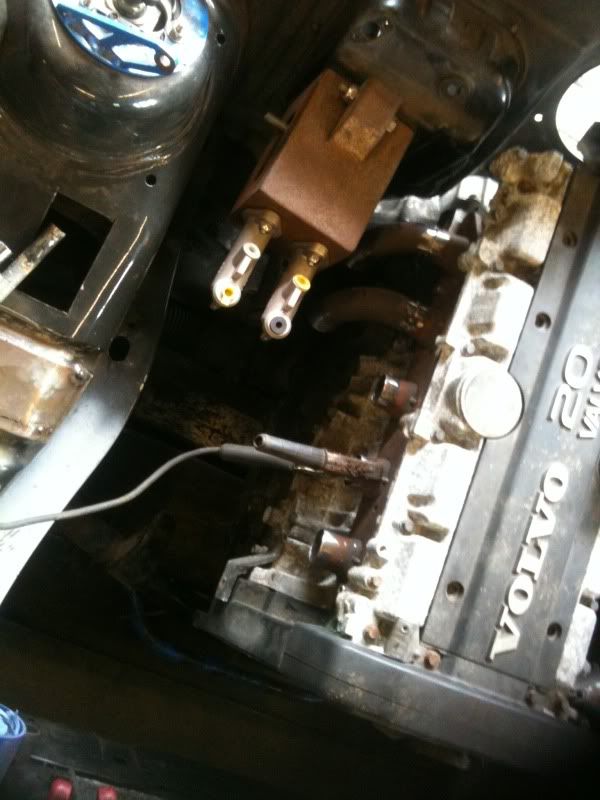
I have also switched the thermostat housing to a 2001 onwards one to gain some engine bay space. and Manifold space.
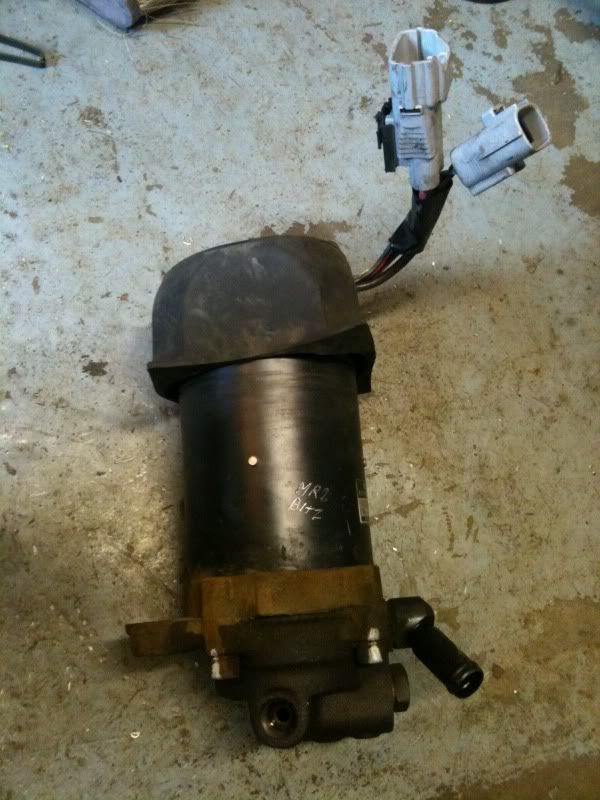
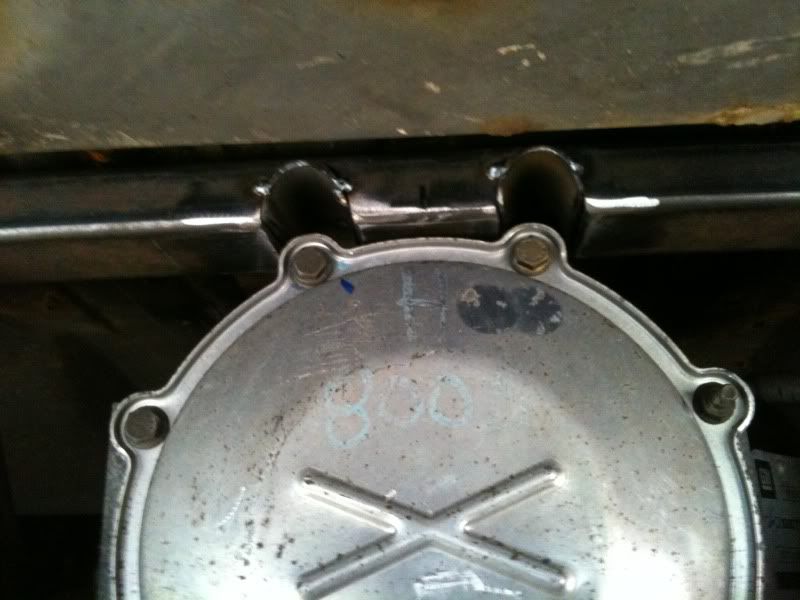
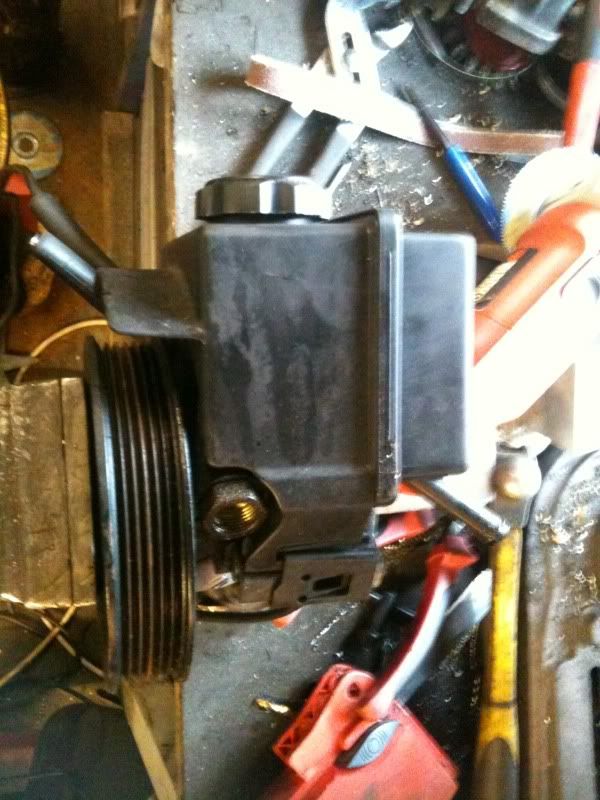
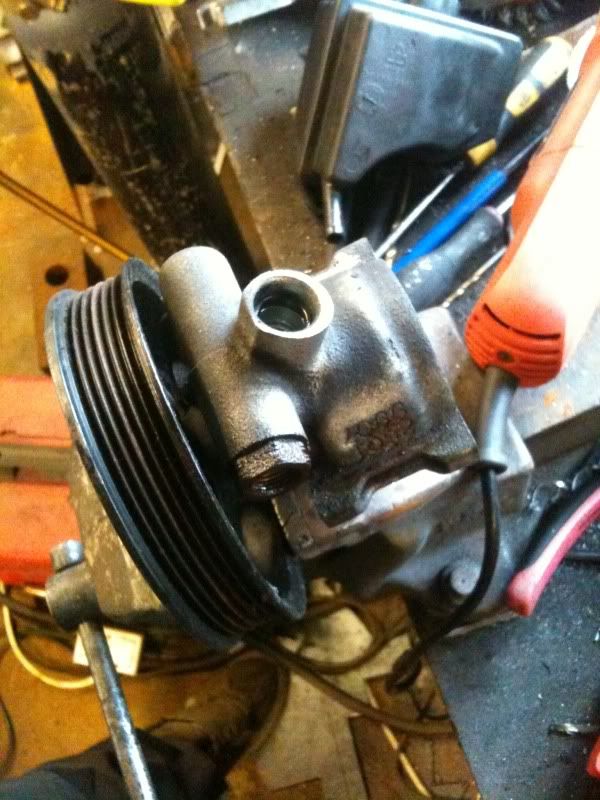
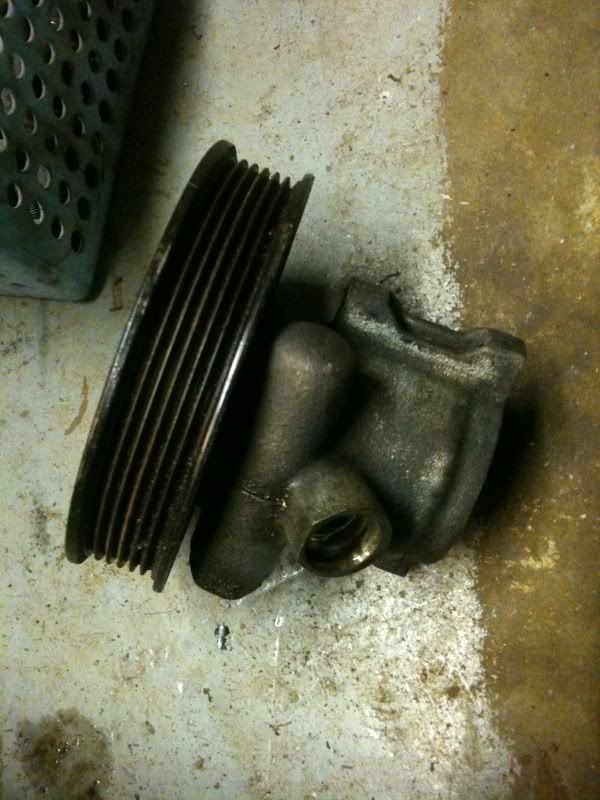
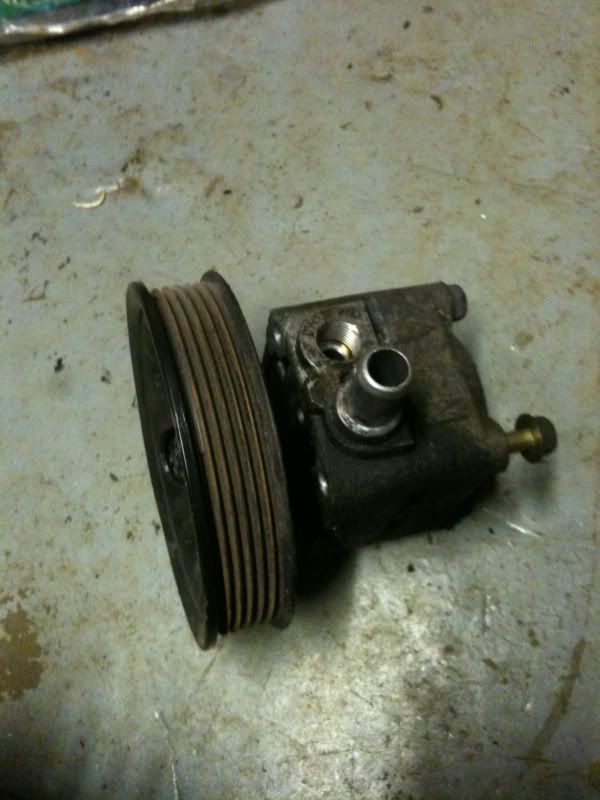
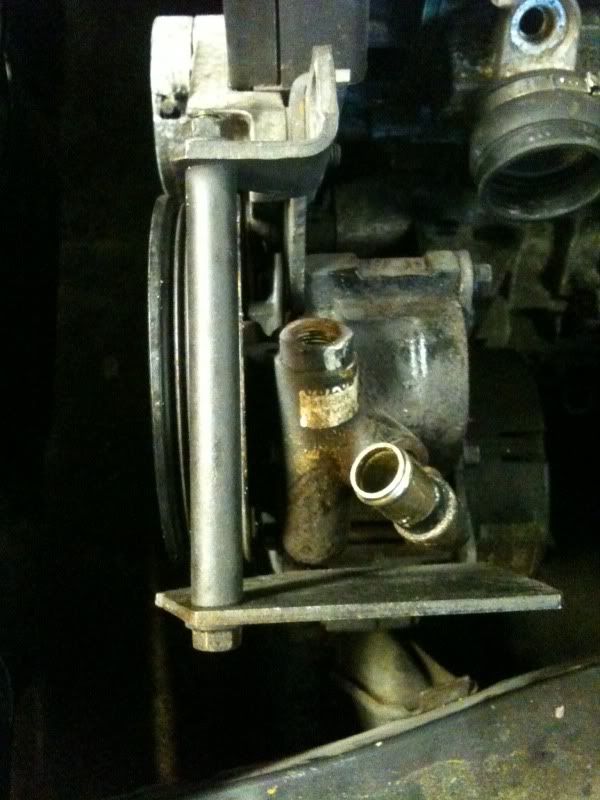
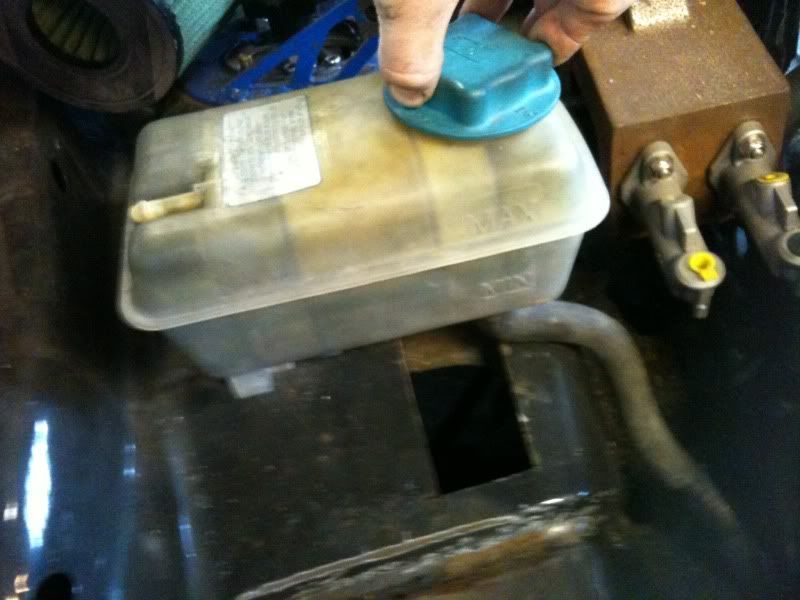
I was trying to gain some more space by switching in different PAS pumps and in doing so found that when i removed the resevoir from the 850 one it looked nealry identical to an S40 T4 one which it turned out to be made from the same pump casting. So if anyone is having the problem of the resevoir on teh 850 pump catching the end of an ME7 manifold switch in an S40 pump.
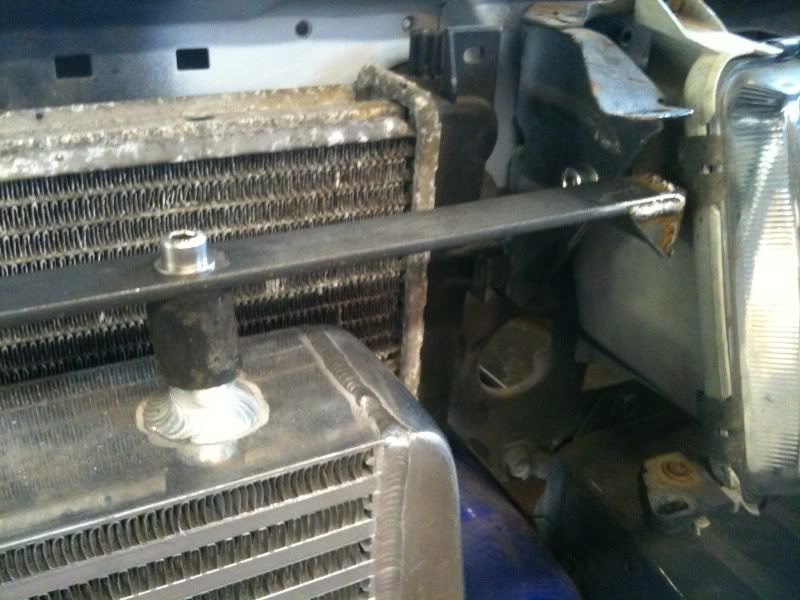
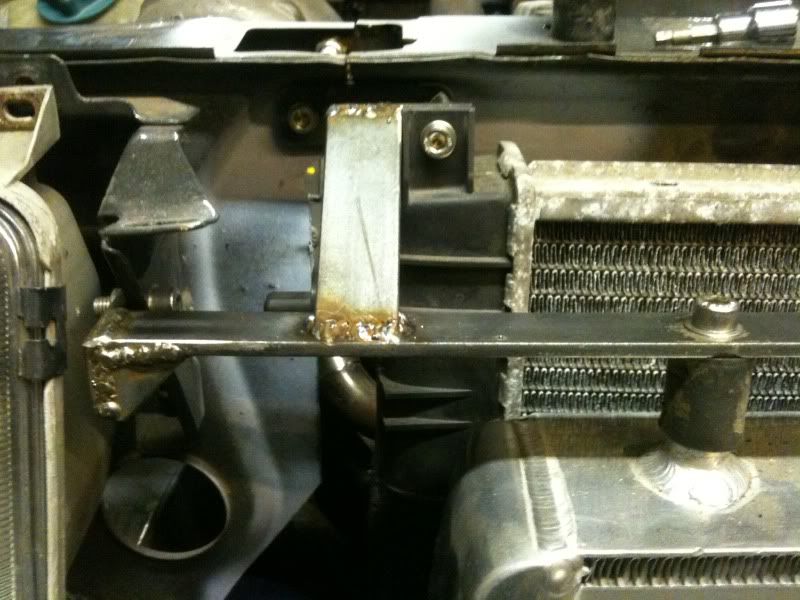
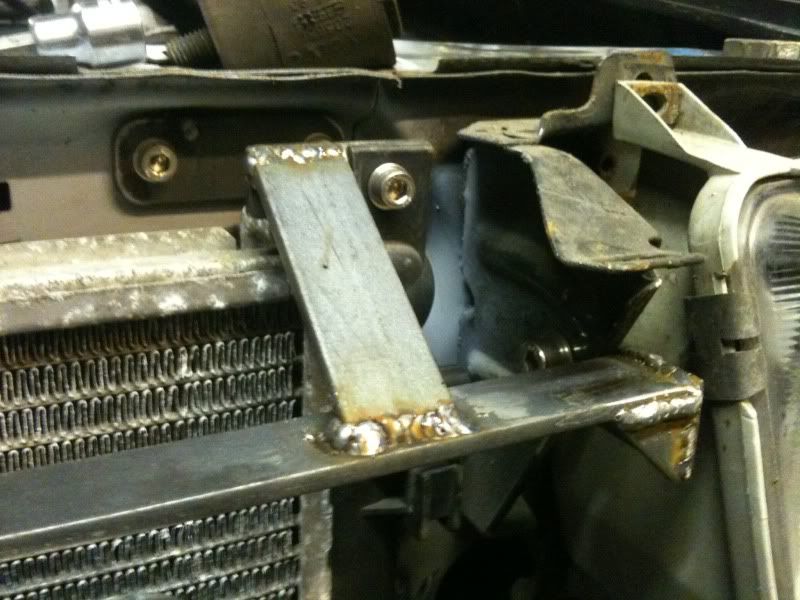
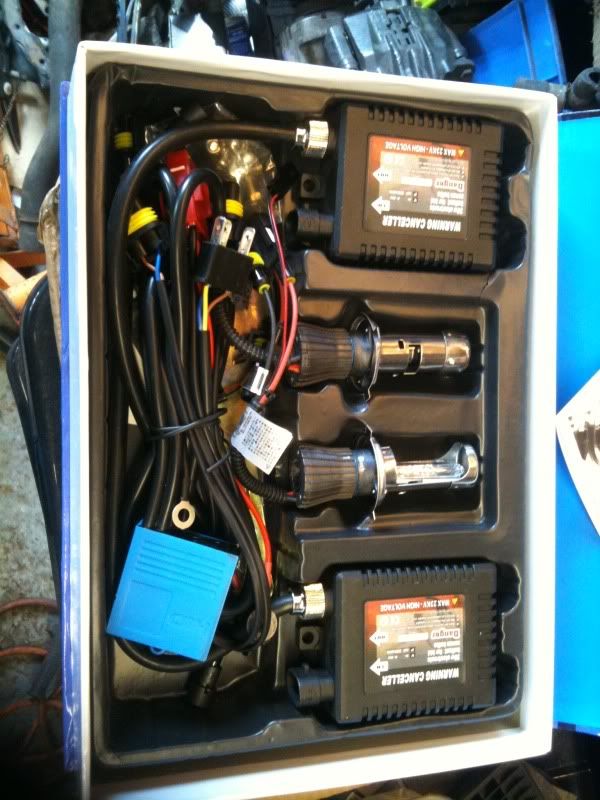
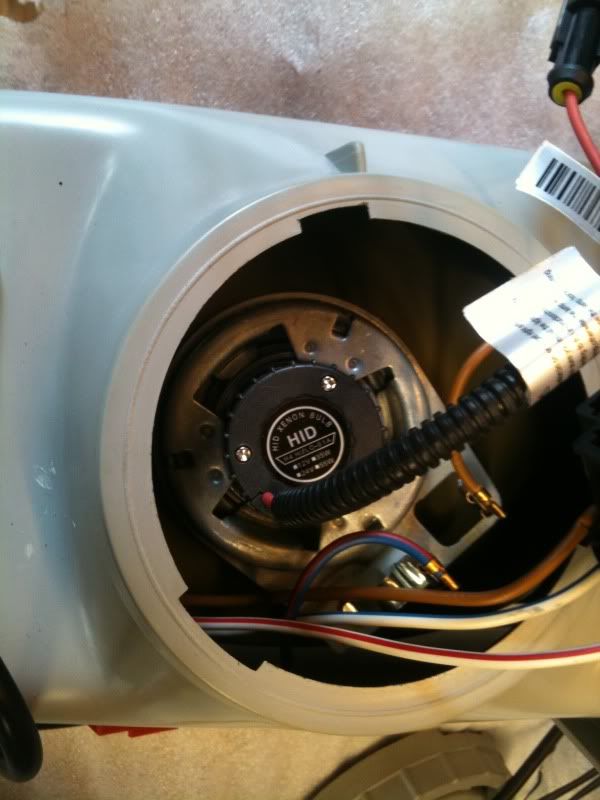
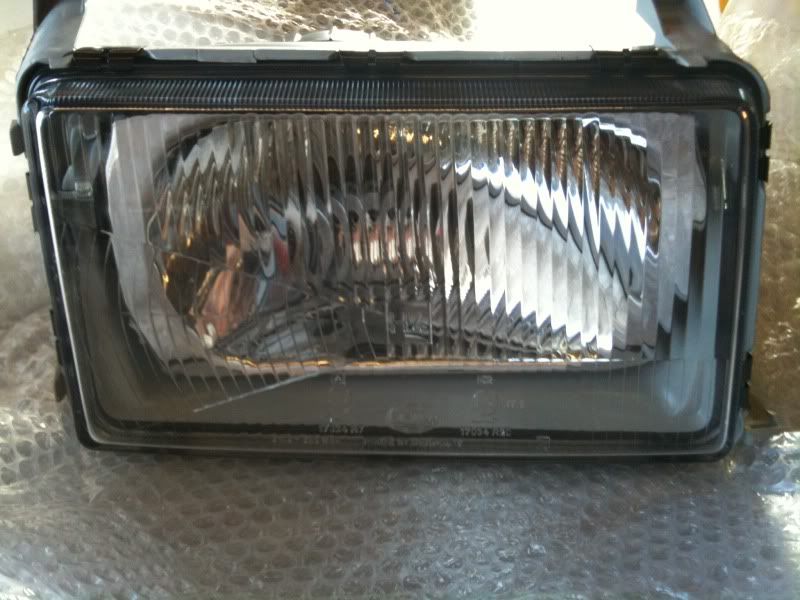
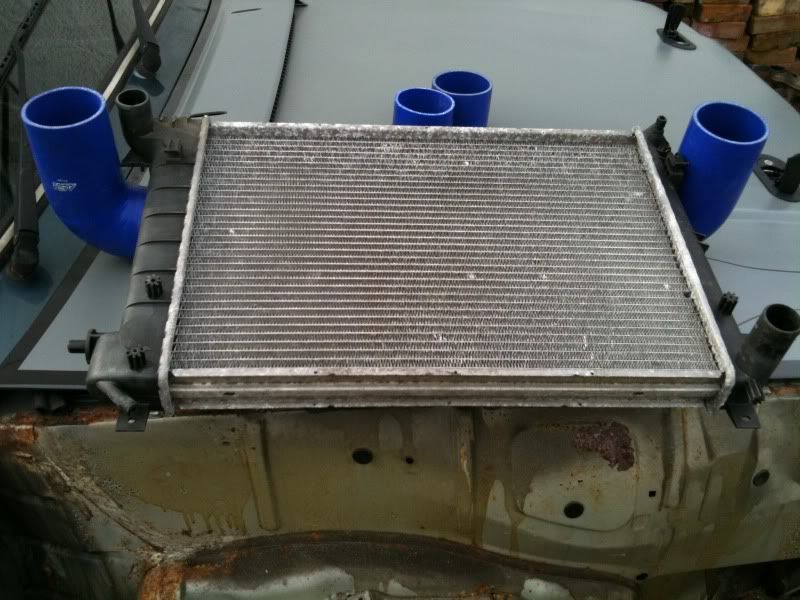
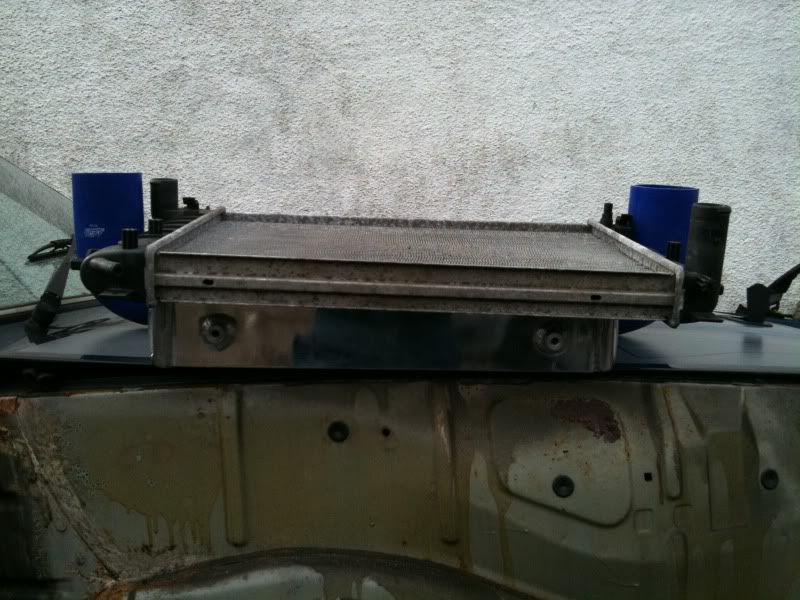
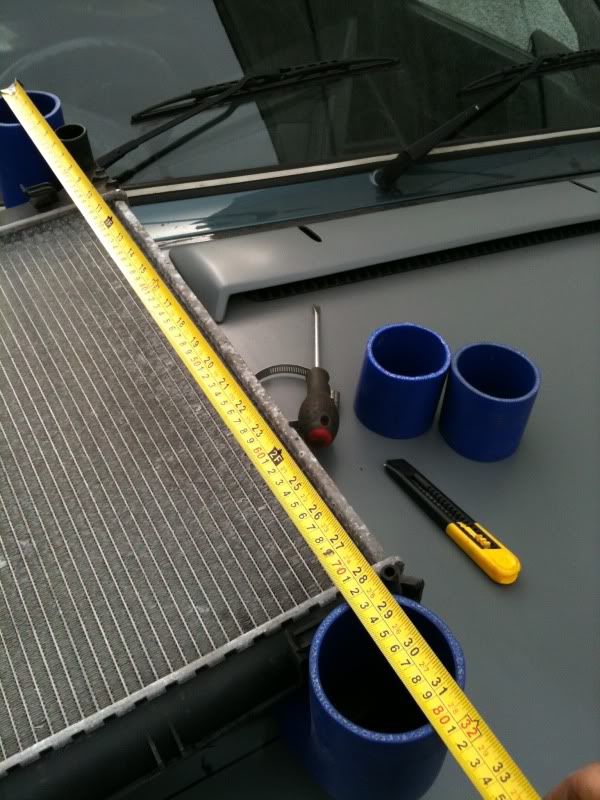
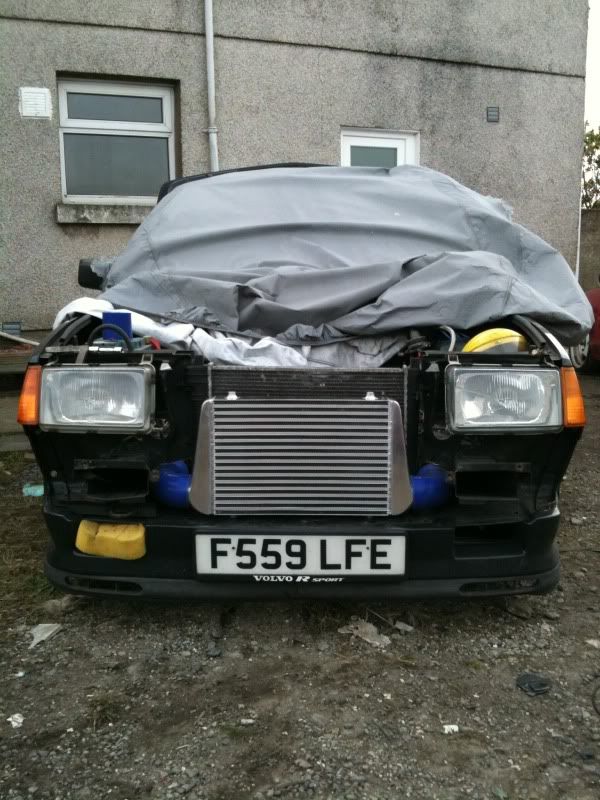
I also finished up the intercooler and radiator mount brackets. And switched a HID kit into the headlights which works amazingly well with full switched hi/lo beams.
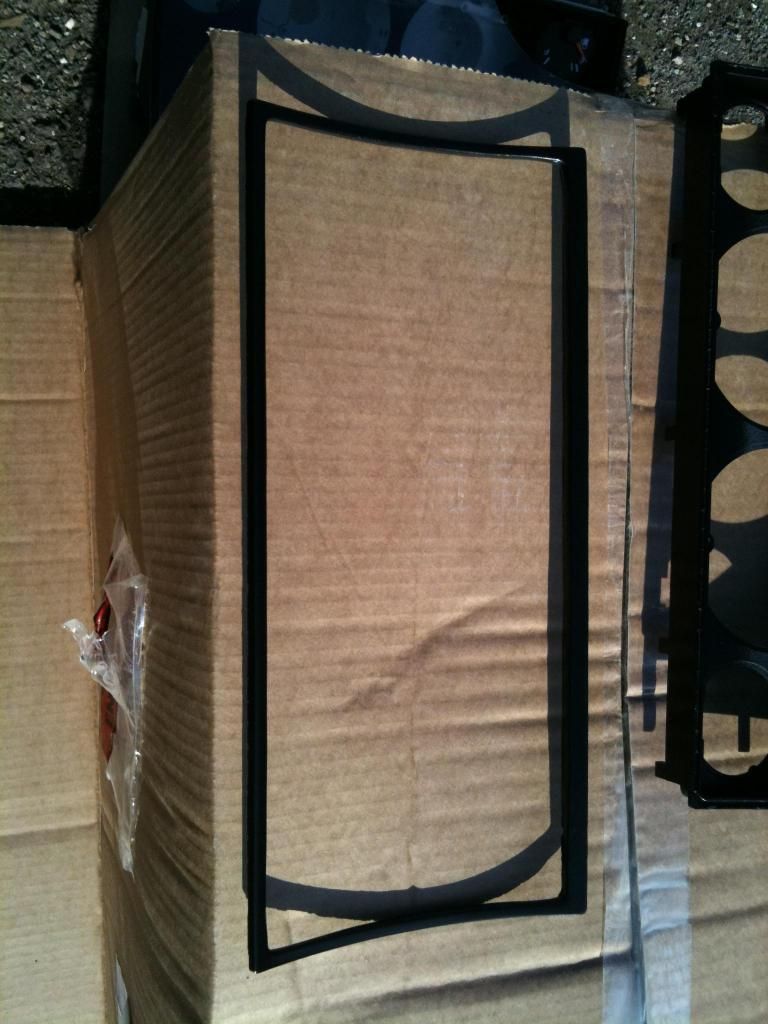
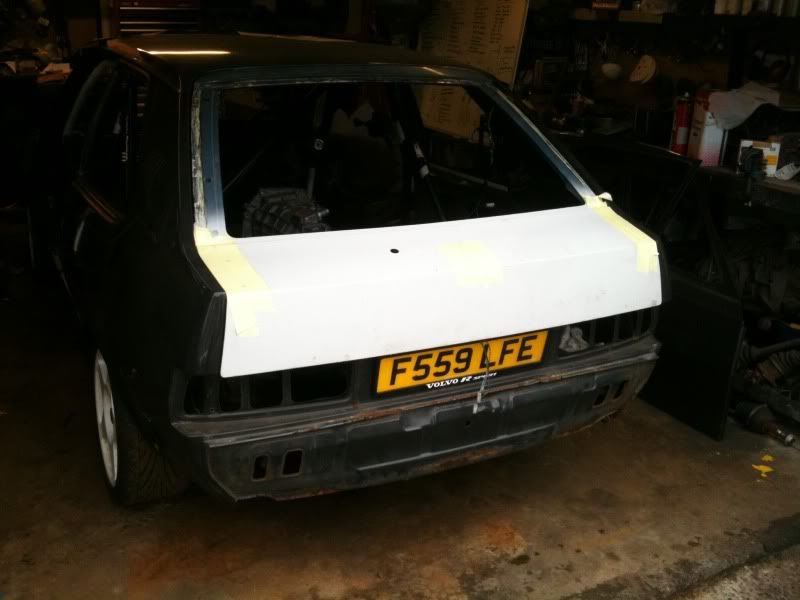
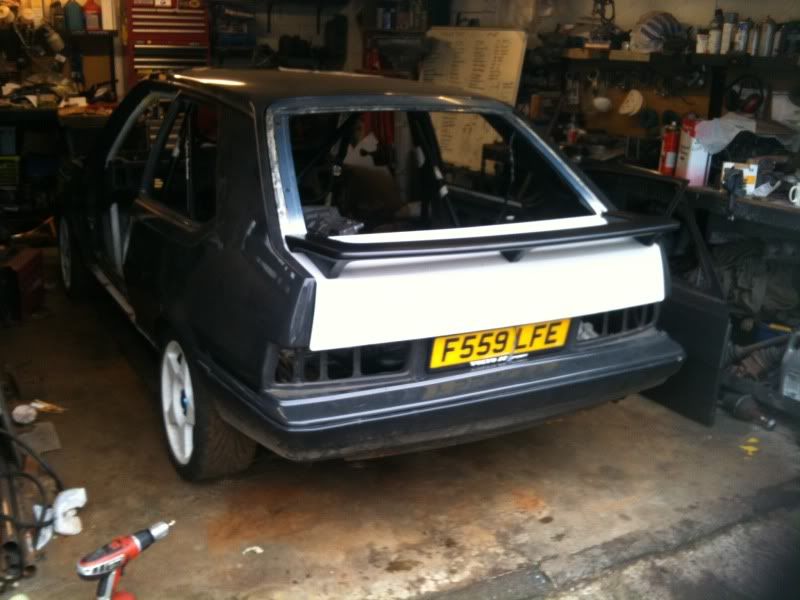
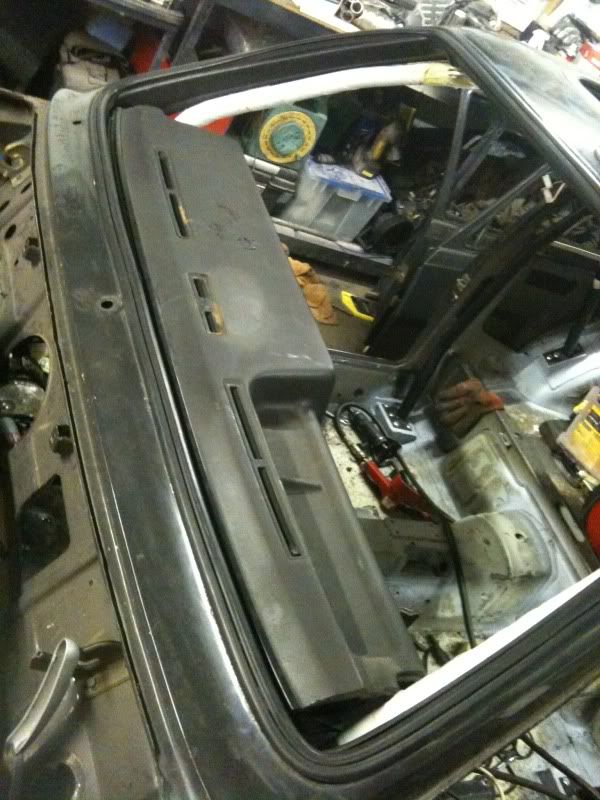
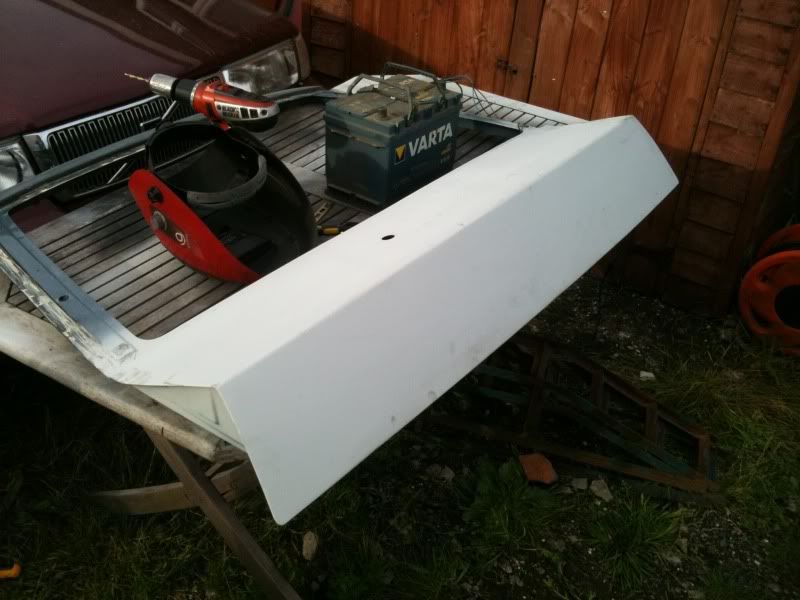
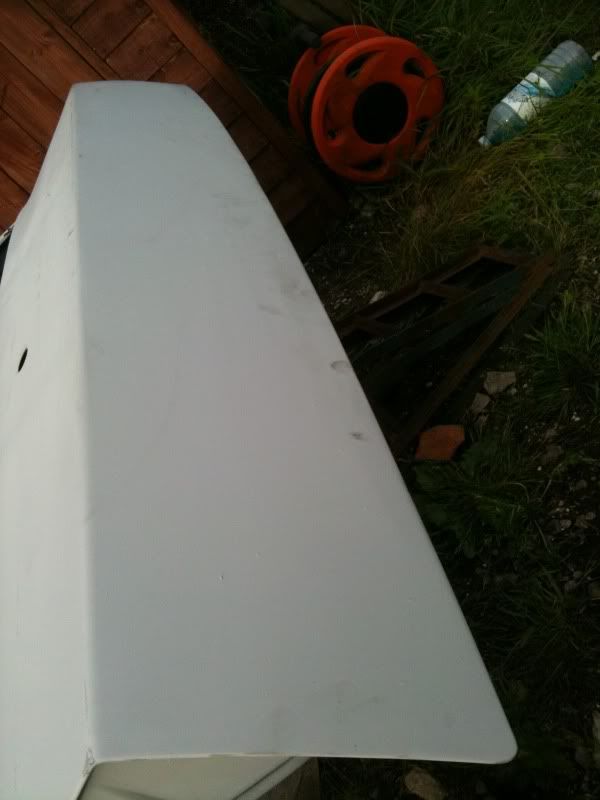
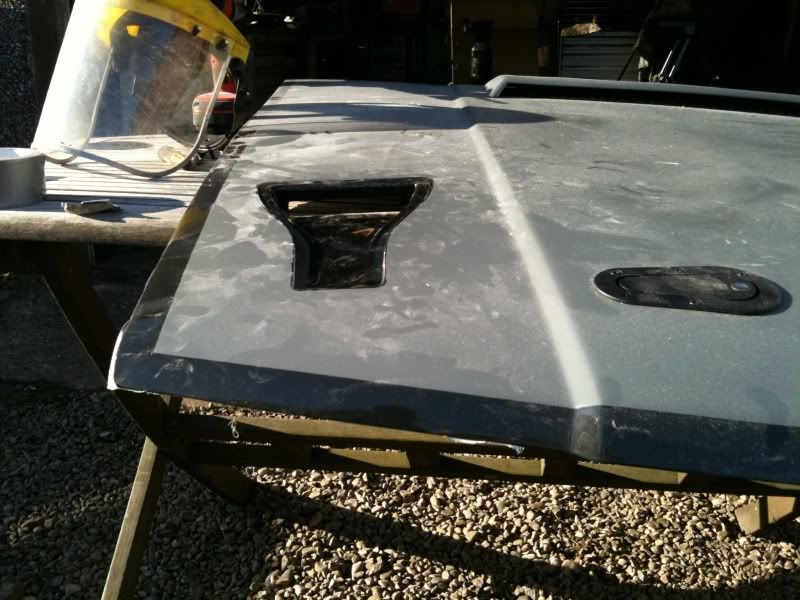
I had to remove the smoothed tailgate from its storage place so while i did i tried it on the car and drilled it for the spoiler. It should look good all smooth.
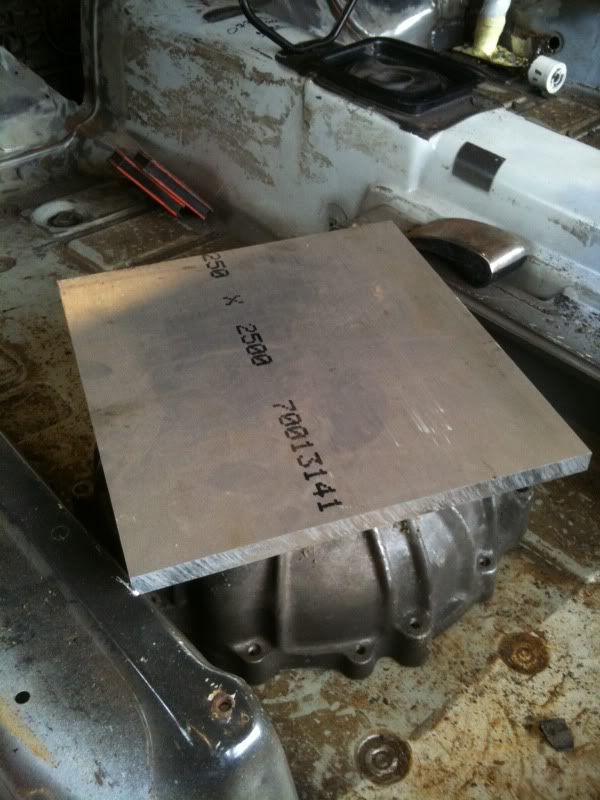
I bought a slab of 6082 to make my adapter plate too so tha has gone off to be machined.
Thats all for now.
Adam
-
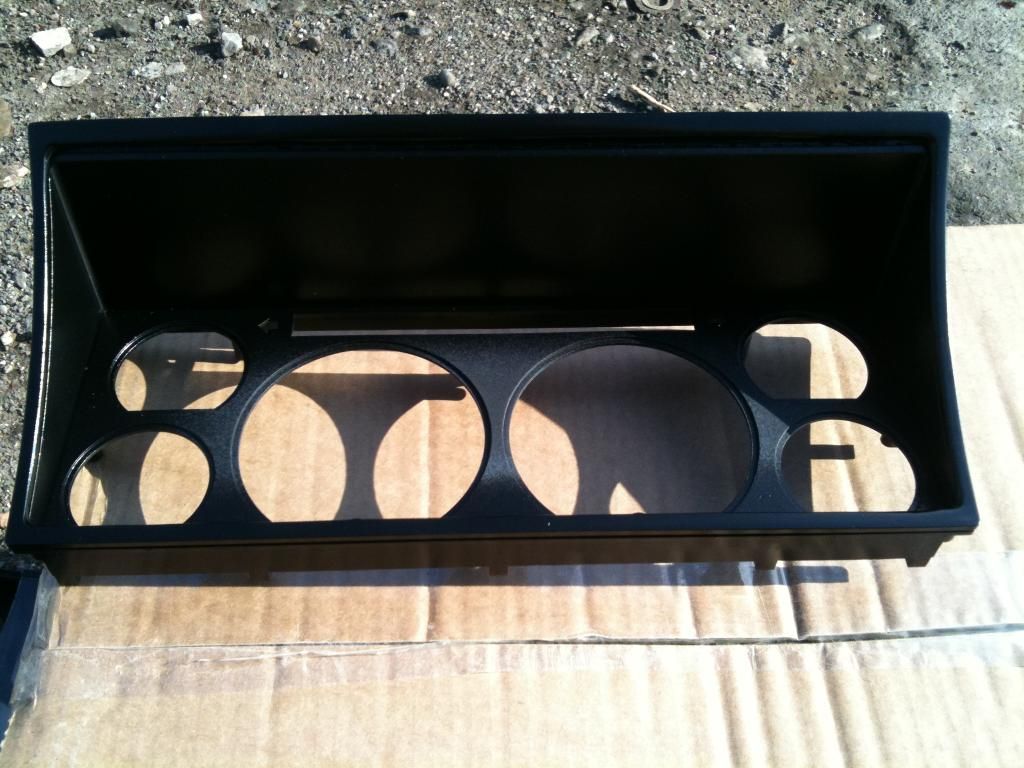
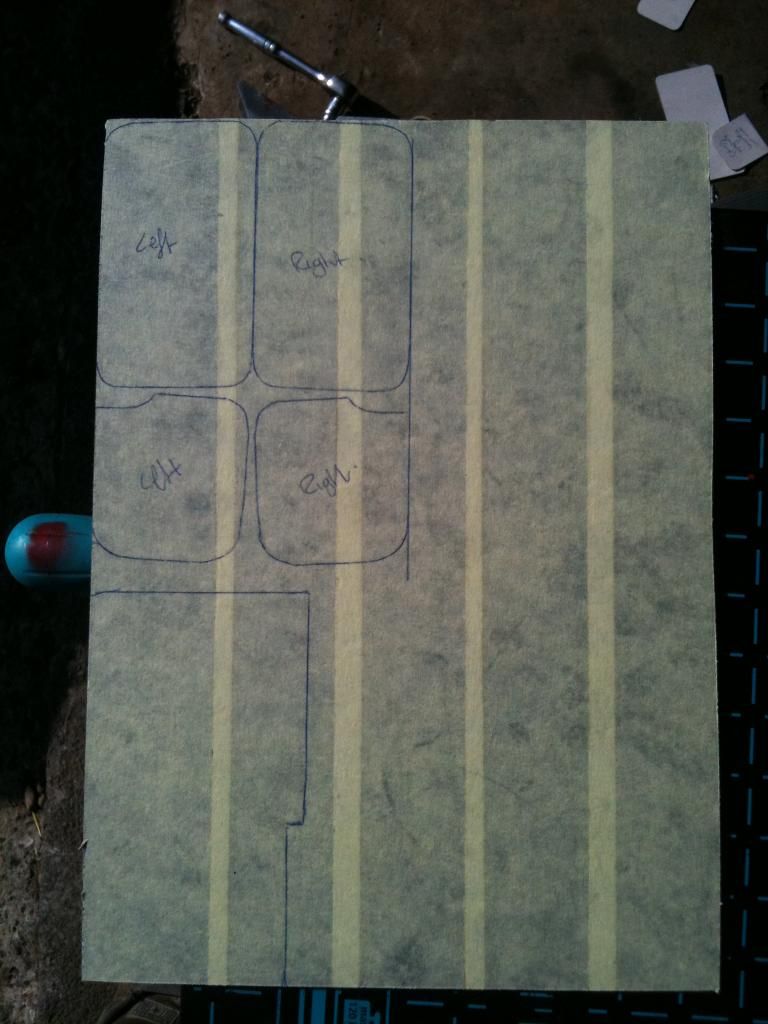
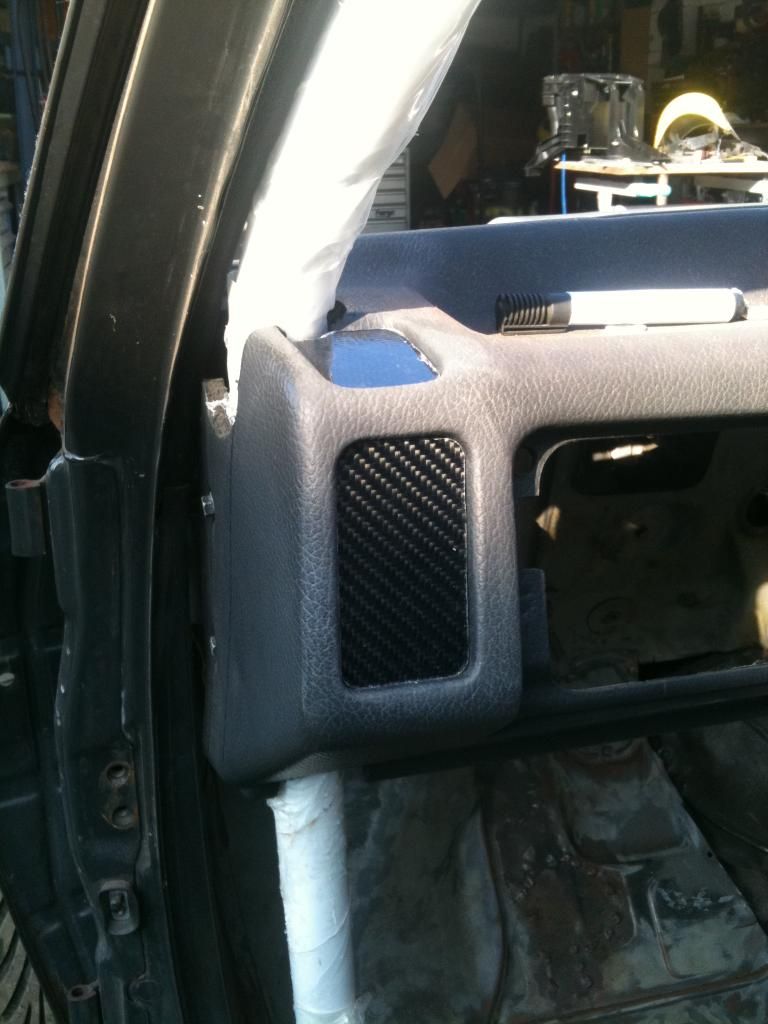
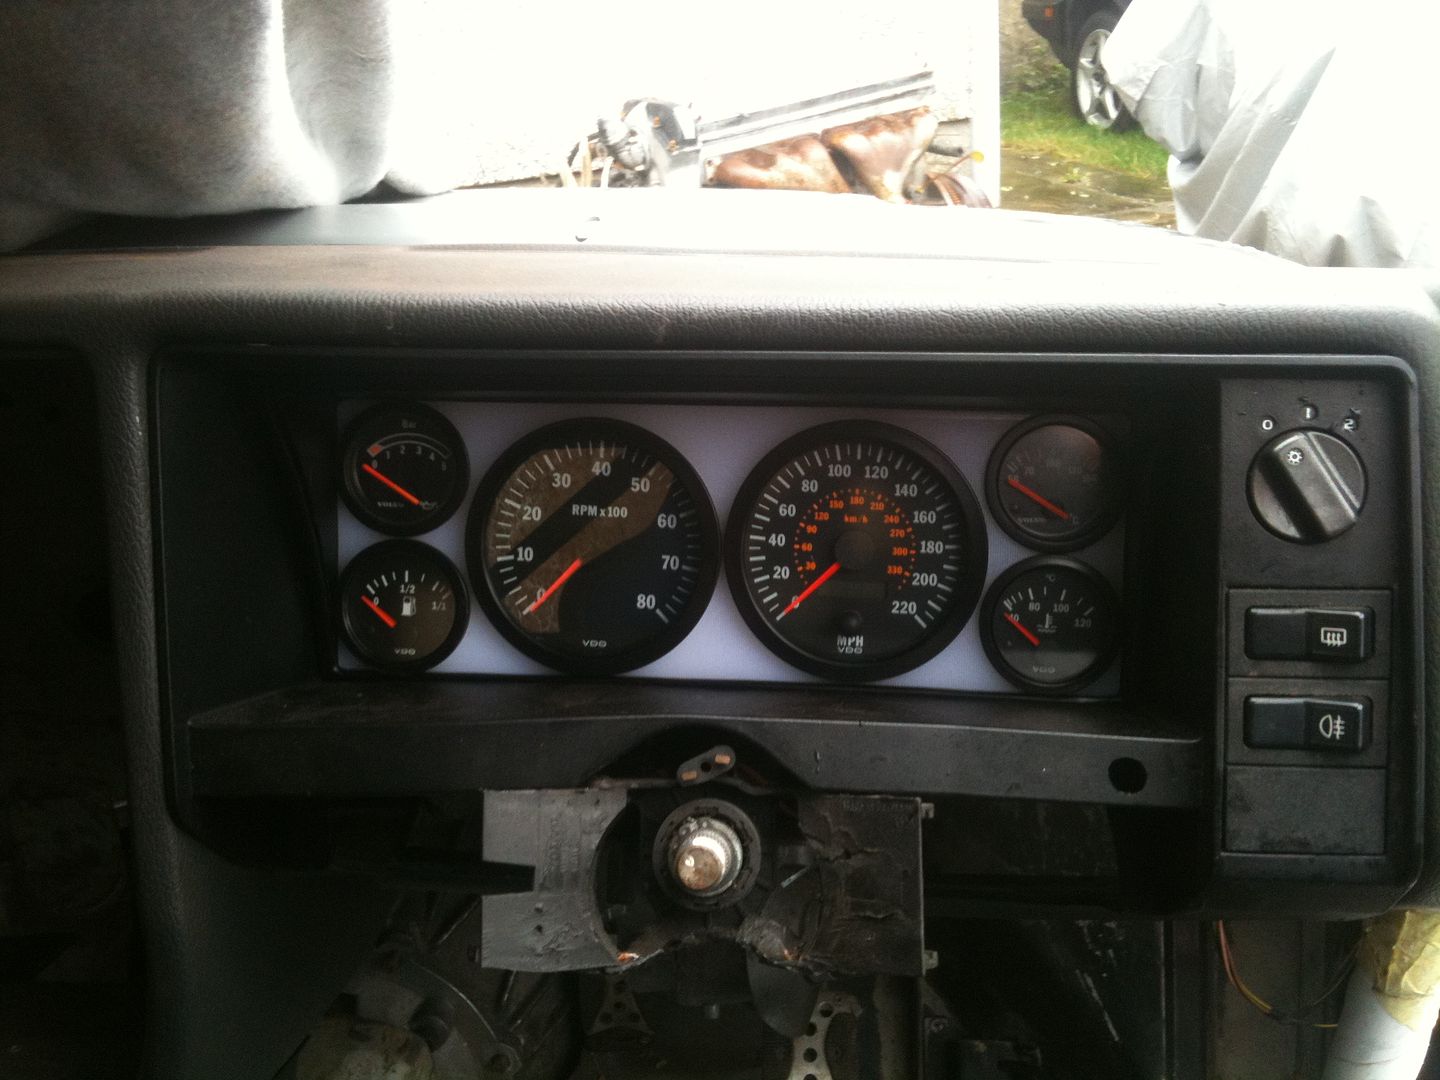
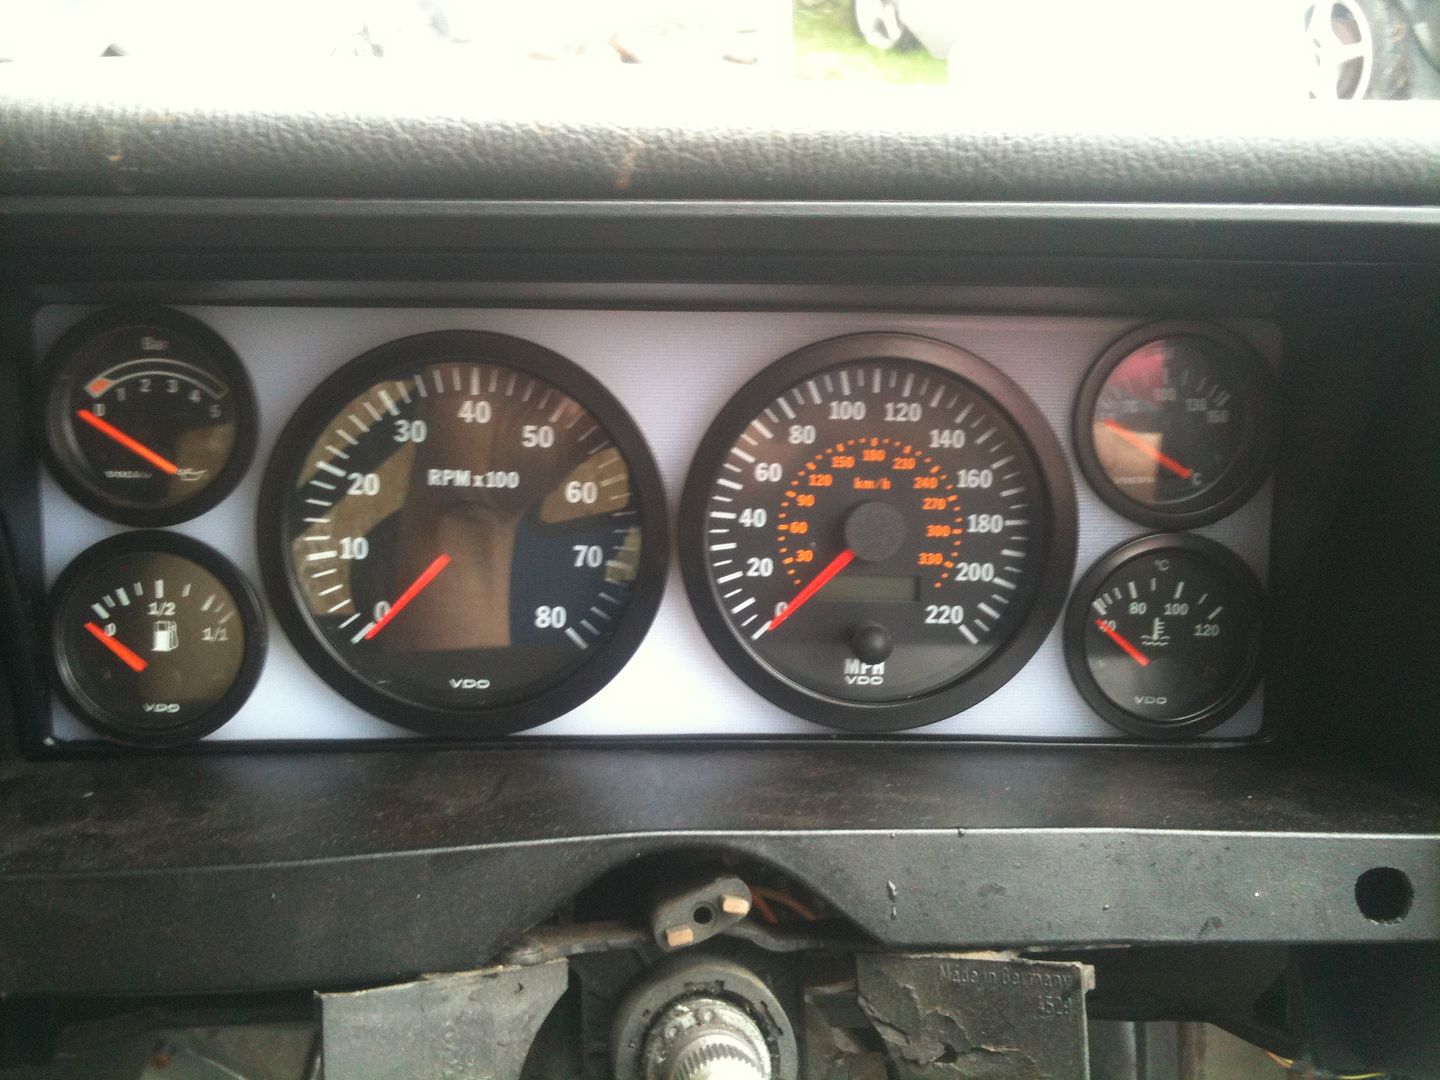
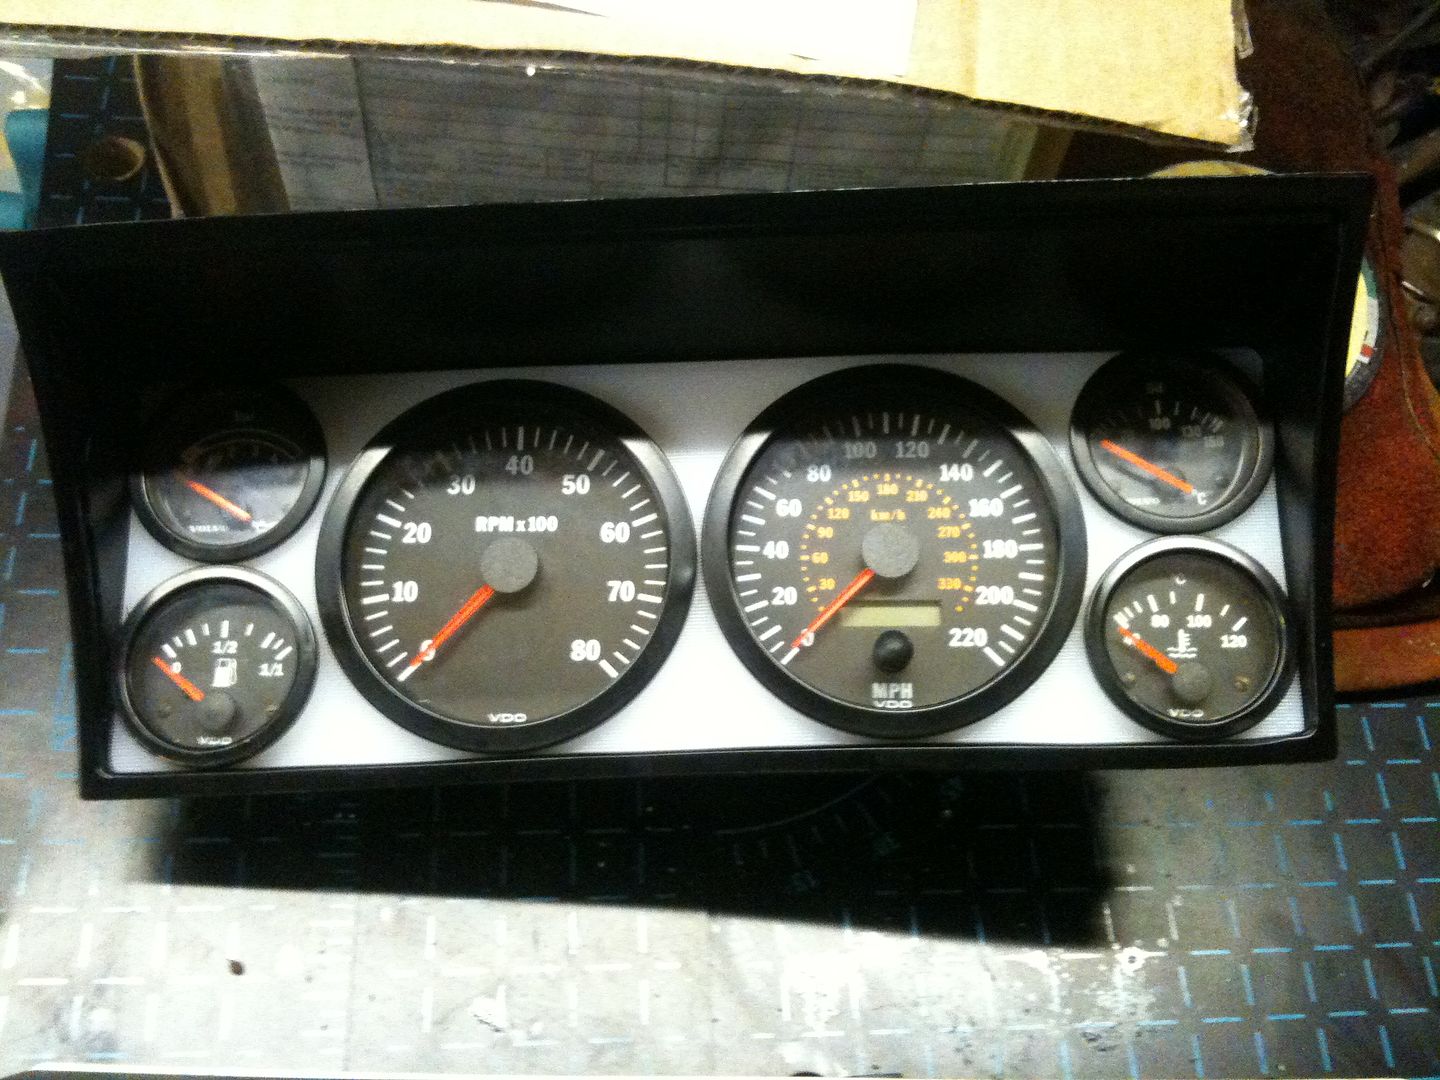
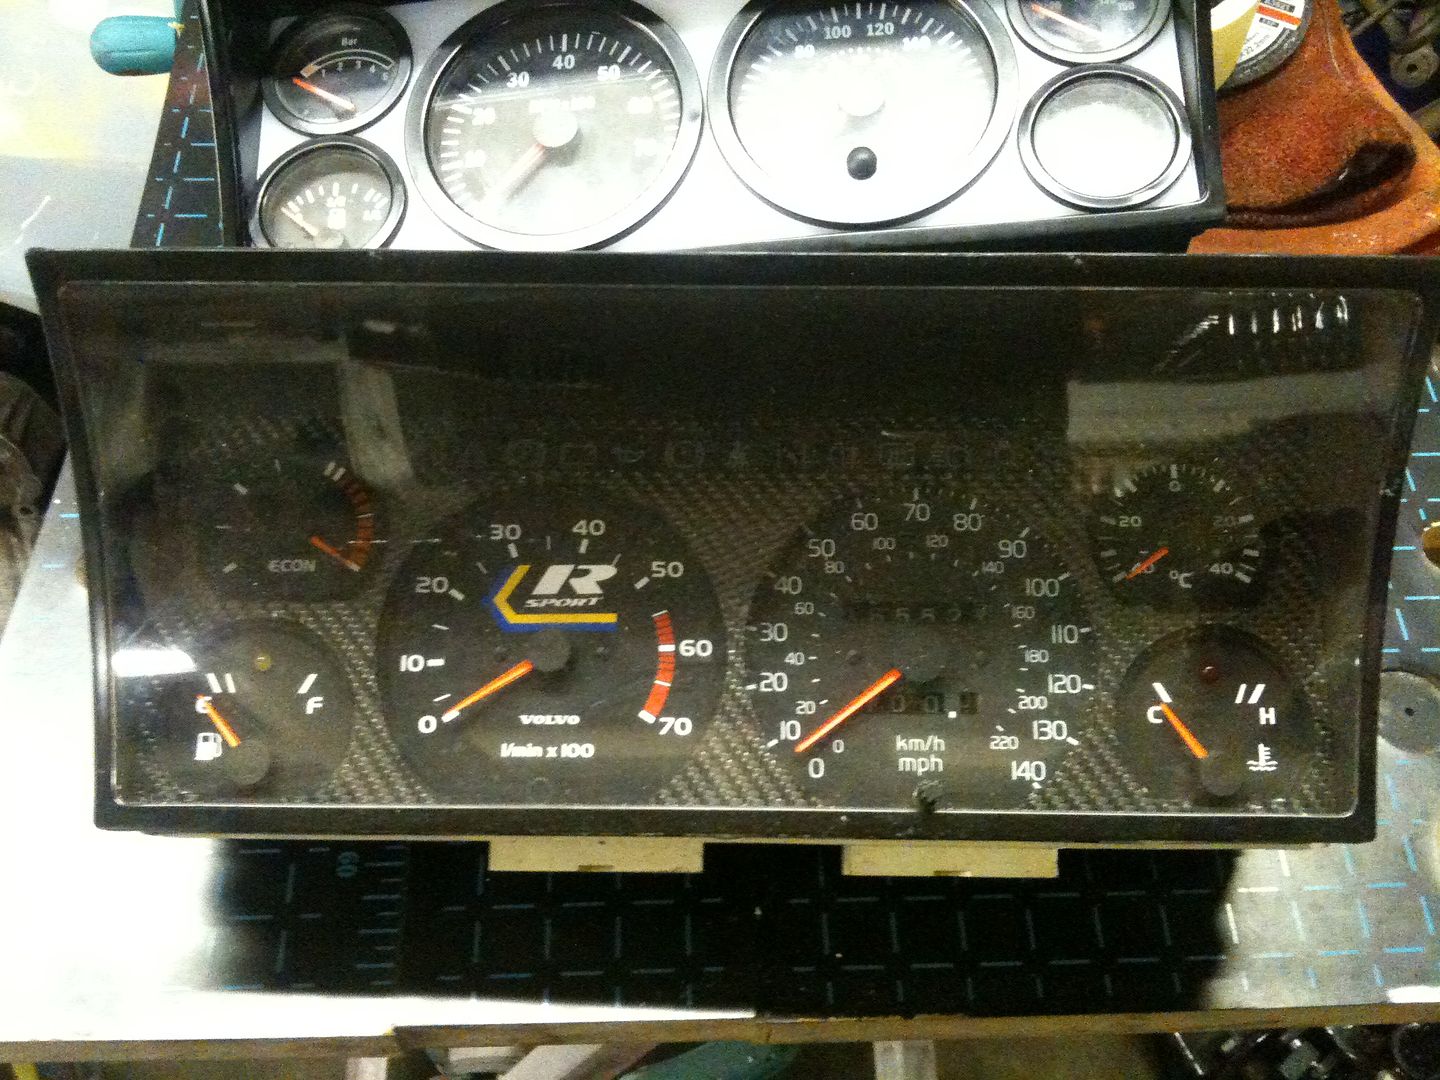
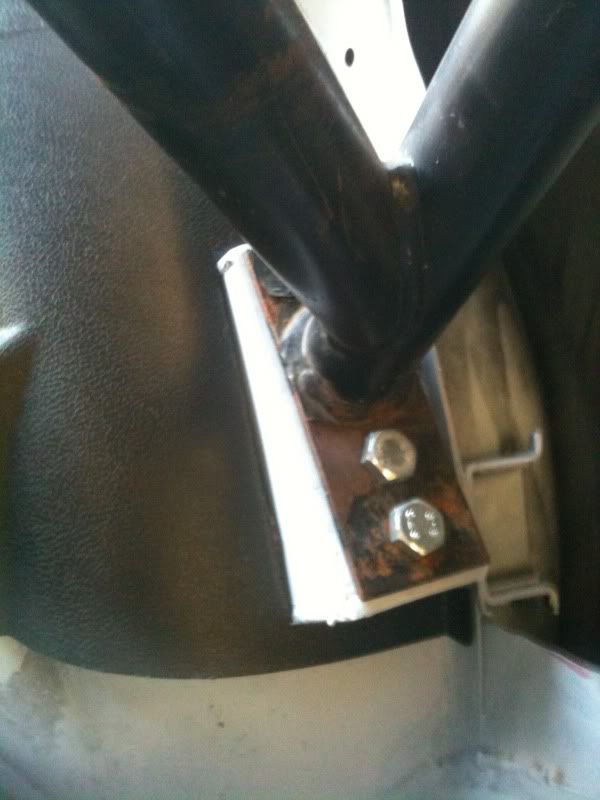
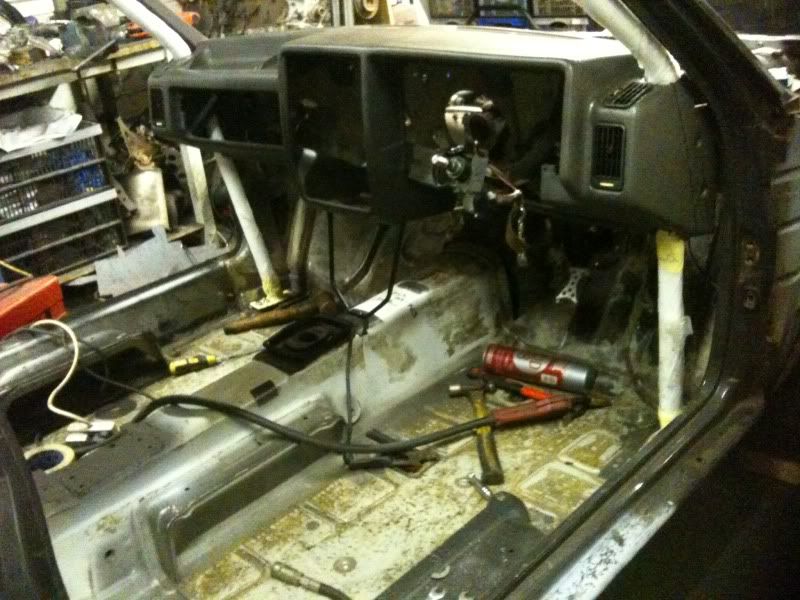
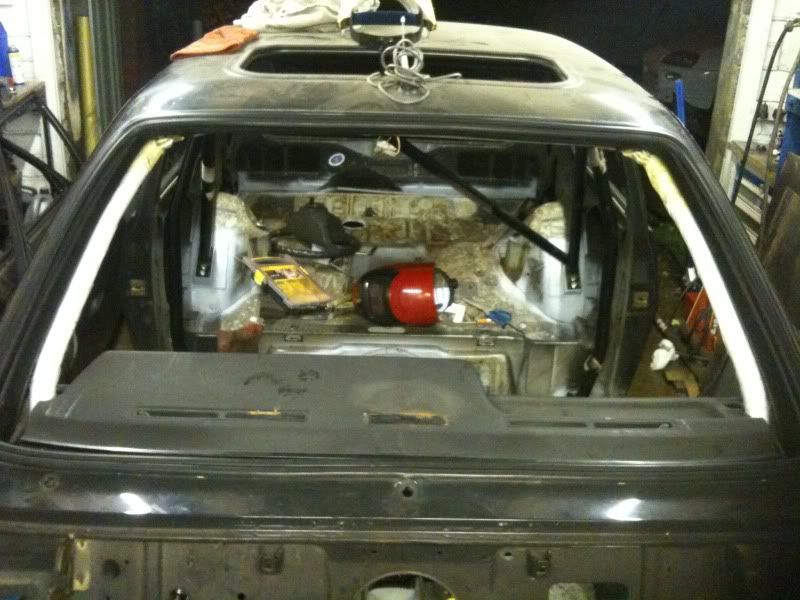
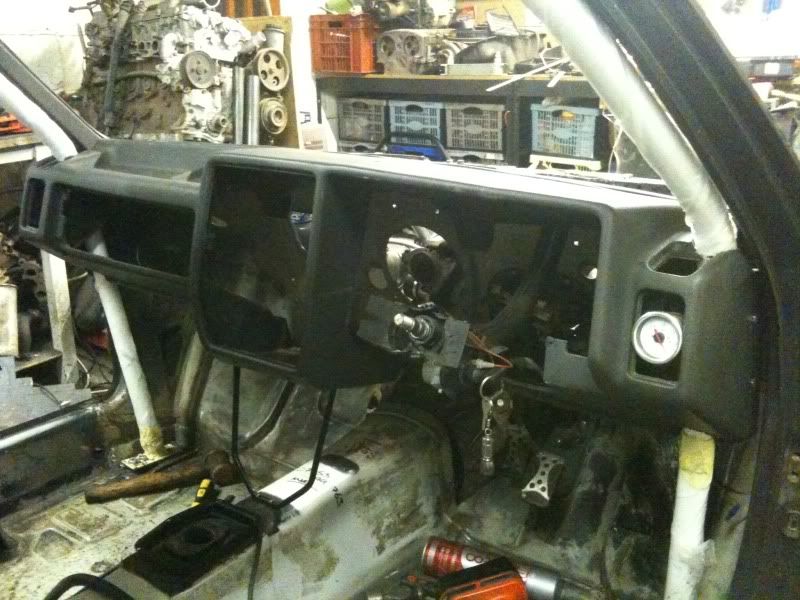
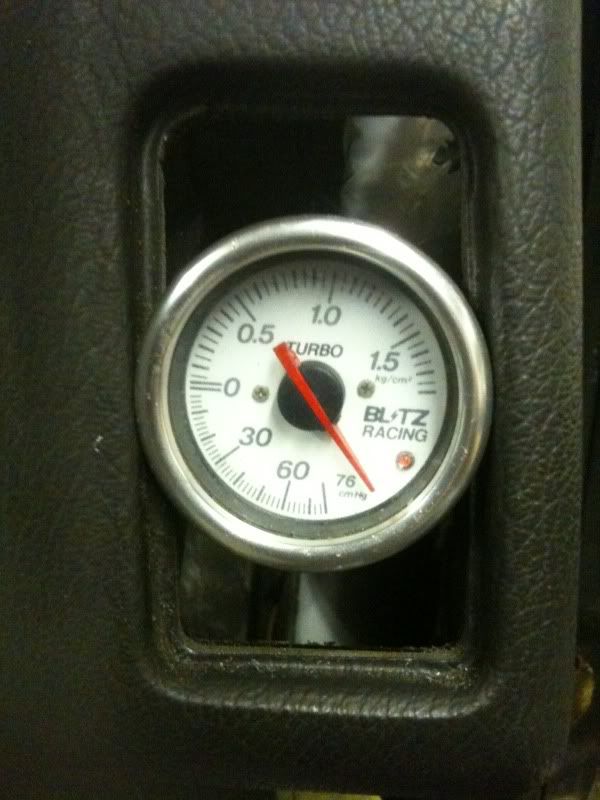
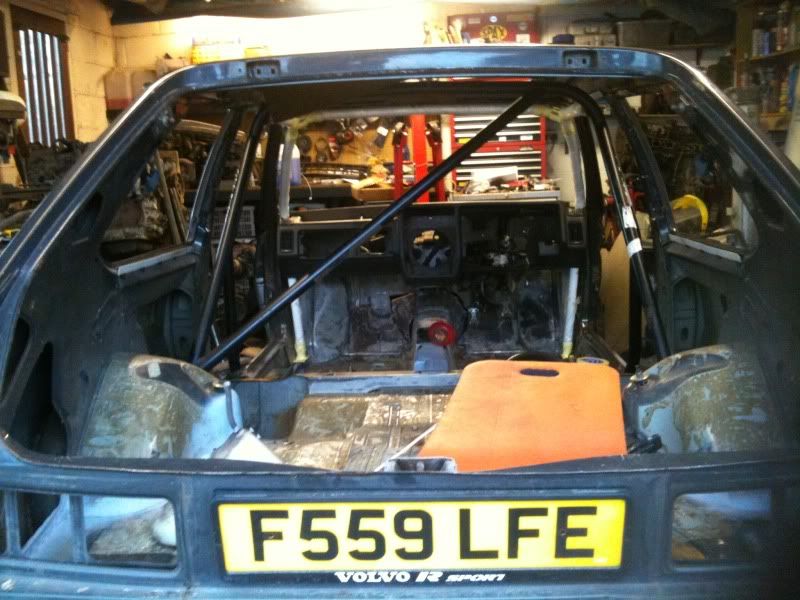
Cage is finally all in and dash has been cut to suit, so that can no go off to be flocked. Cage fits really well around all the door shuts and i can retain all the pillar trims which i wanted to do. That is partly why the cage has taken so long to fit. Although i lose the outer vents. So i relocated teh boost gauge.
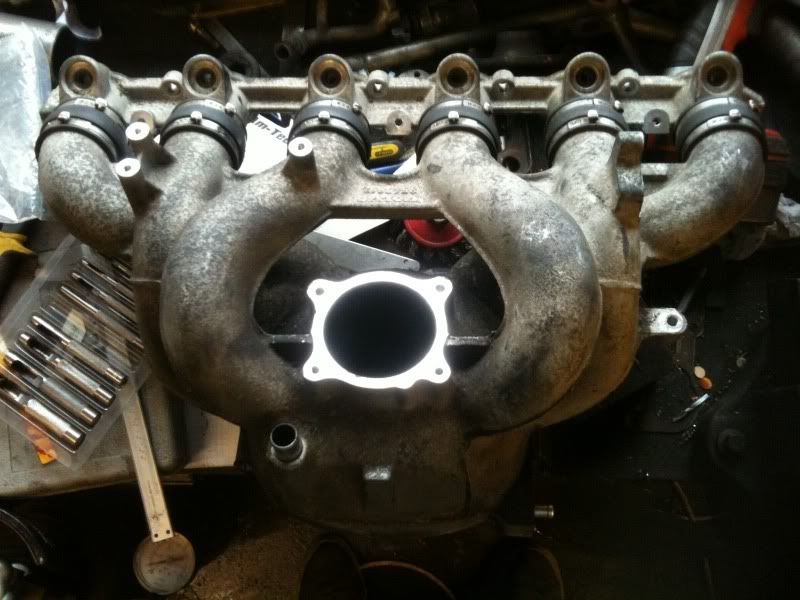
My 960 manifold also turned up so i cut that down to 5 clylinders and will make my manifold off that.
Adam
-
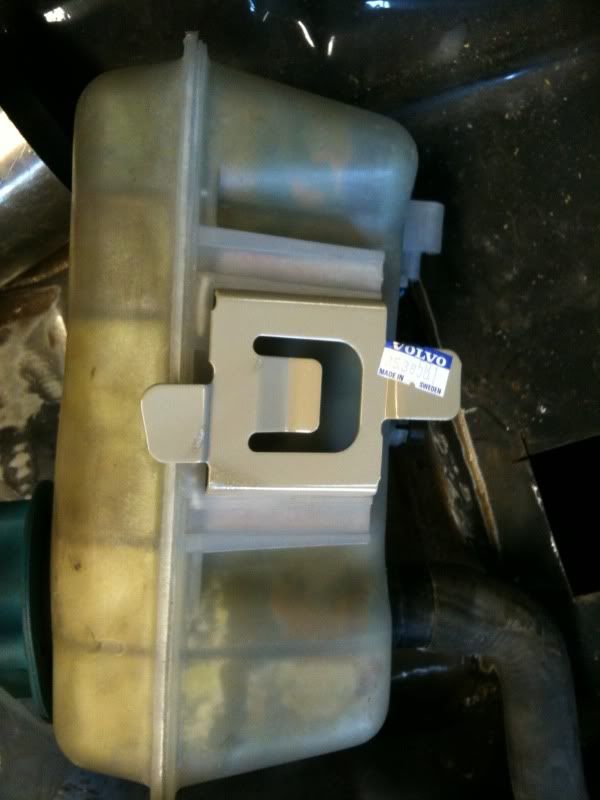
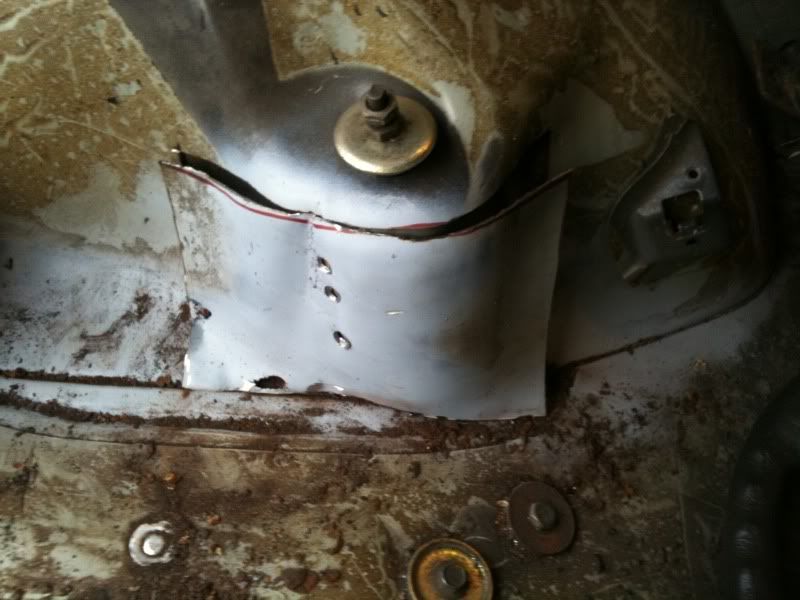
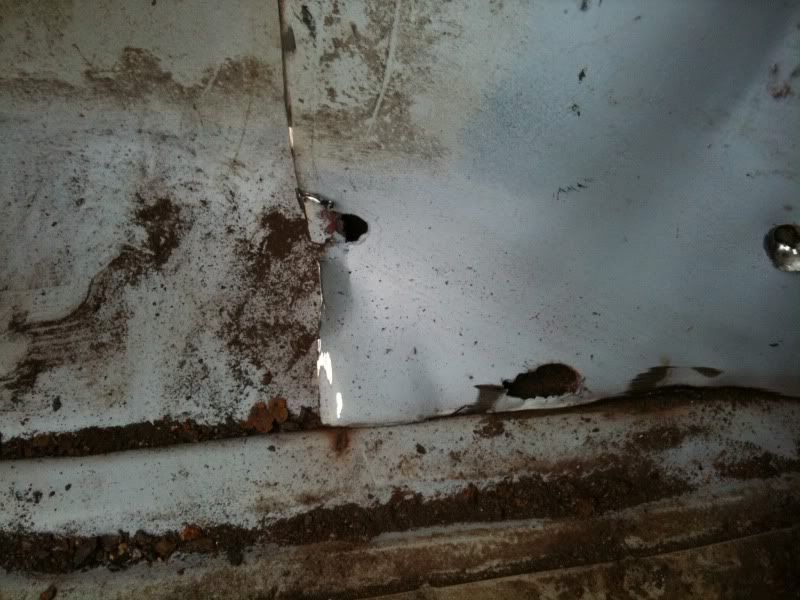
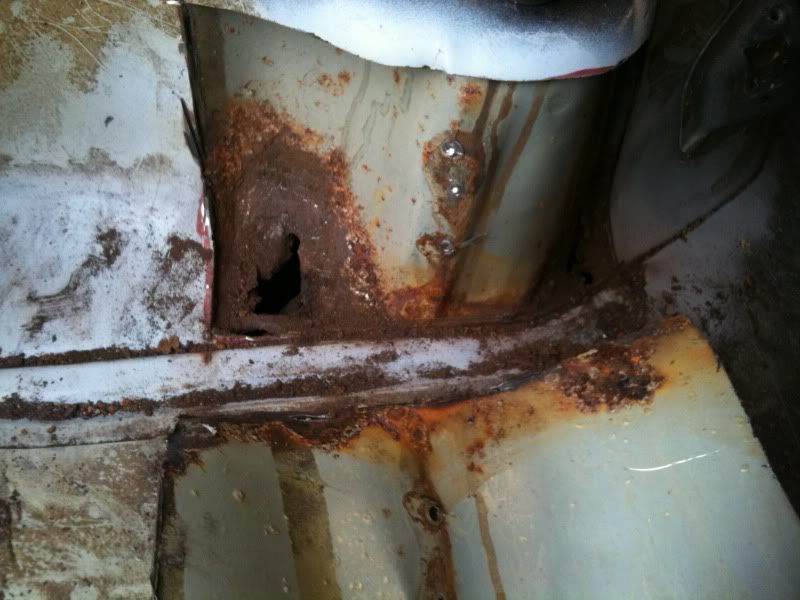
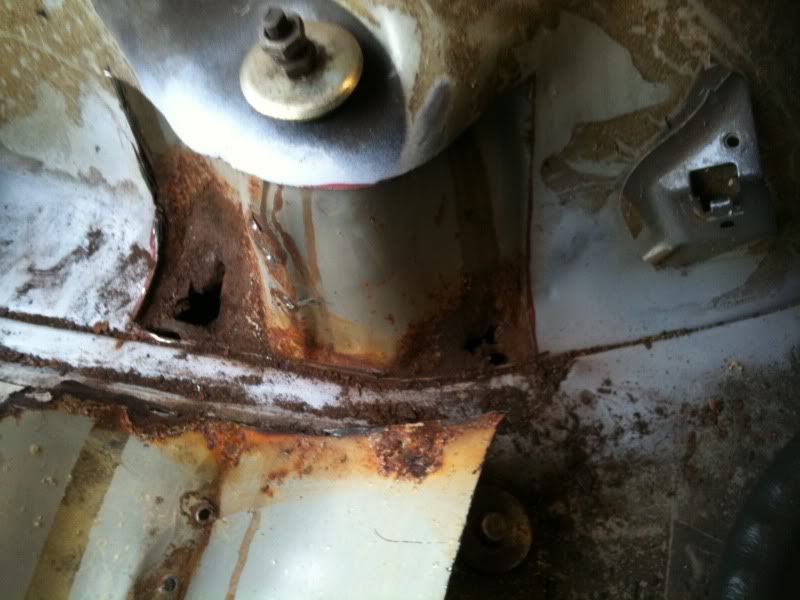
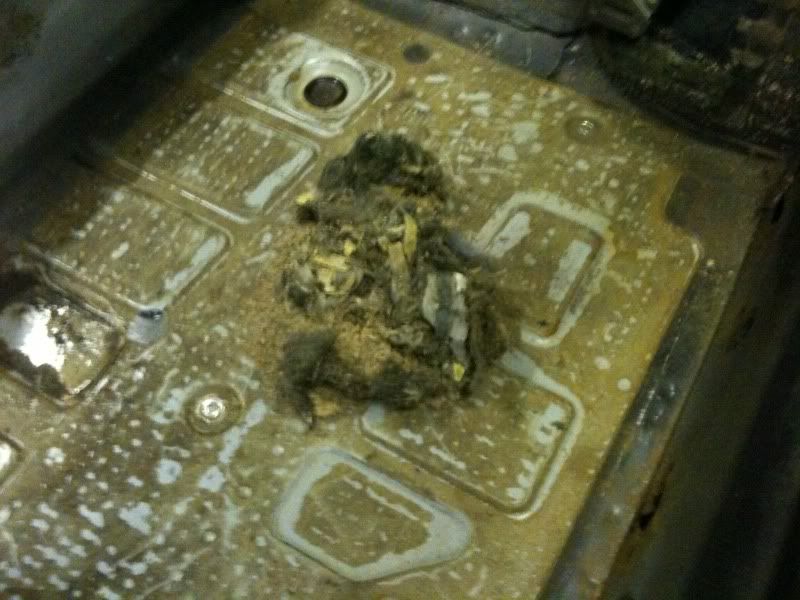
I havent updated in a while as i have been doing the same job over and over. I'm going to be using a 960 expansion bottle on the car and managed to look up the part no for the bracket so i can spot that to the turret teh same as the 960. I have repaired the rust in the boot floor above the handbrake cable bracket. I have nearly finished installing all the boxes for the cage. And have repaired the areas below the seatbelt real mounting position.
I wasnt expecting the rear arches to be as bad as that, i assumed the panels had been sweating to cause the little holes in the boot. Oh well it will all get repaired.
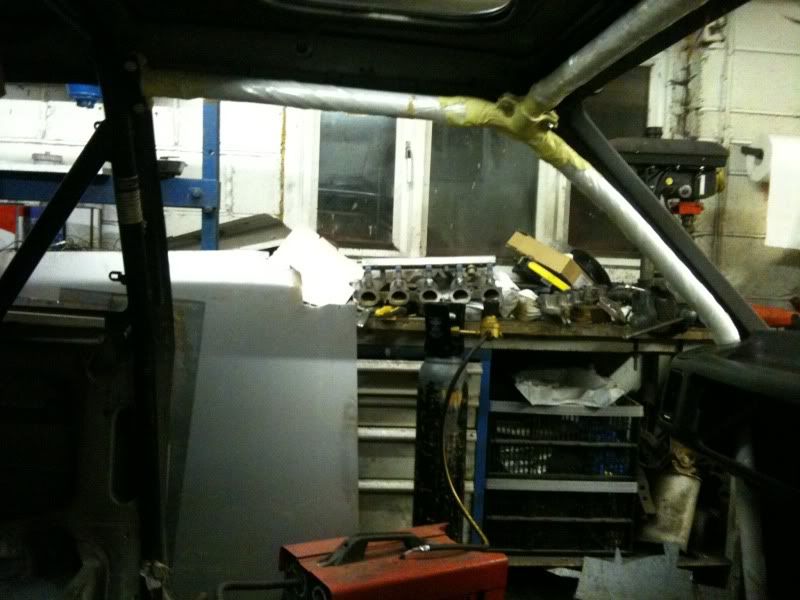
The cage has given me quite a bit of grief to get it all aligned, especially as i was expecting the main roll hoop to be vertical to the floor but it is designed to follow the B pillar so has a bit of lean to it.
I should get the cage complete and hopefully the dash modified tommorrow.
Adam
-
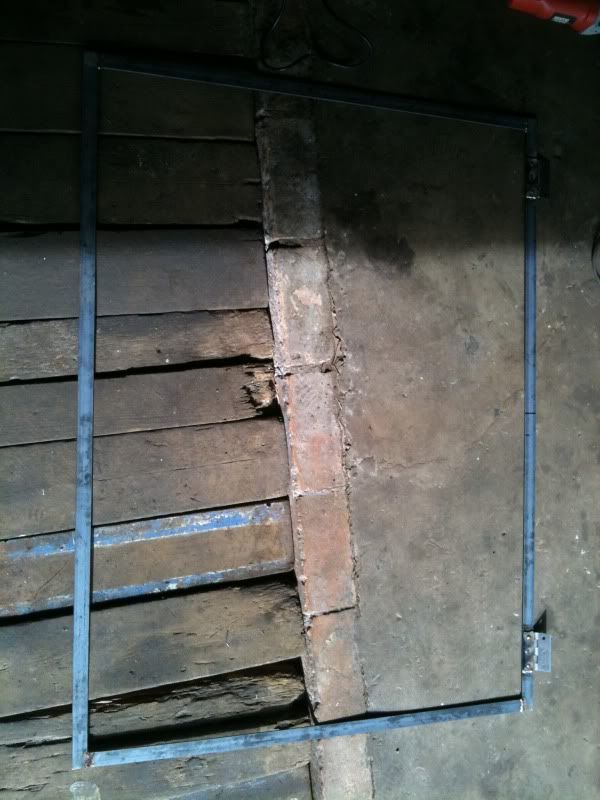
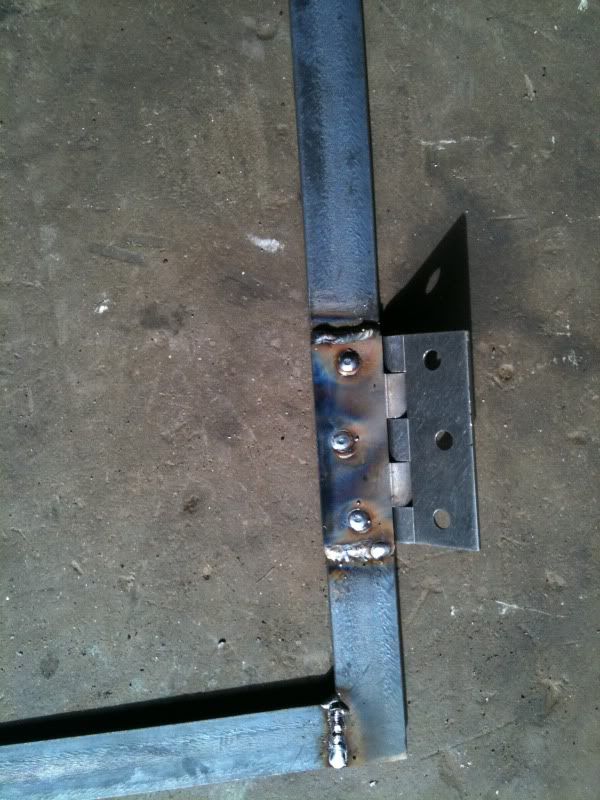
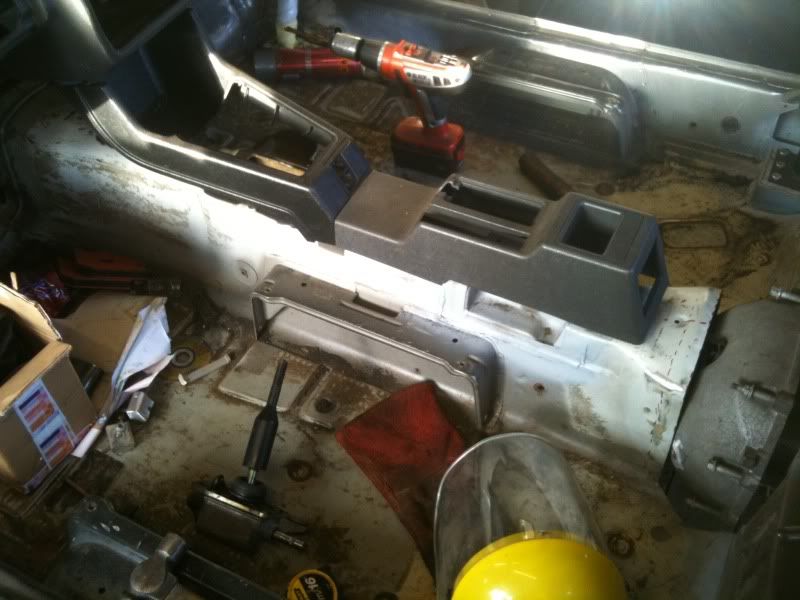
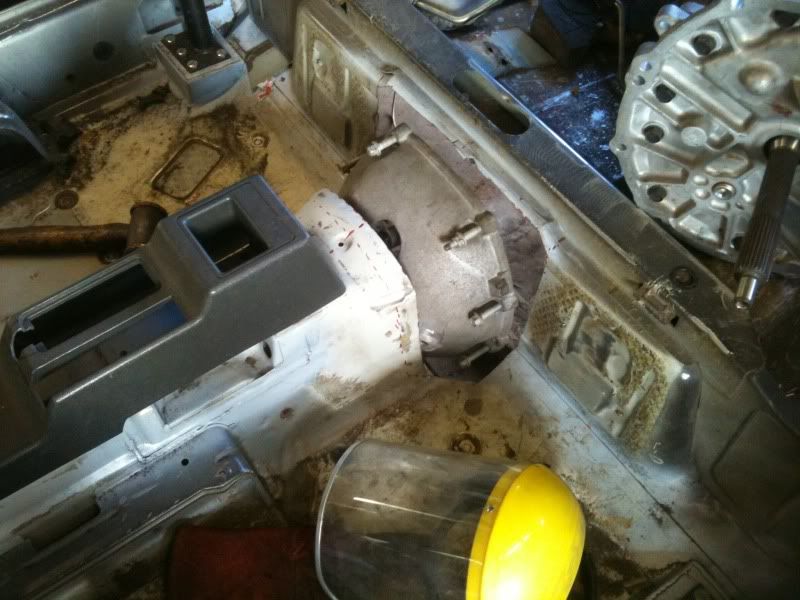
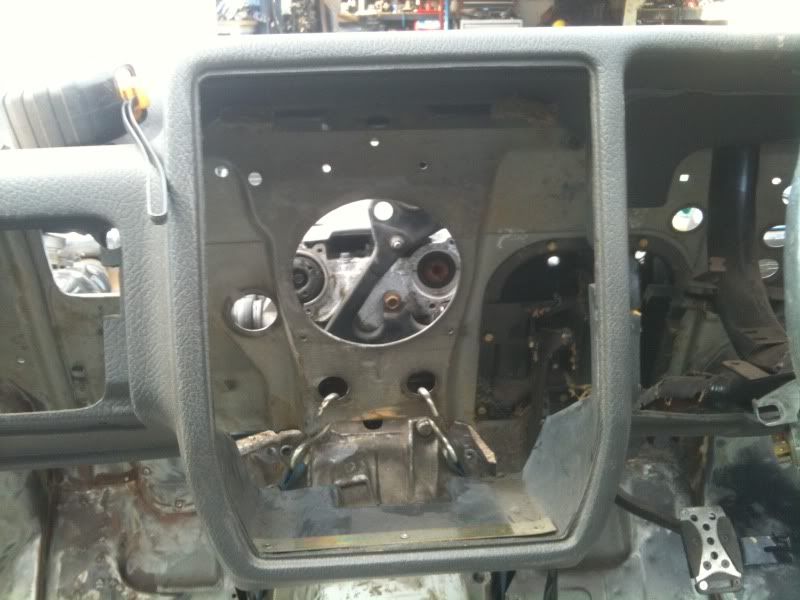
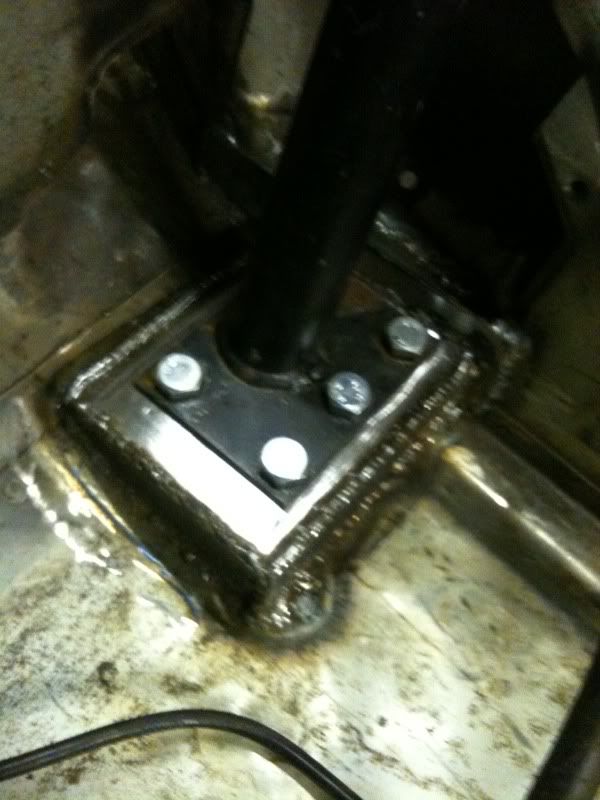
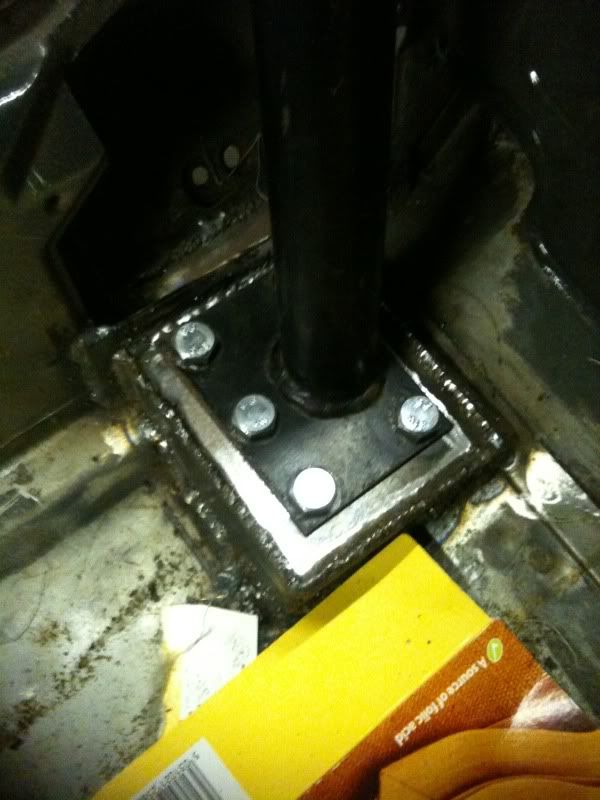
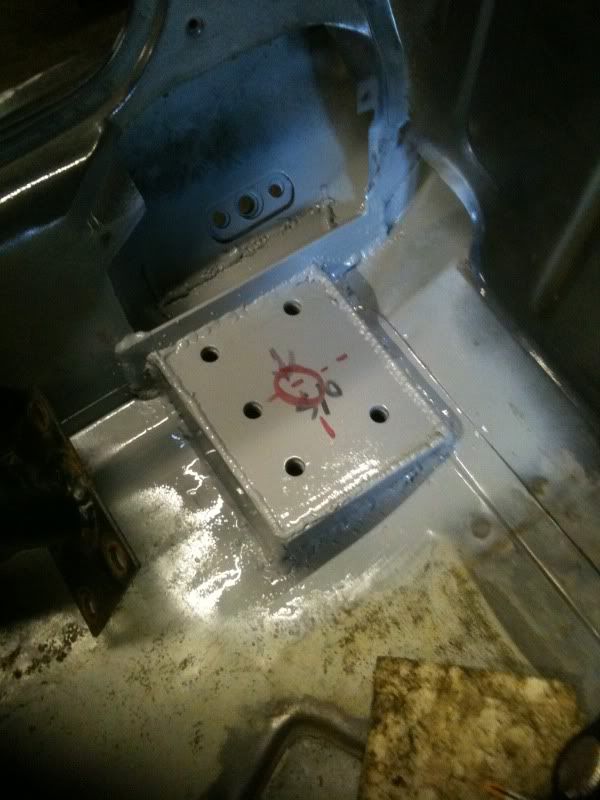
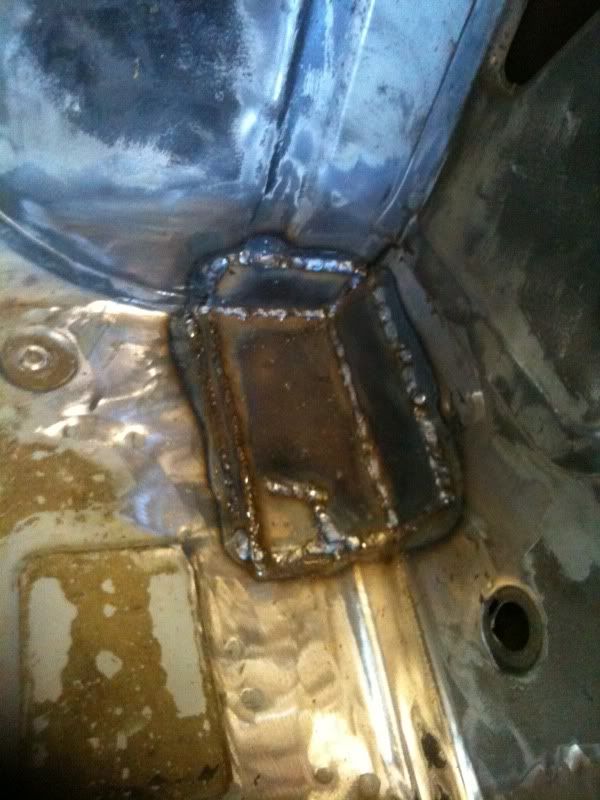
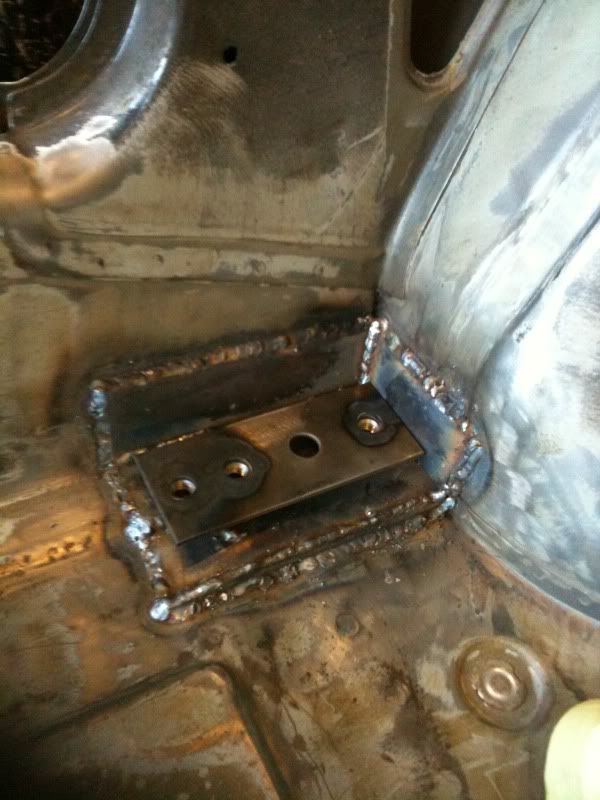
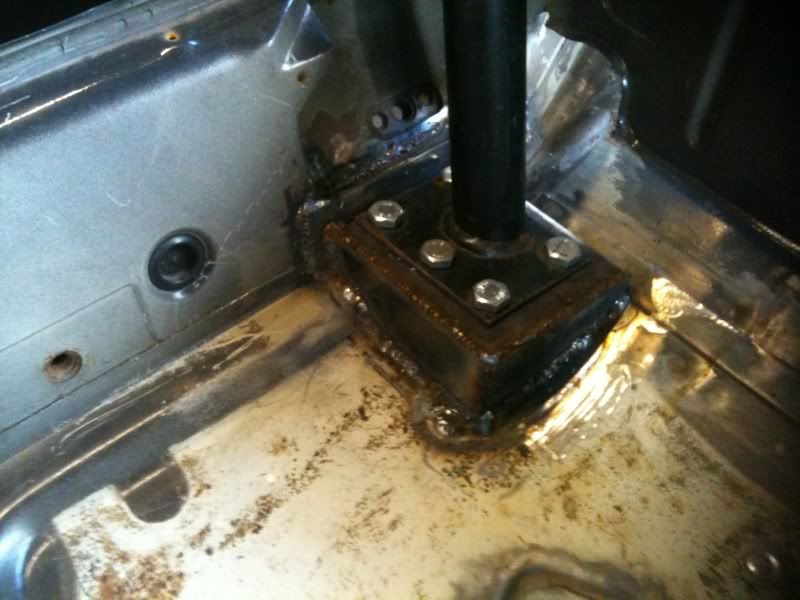
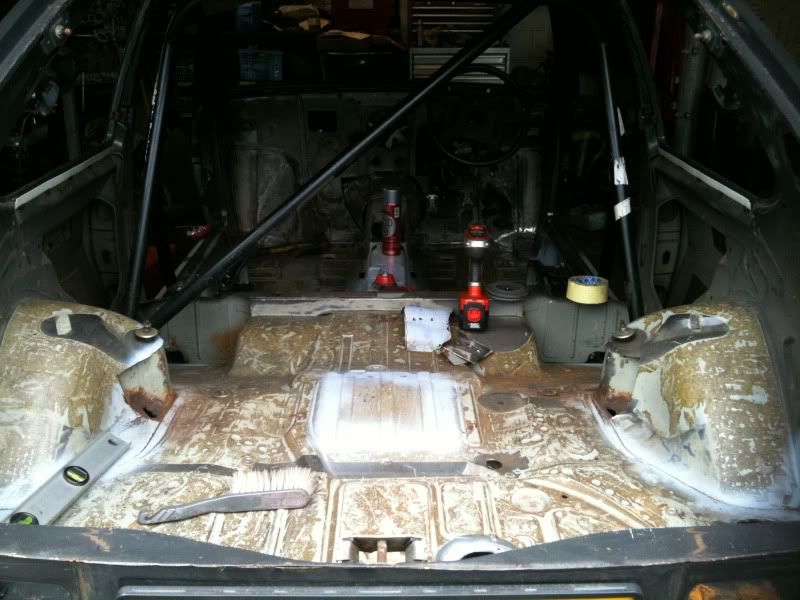
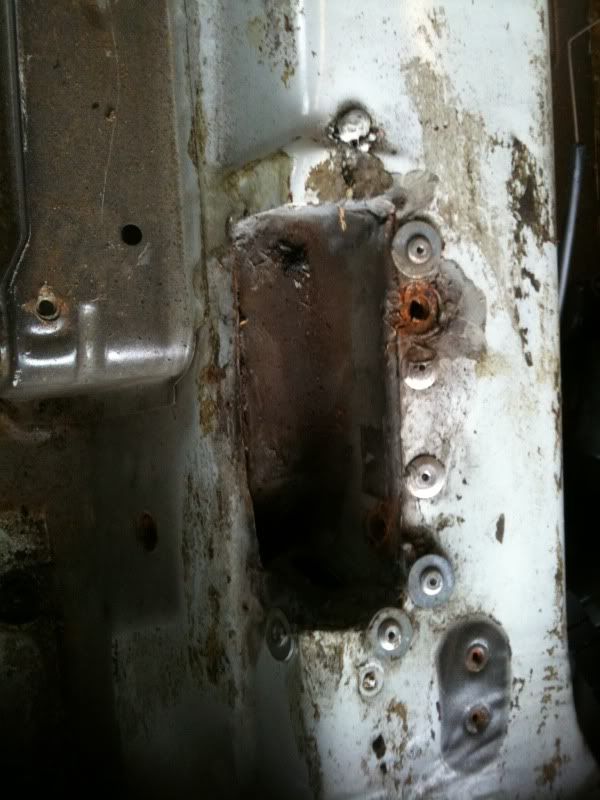
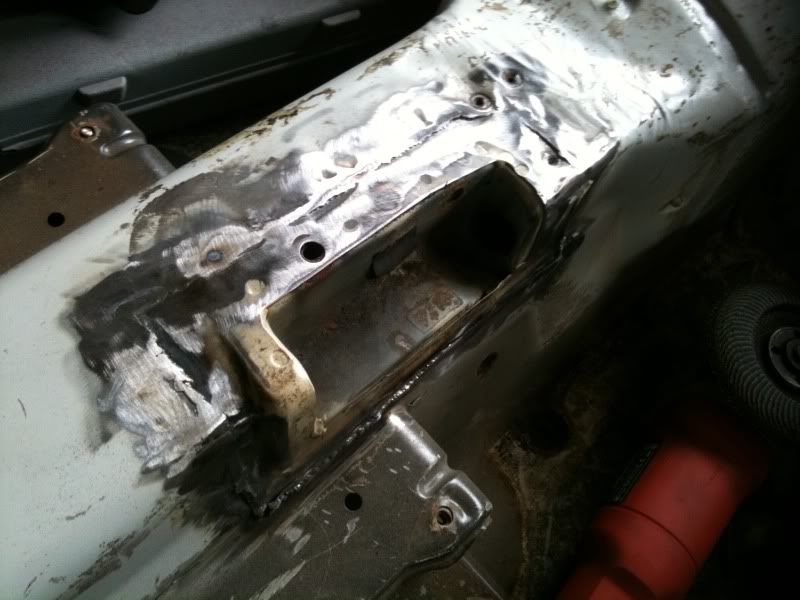
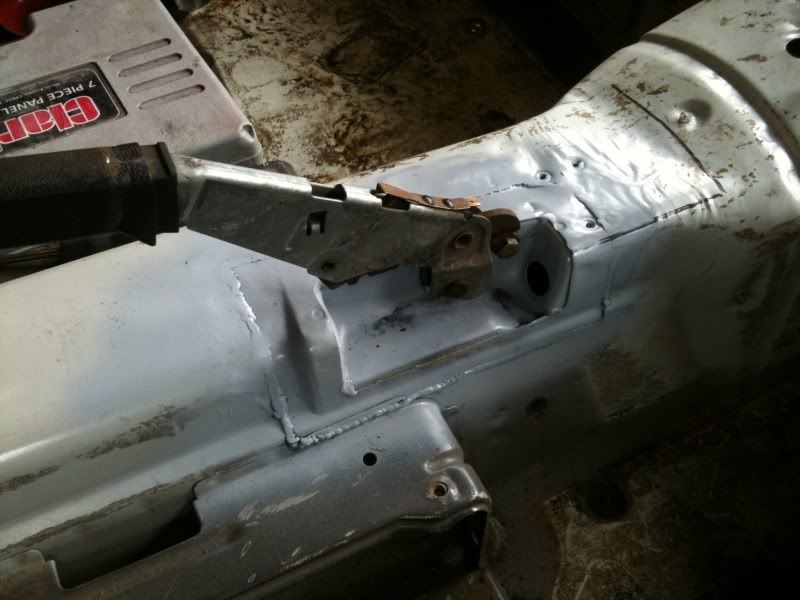
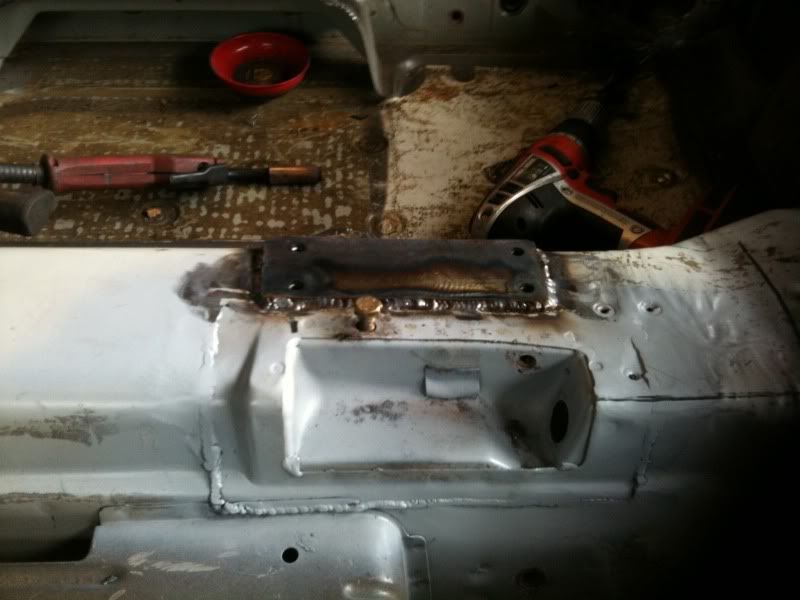
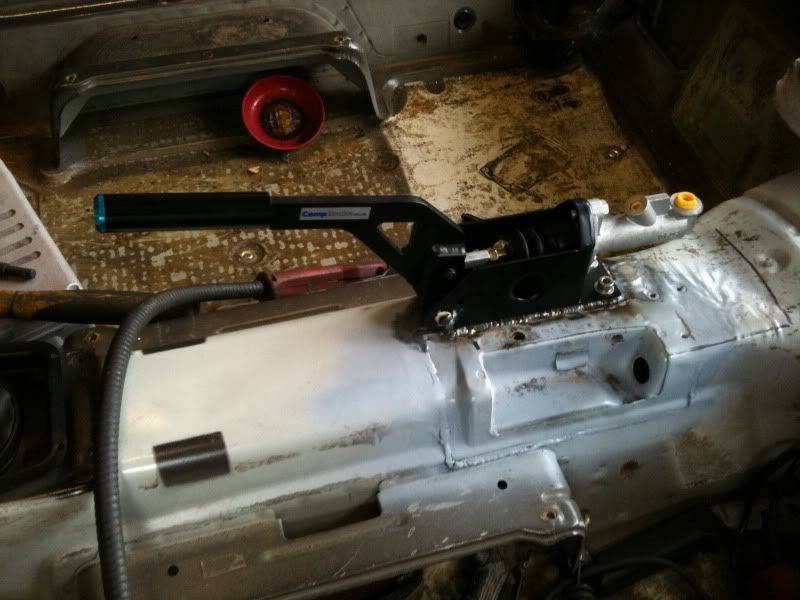
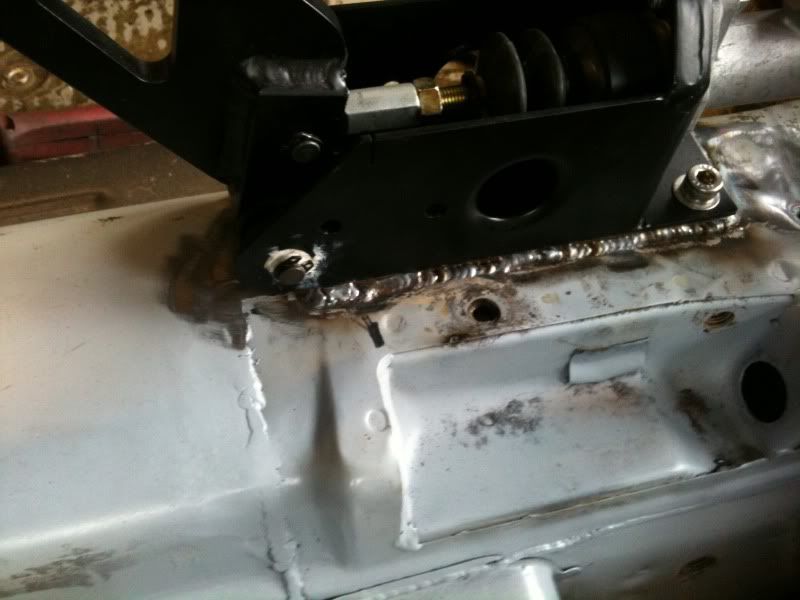
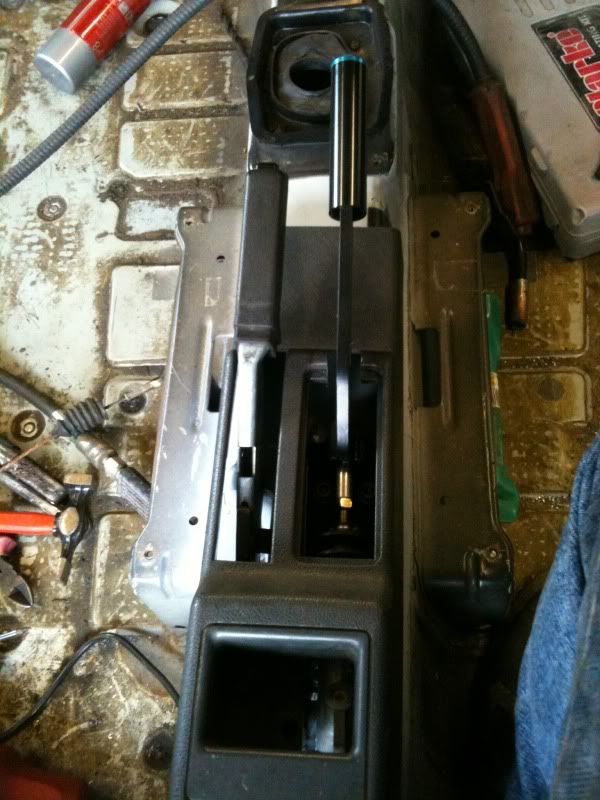
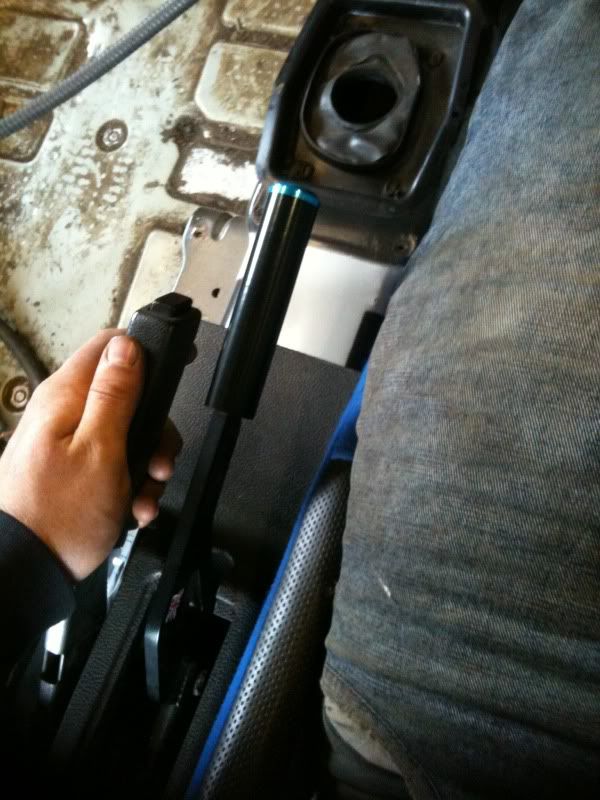
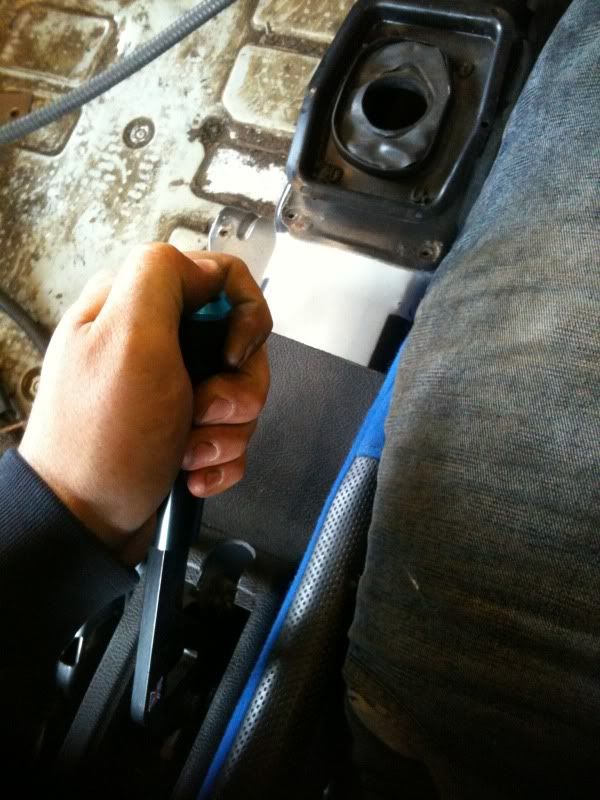
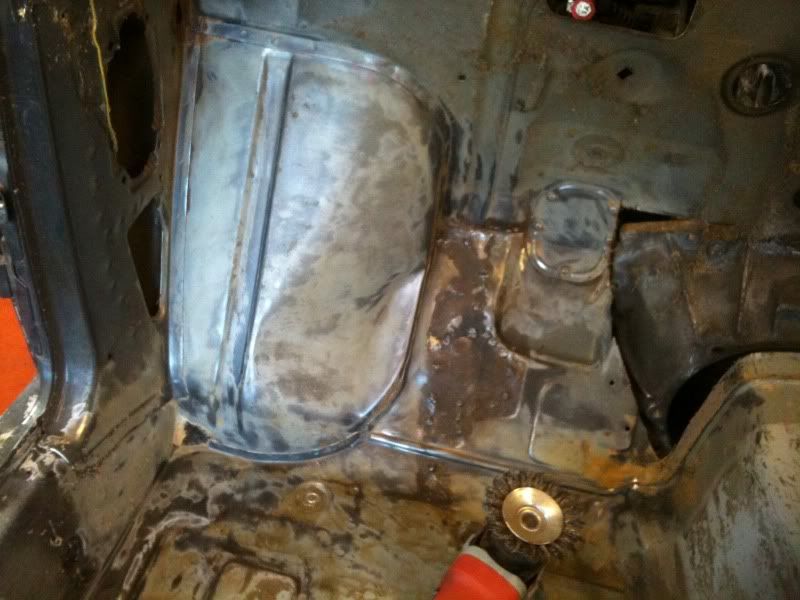
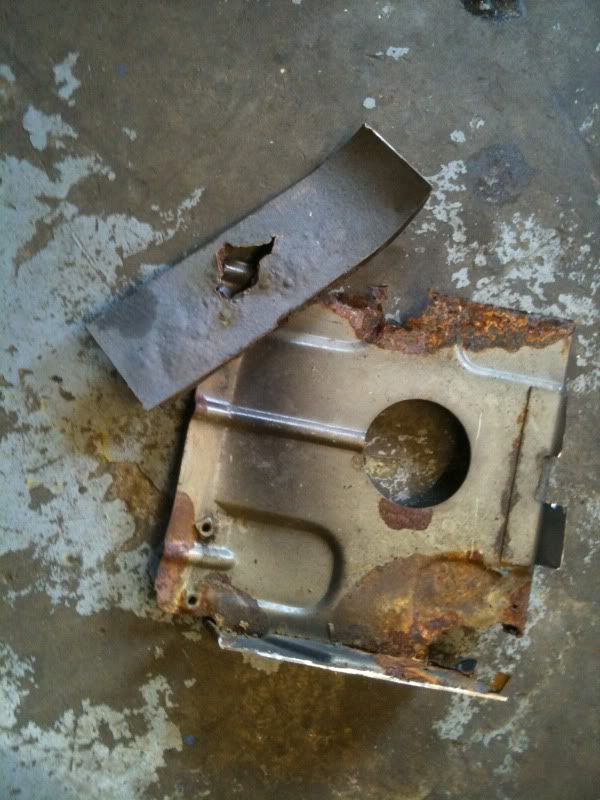
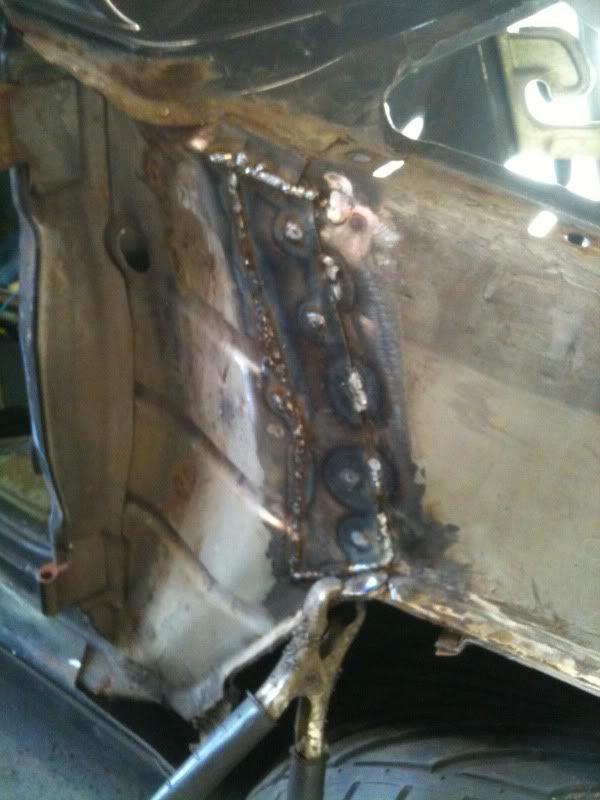
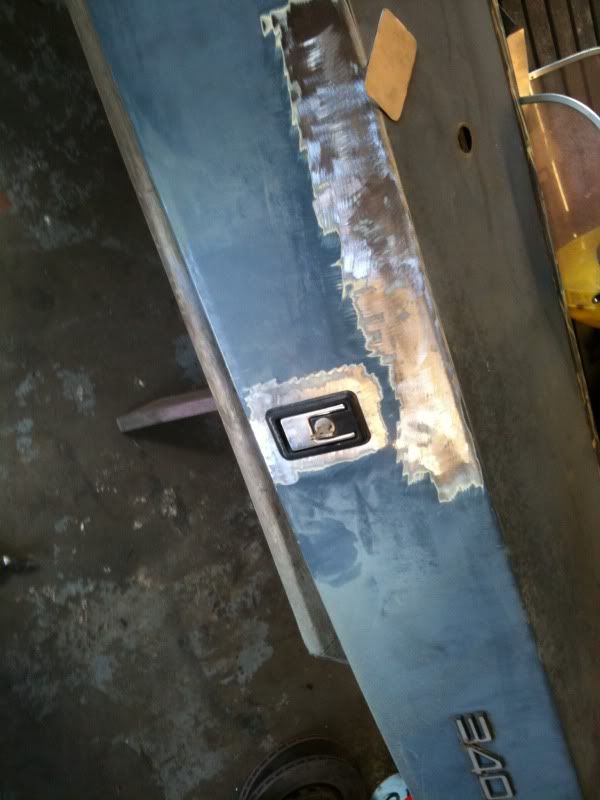
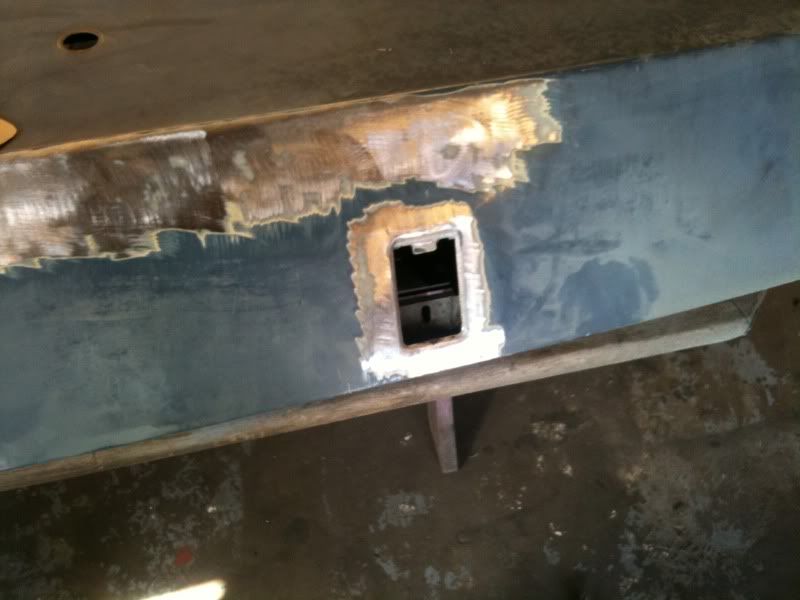
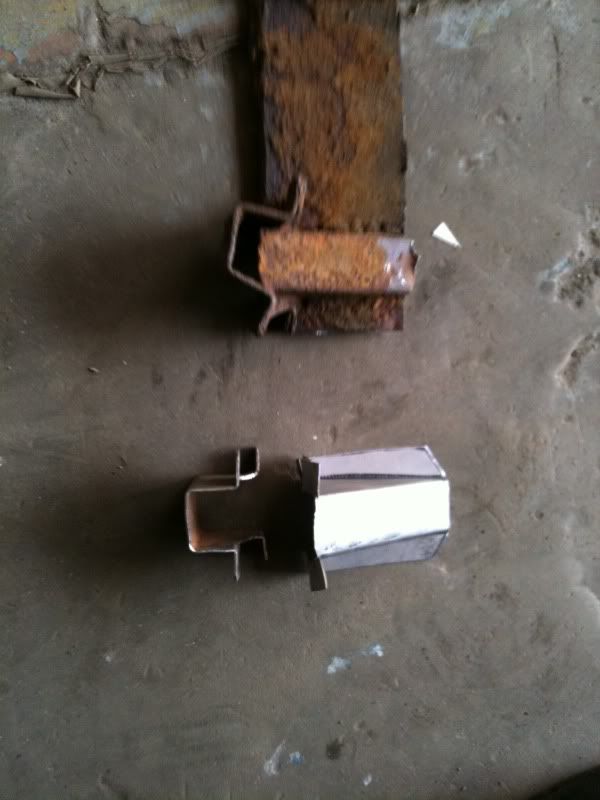
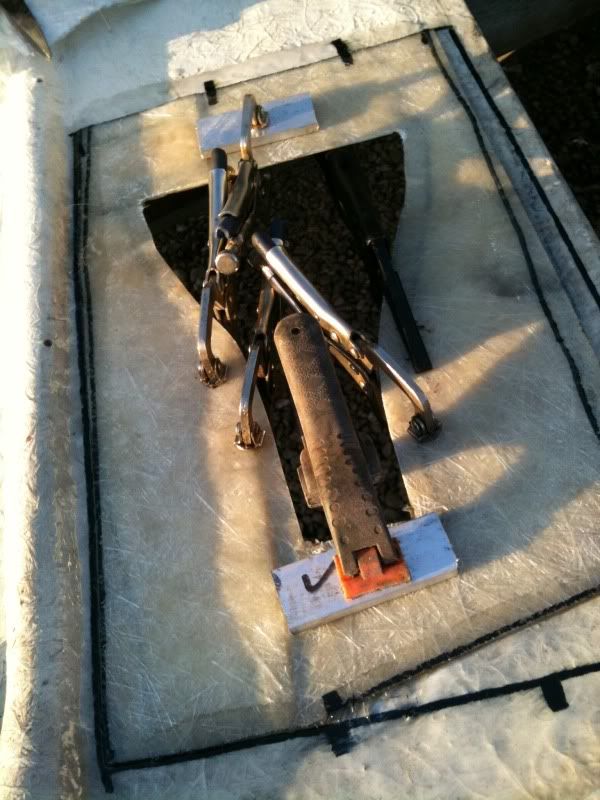
About 2 years ago the handbrake handle gave up on me as it tore the bracket out of the tunnel, to get me by i riveted it back up to save having to strip the interior and weld it up. Today i got the chance to repair it as i was fitting the hydraulic handbrake anyway. I had cut a doner panel from a breaker a while back. I soon had that welded in and set to the hydraulic handbrake.
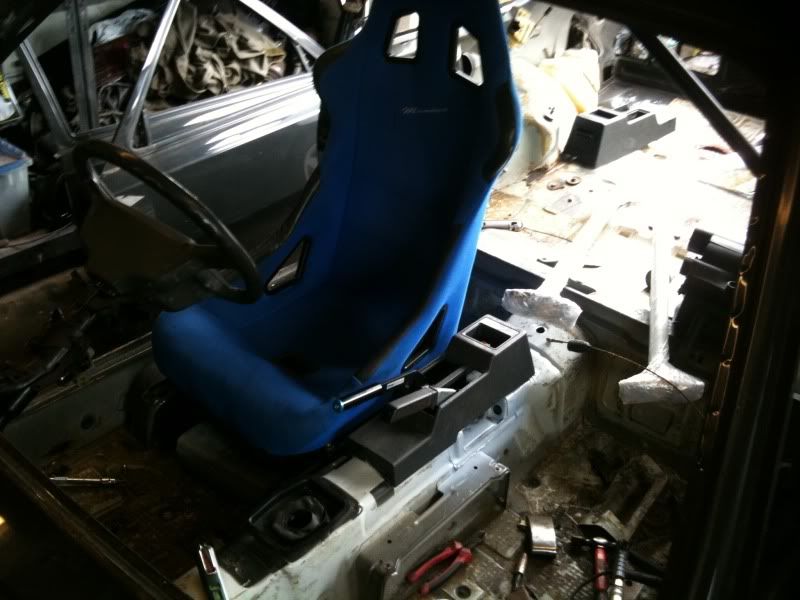
I made a plate with captive nuts, drilled the tunnel to sit the nuts down through and welded it up. I used the cobra seat to get the handbrake at a comfortable position.
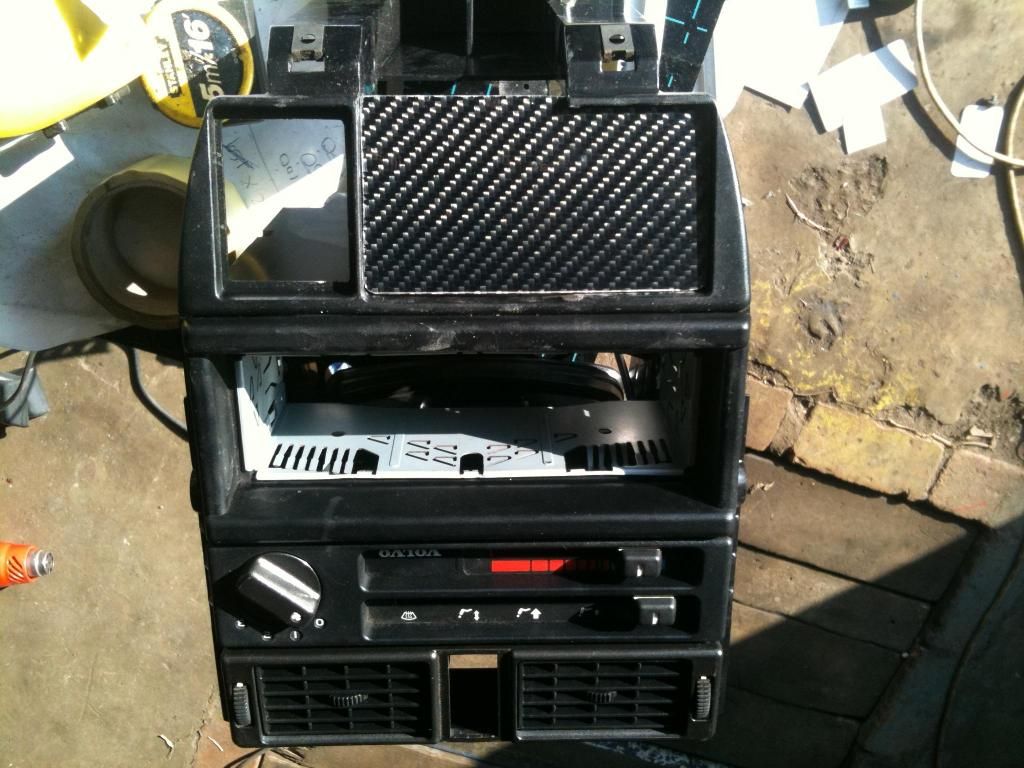
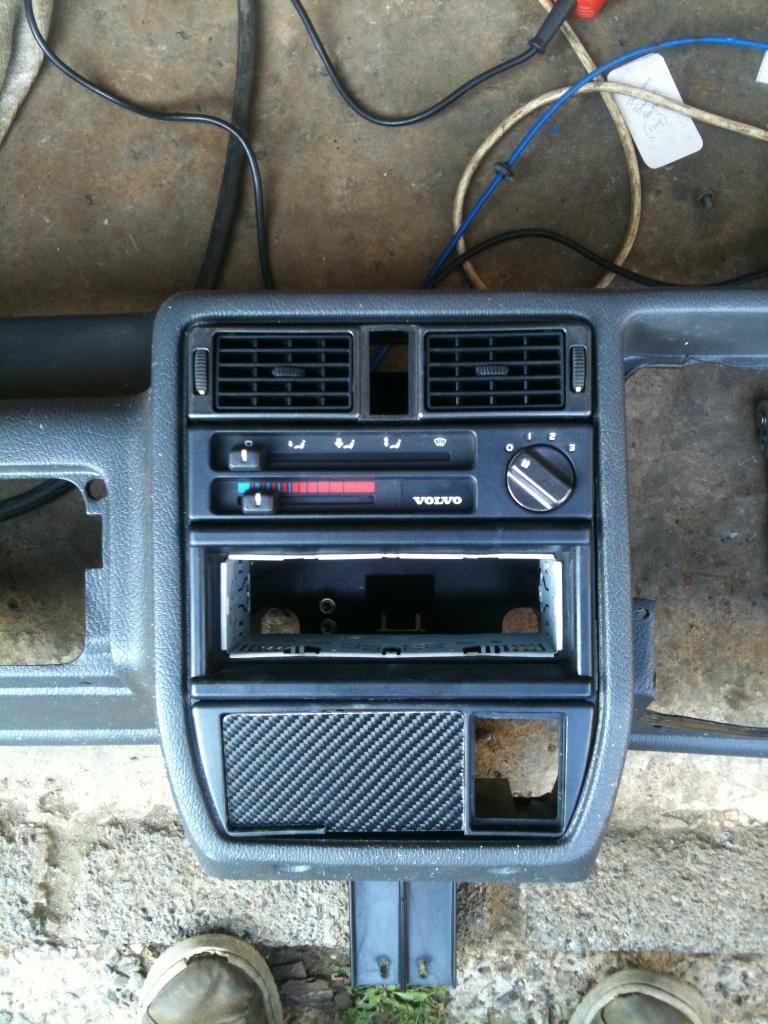
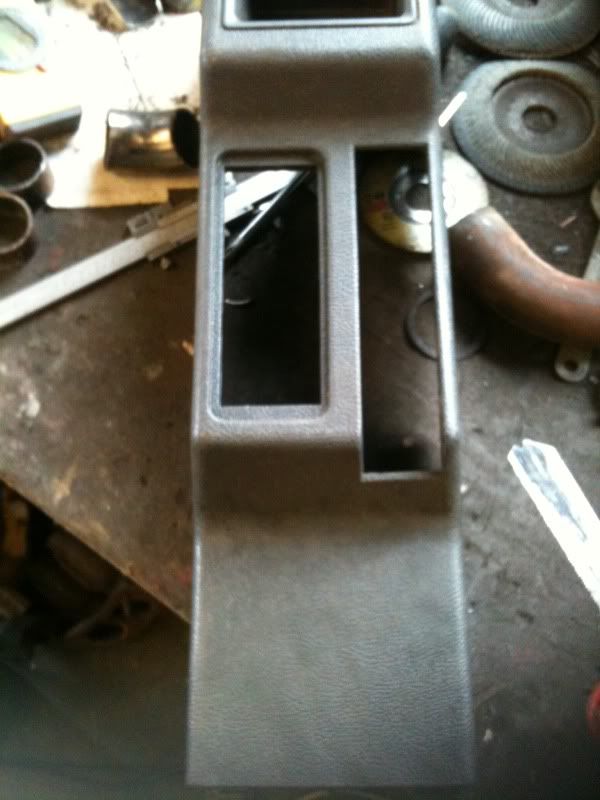
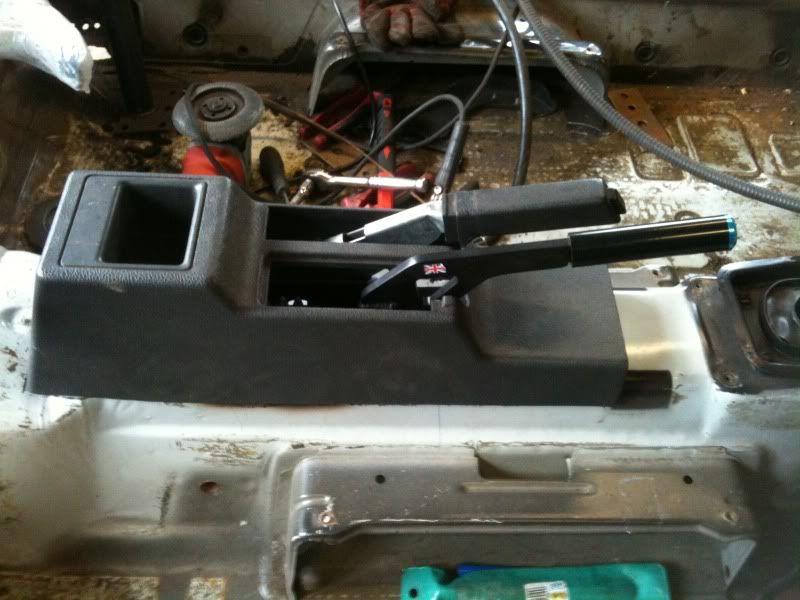
I also modified the centre console to allow it to be retained.
The next big job is to fit the rollcage so i started out removing all the seam sealer and was pleased to see the shell had no hidden suprises. More to come tommorrow.
Adam
-
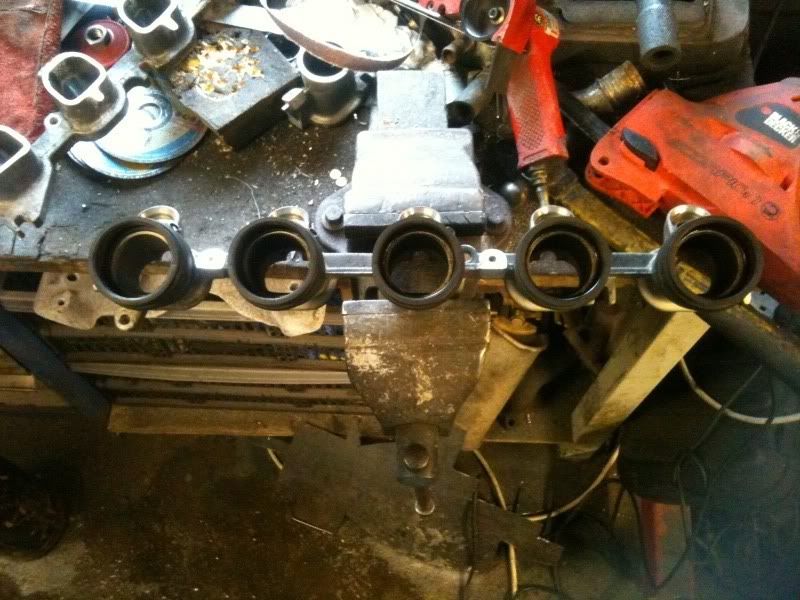
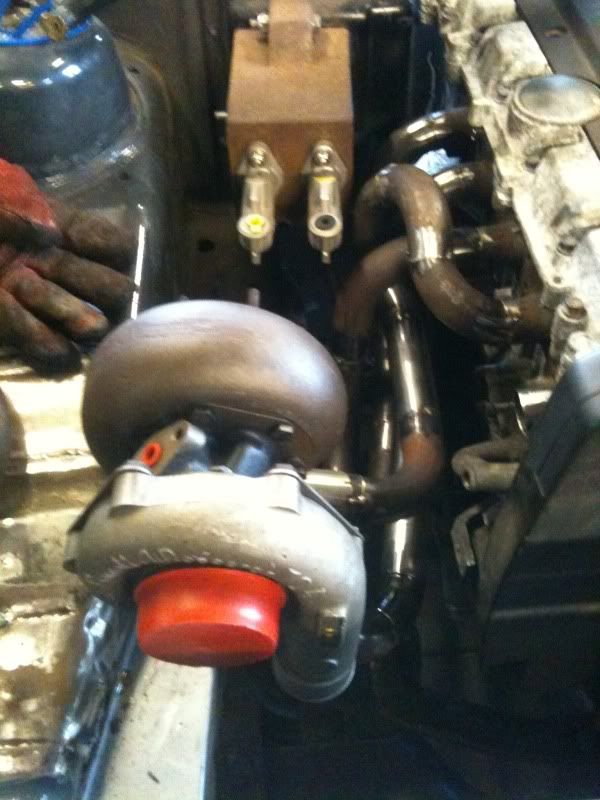
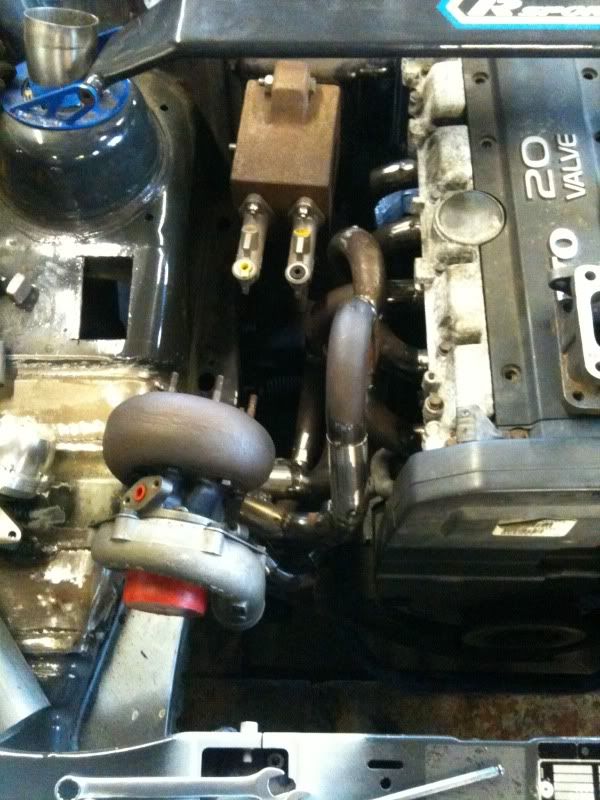
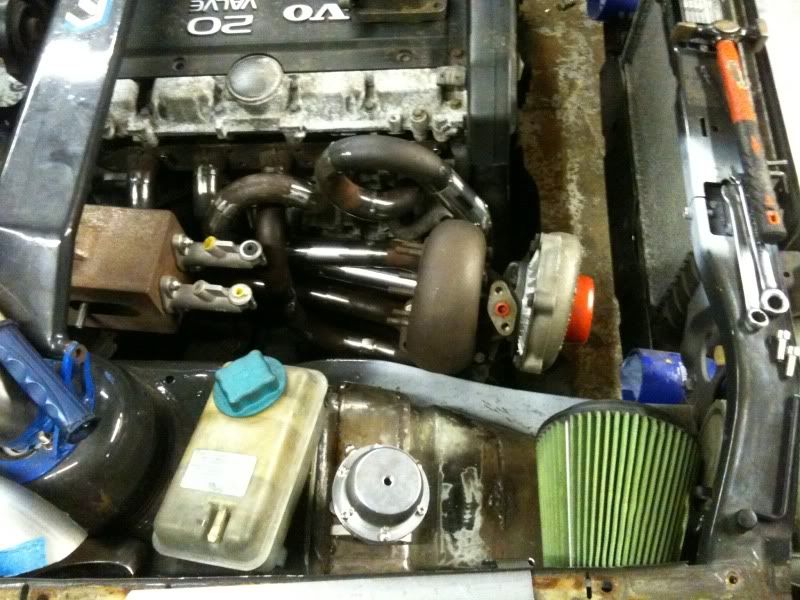
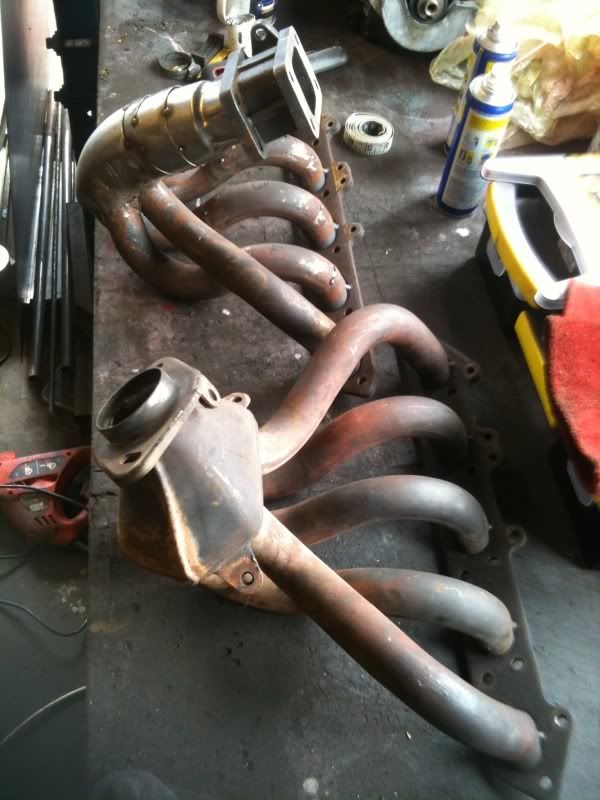
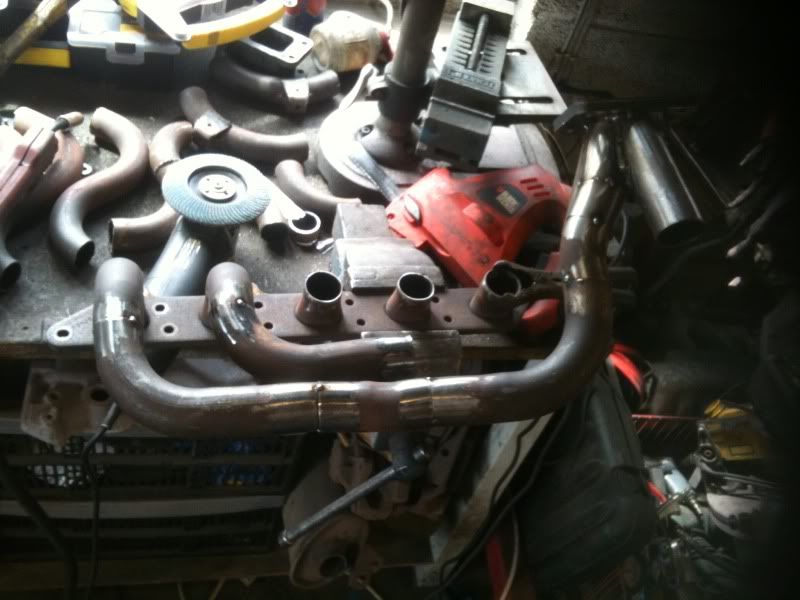
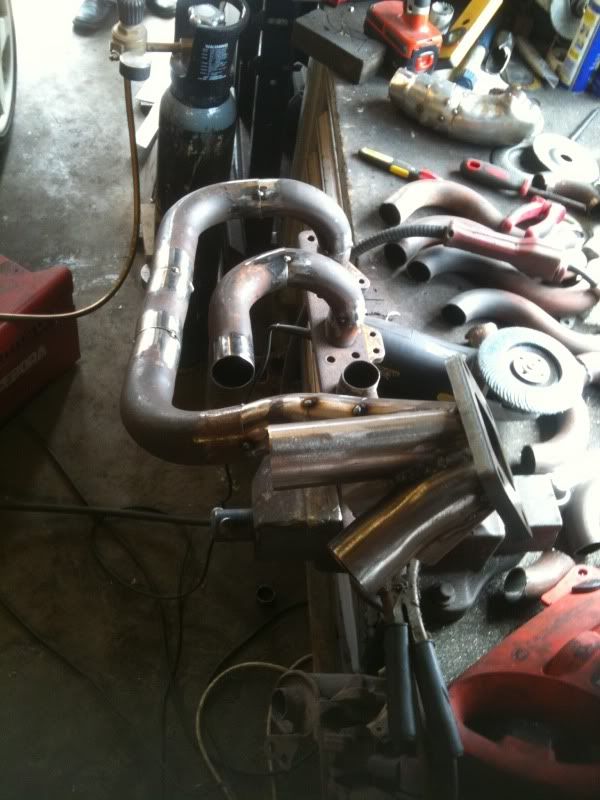
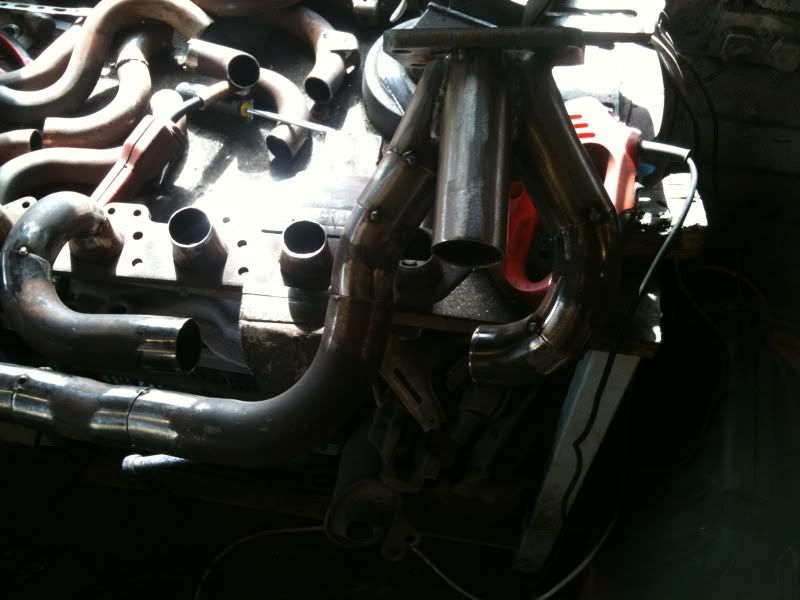
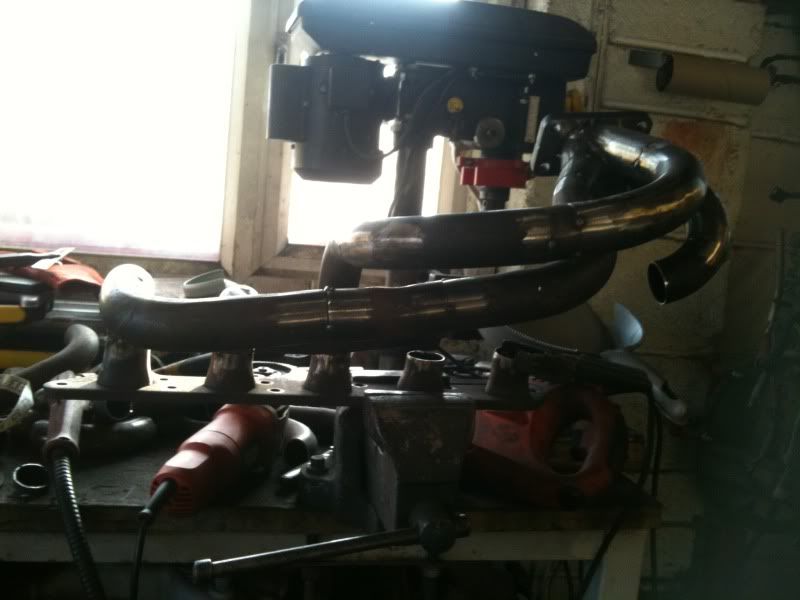
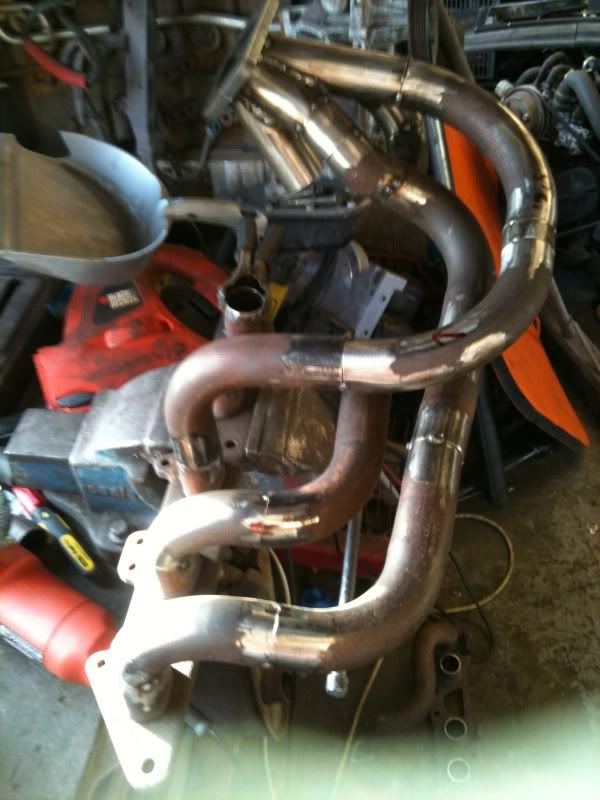
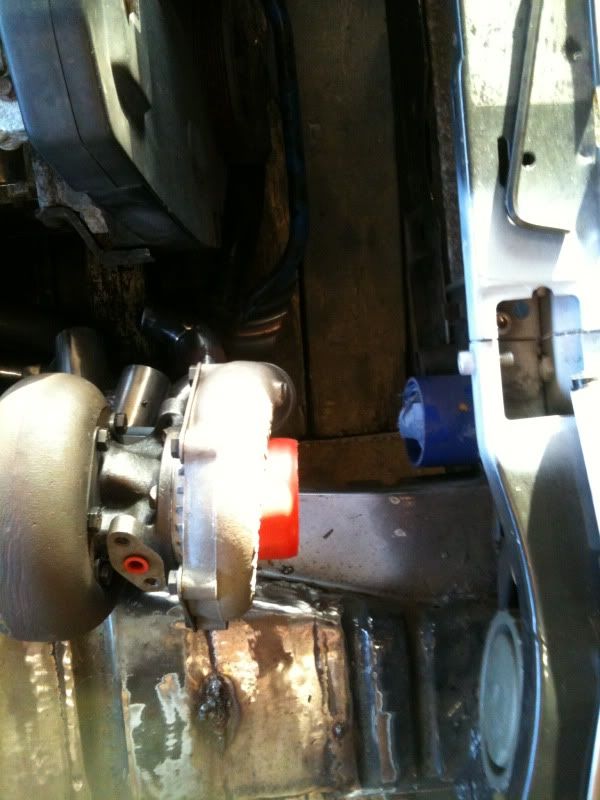
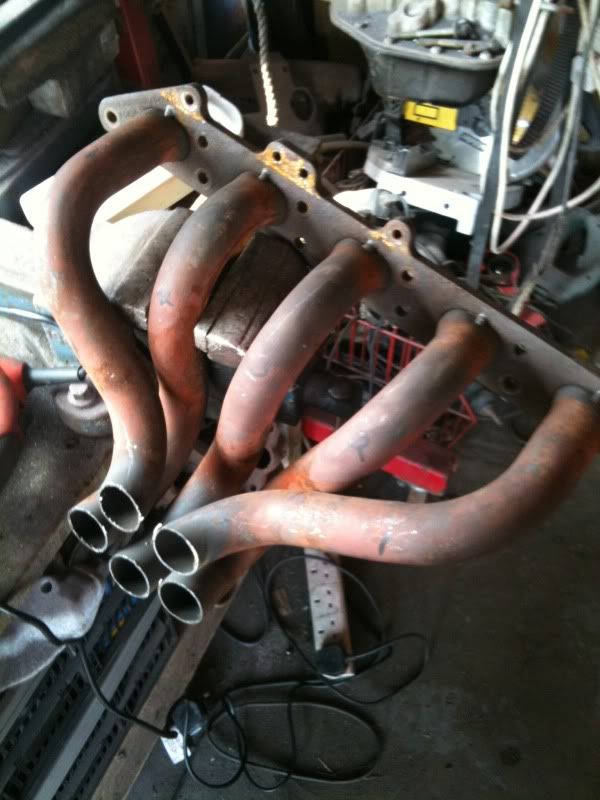
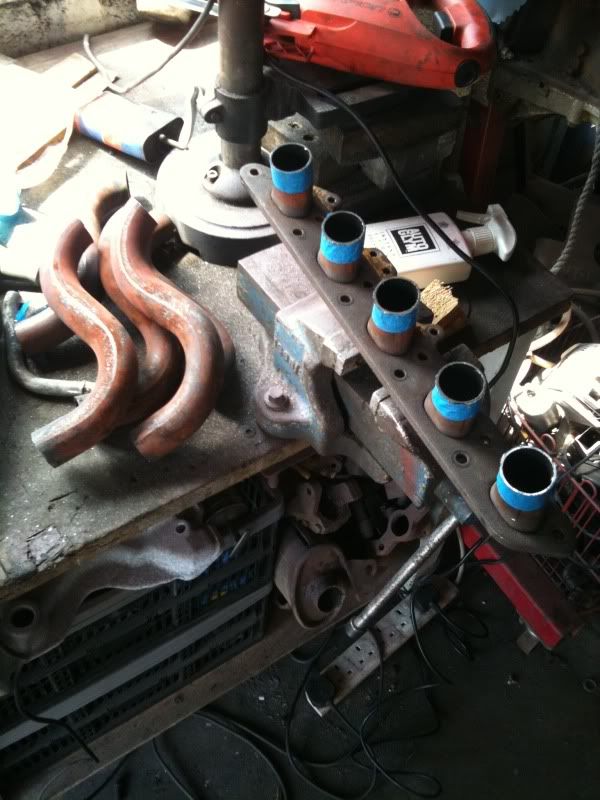
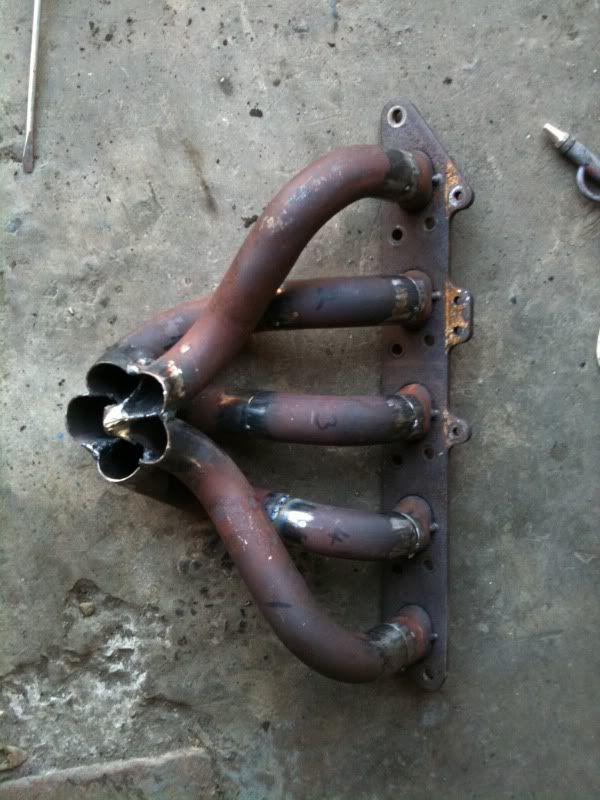
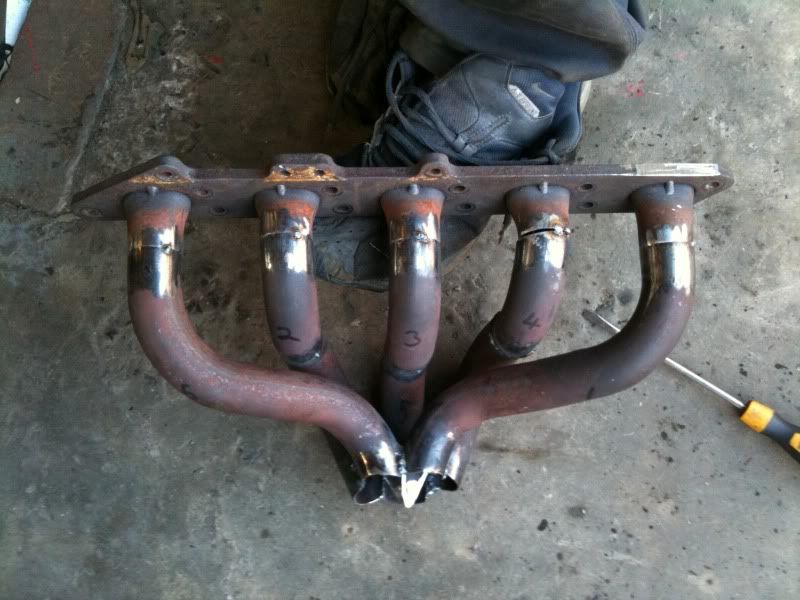
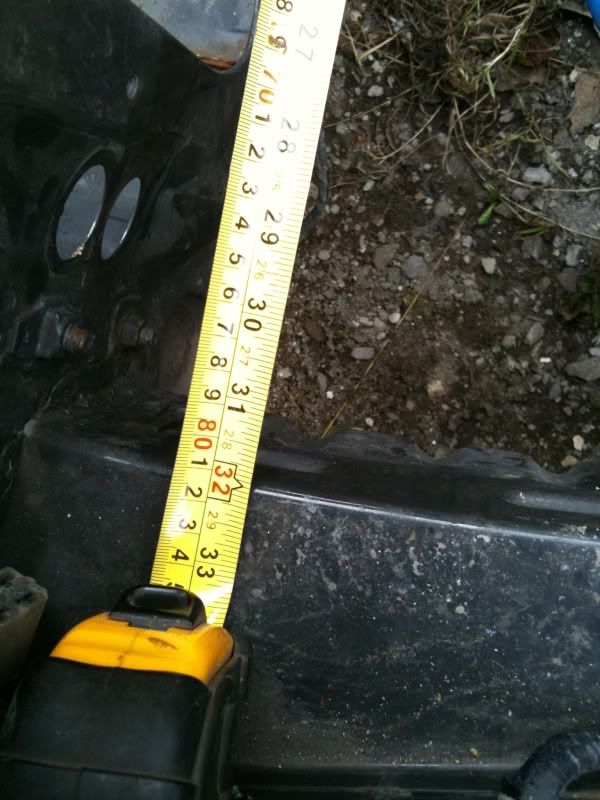
I managed to get the straight pipe i needed today and got the manifold finished all 5 primaries are within 1/2 inch of 33 inches so i'm really pleased with that for my first manifold build. The flange needs a little tweek to get it perfectly level but thats no big deal.
Plenty of room around it all for downpipe and future turbo swaps.
Adam
-
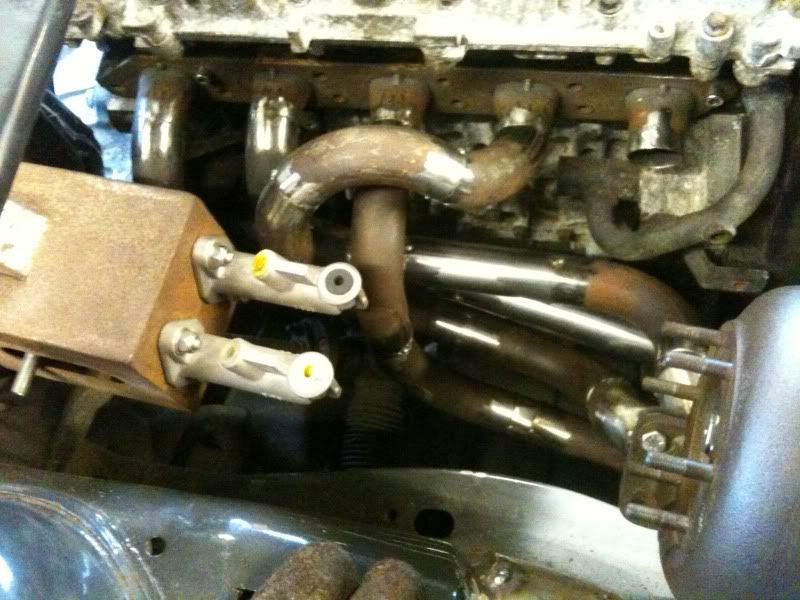
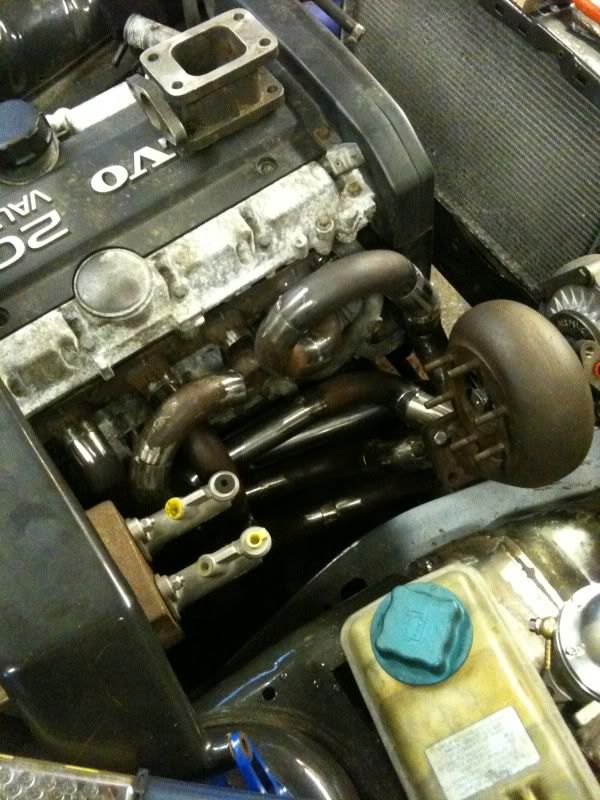
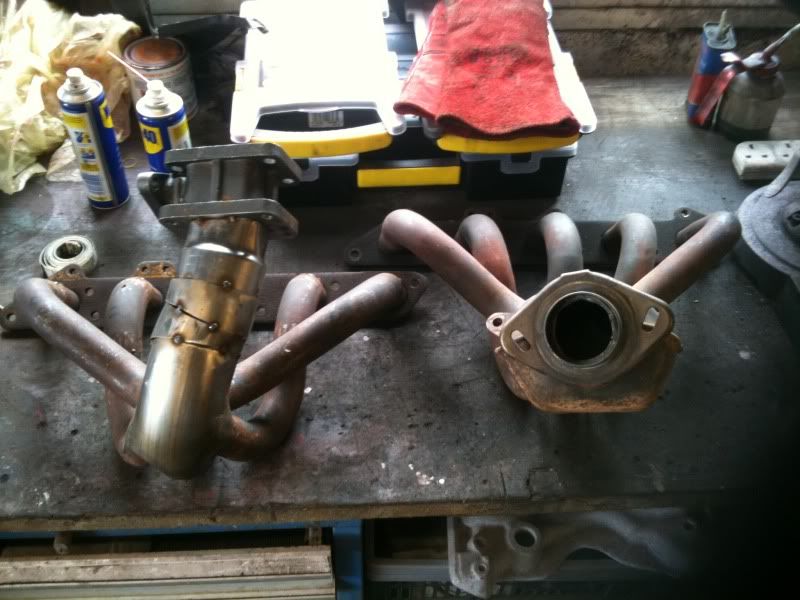
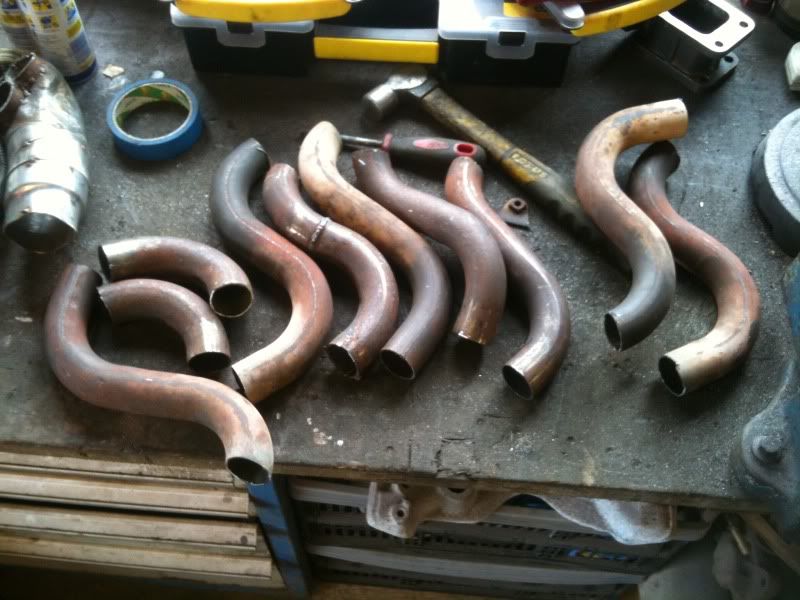
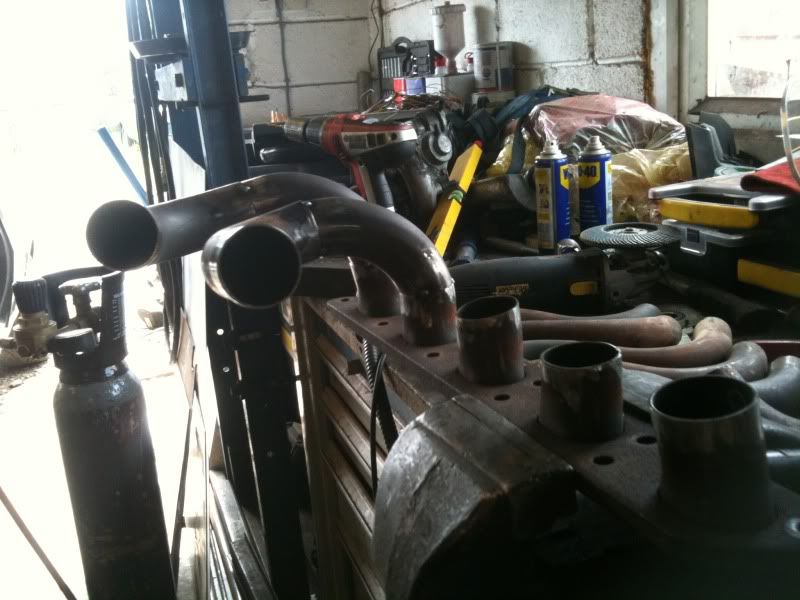
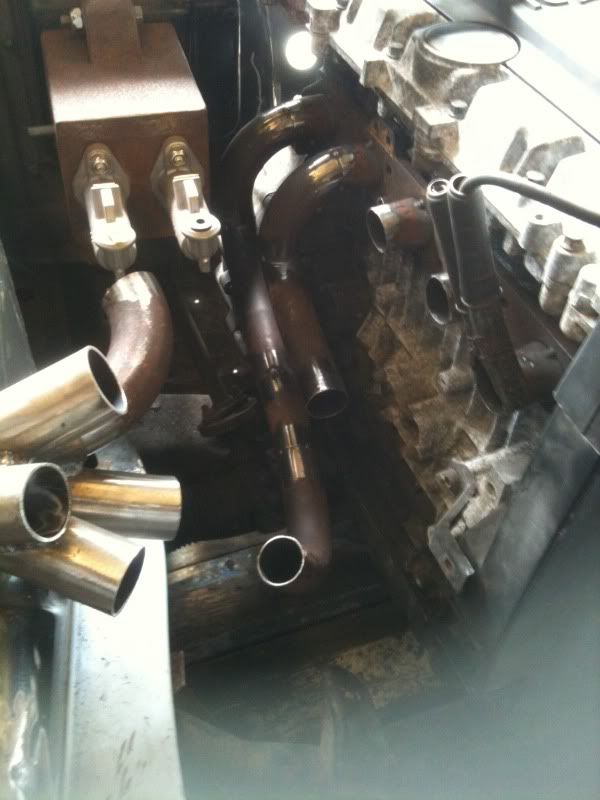
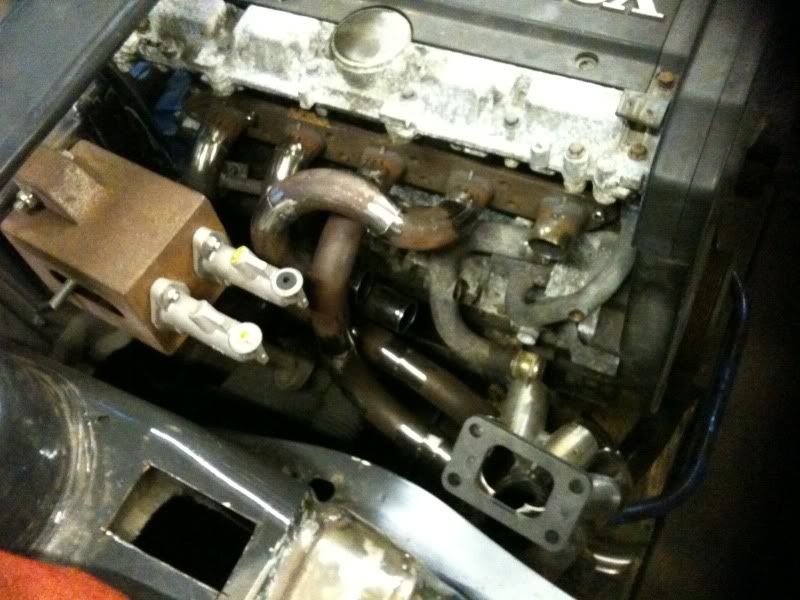
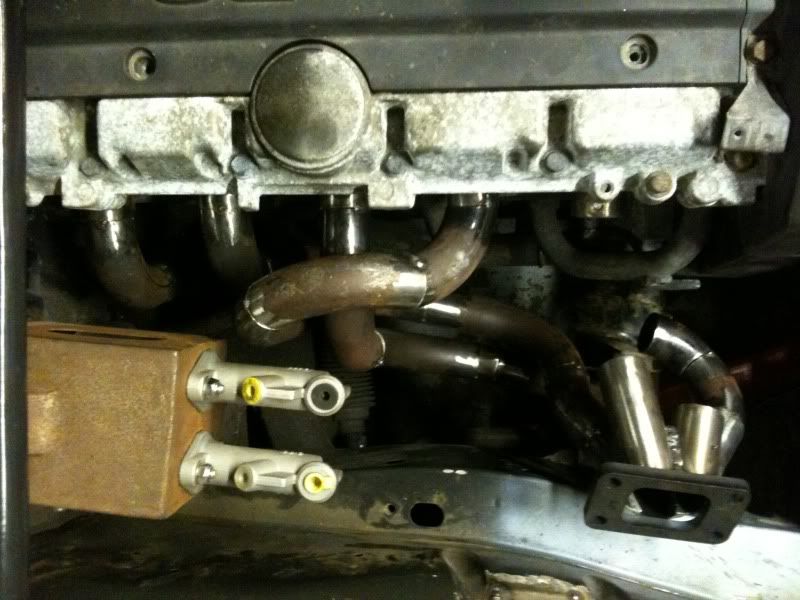
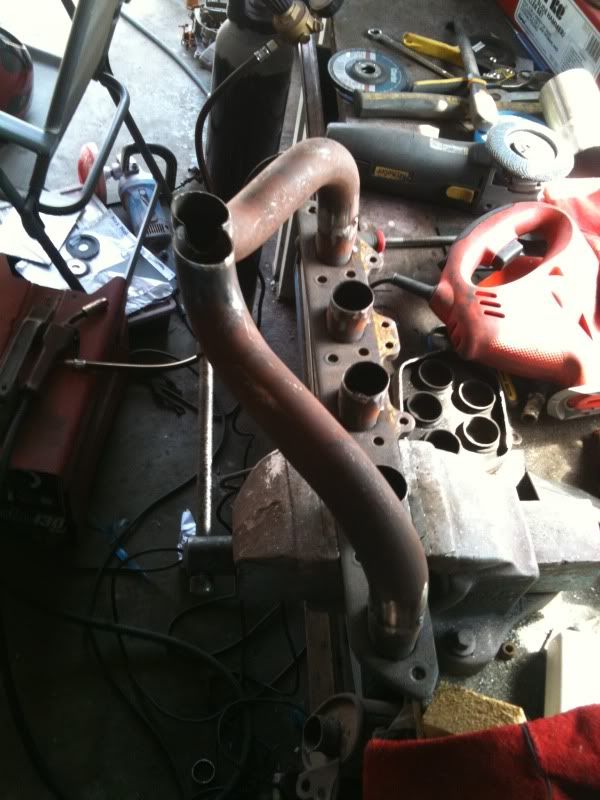
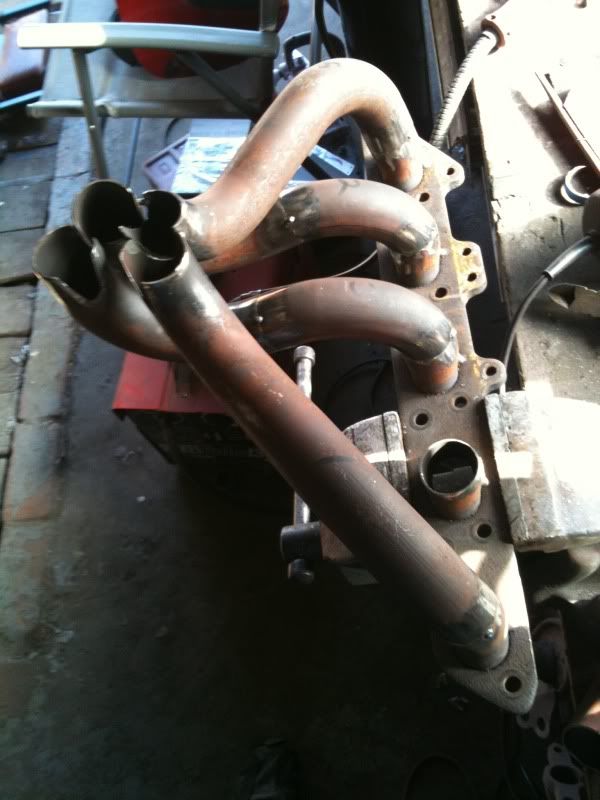
The last few days have been a mission that i will be continuing tommorow. I'm building the manifold from scratch using 2 20V na manifolds, a toyota celica manifold and a length of straight pipe.
I wanted the primaries to be as long as possible to help with low end. So far the cylinders i have finished are within 1/2 inch of one another at 33inches.
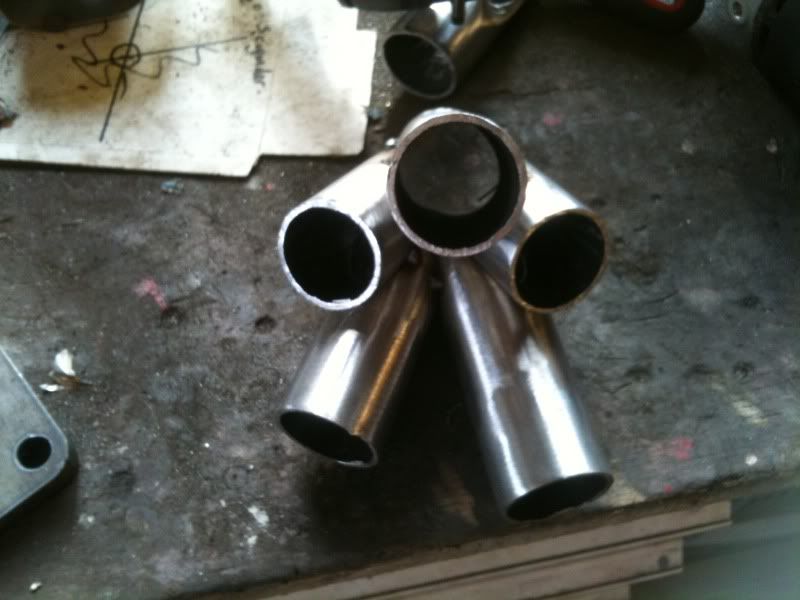
The collector was a nightmare to get right but turned good in the end. Once its all been tigged i will blend the pipes into the flange.
I have left plenty of room for teh downpipe and plenty of room for a larger turbo upgrade if i need one!! :lol:
Adam
-
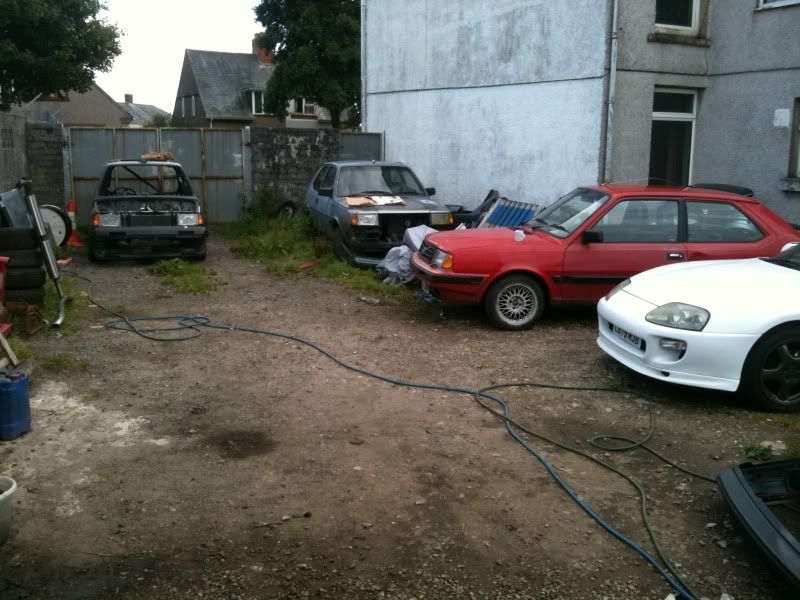
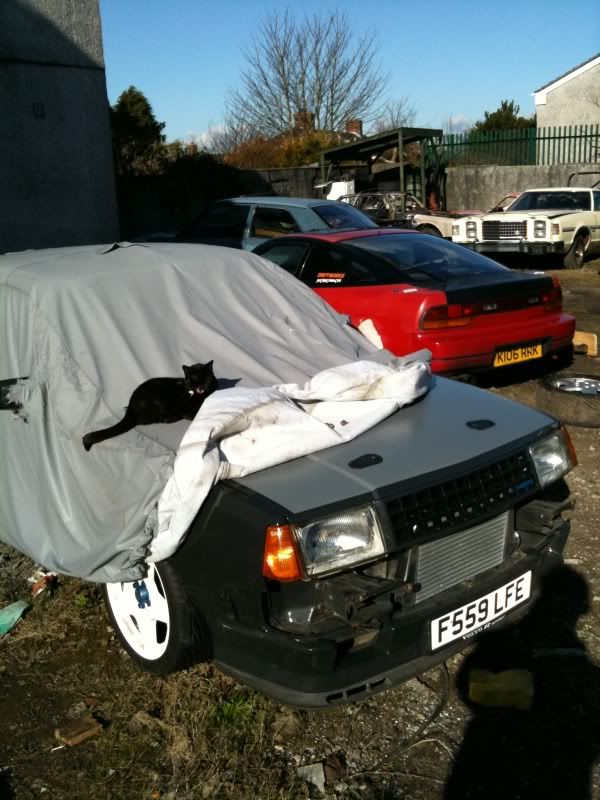
The red one is a 360 so will get a nicely tuned NA Redblock, the red one has crash damage so will be repaired using the body panels from the blue one which is really rusty underneath.
Adam
-
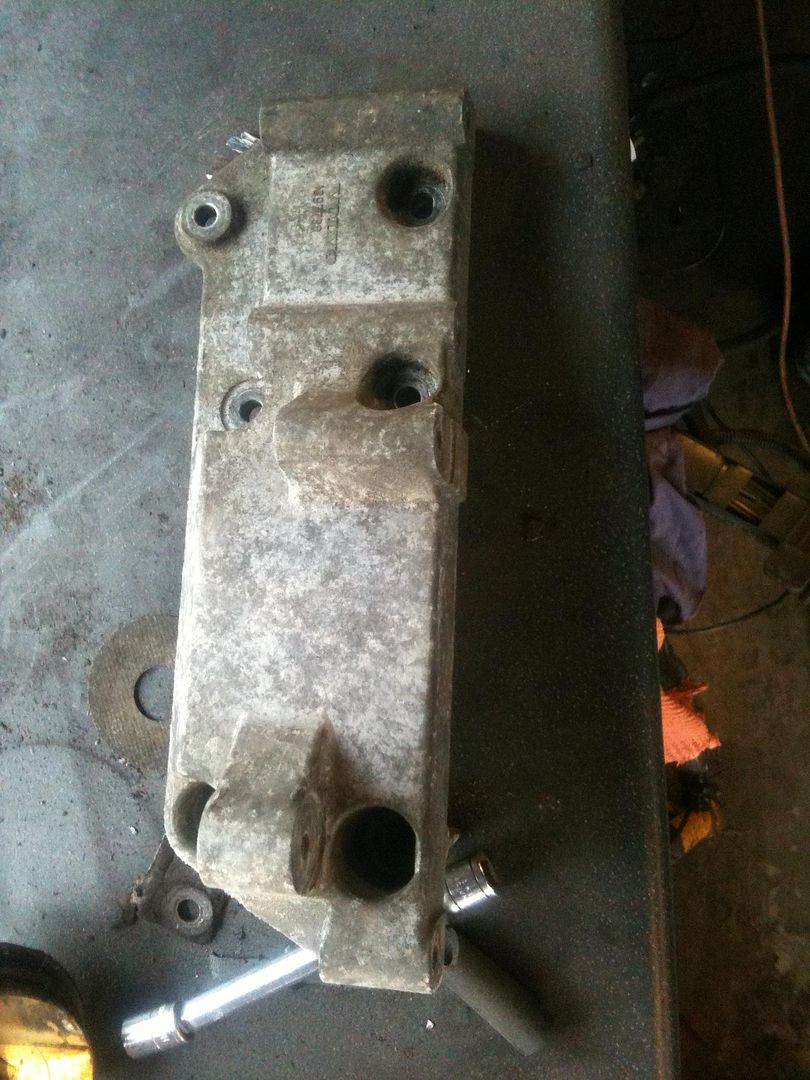
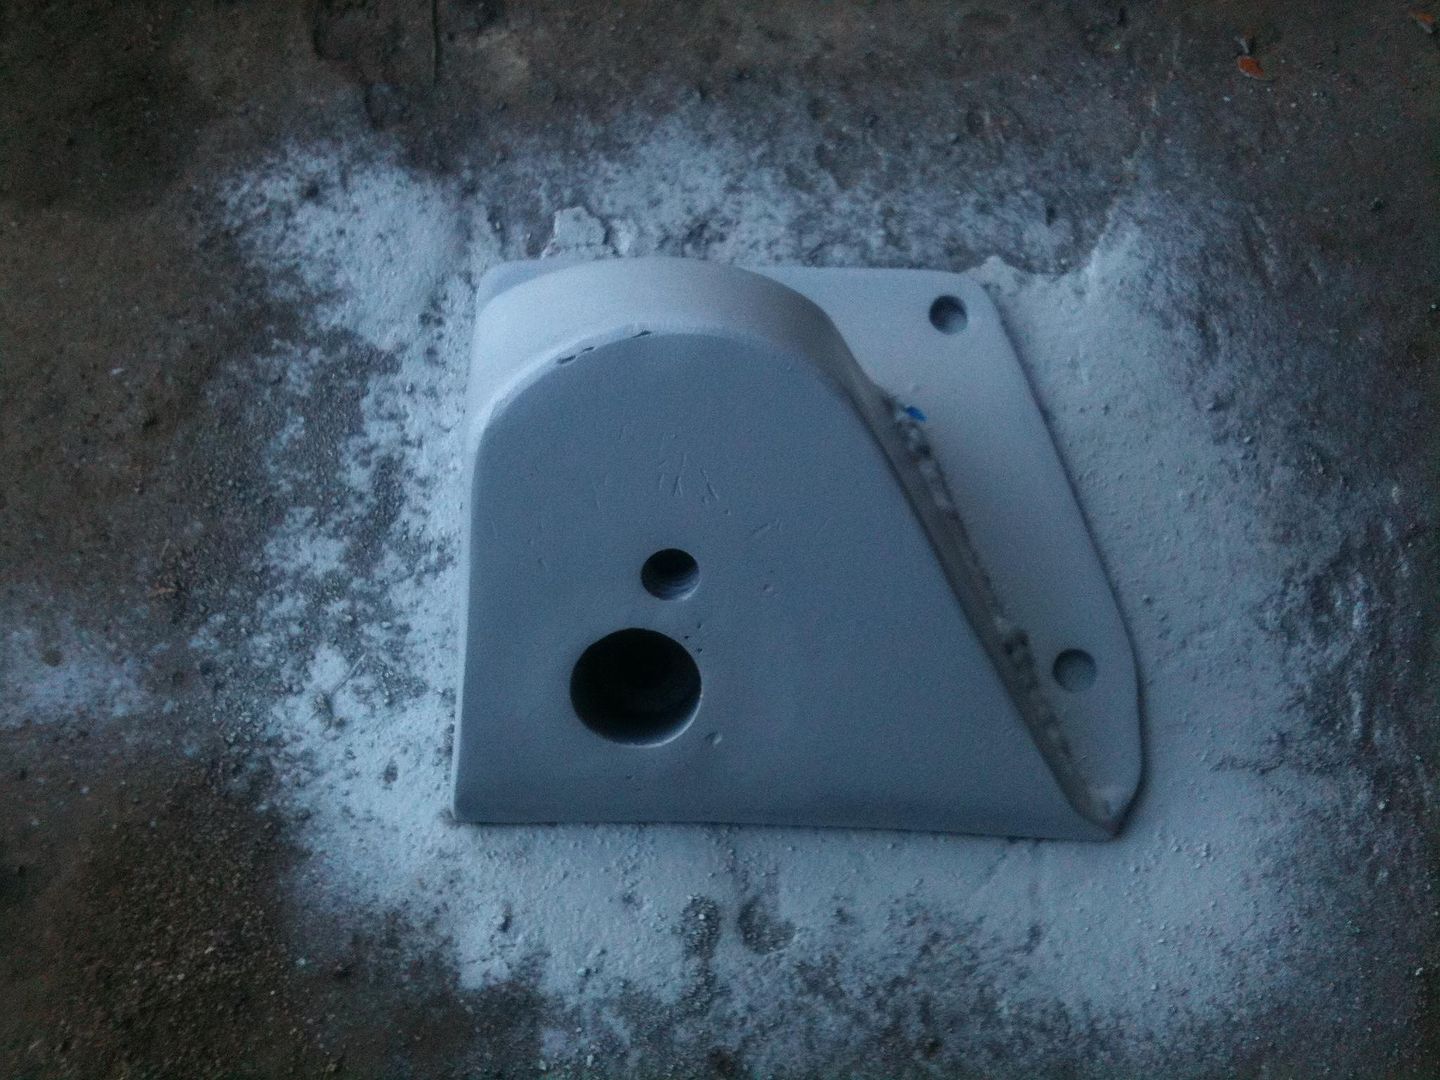
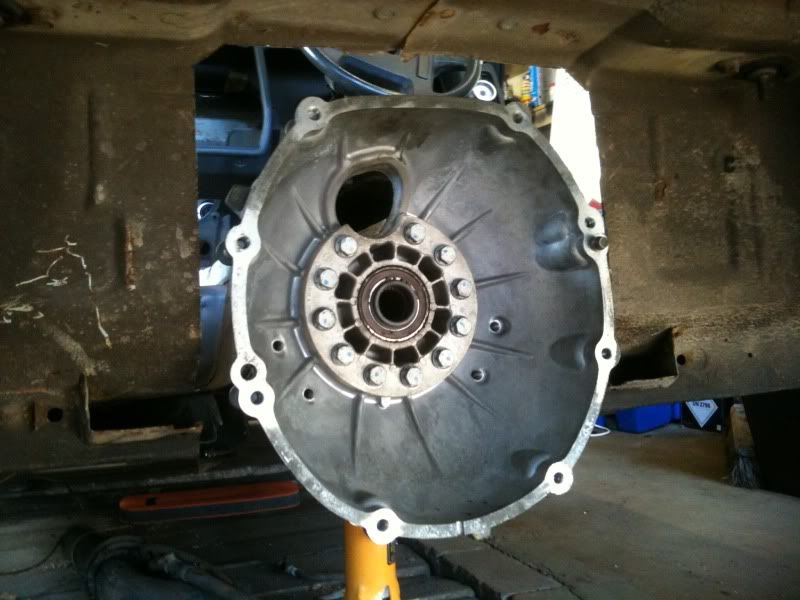
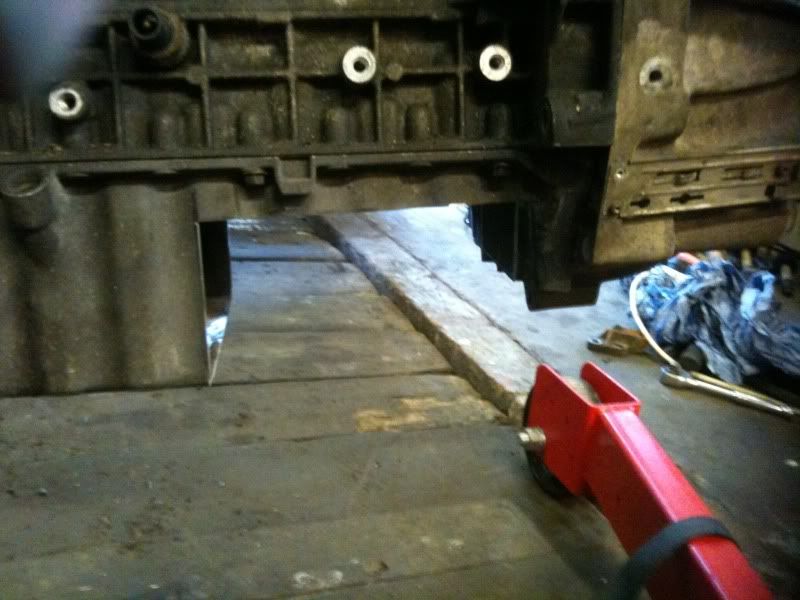
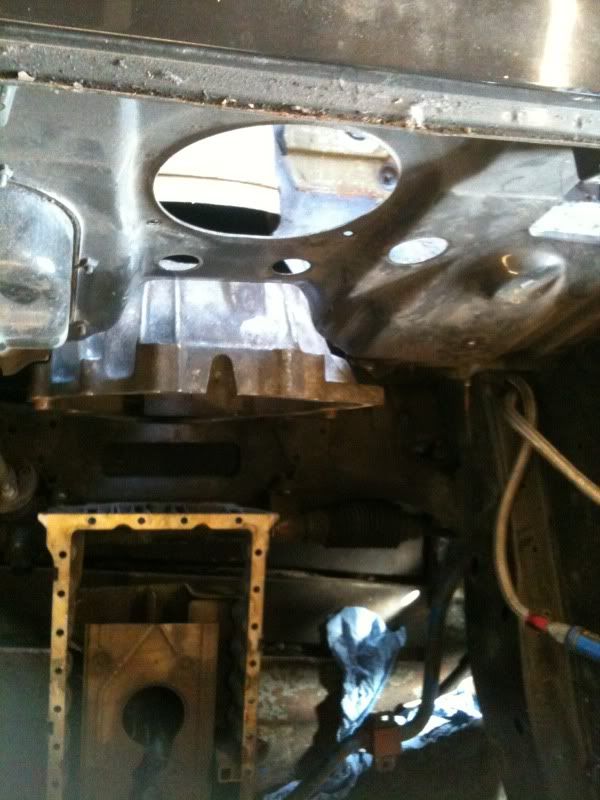
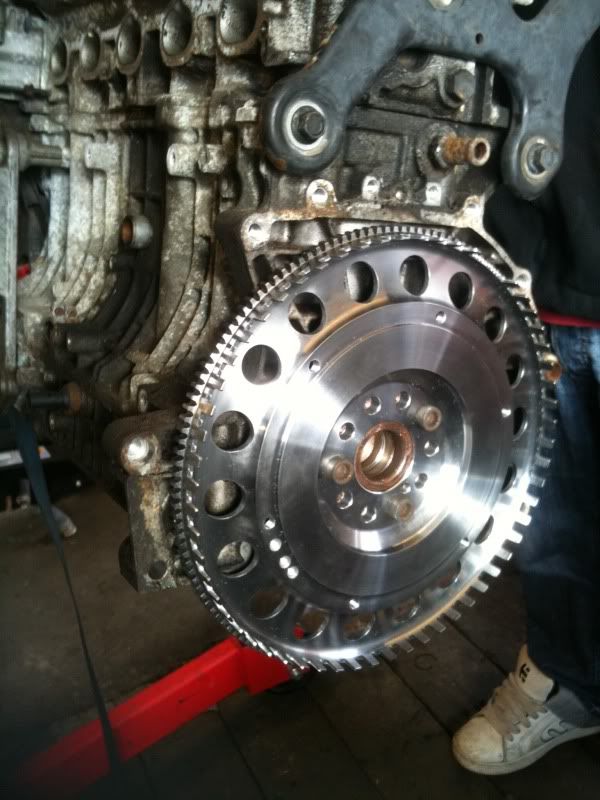
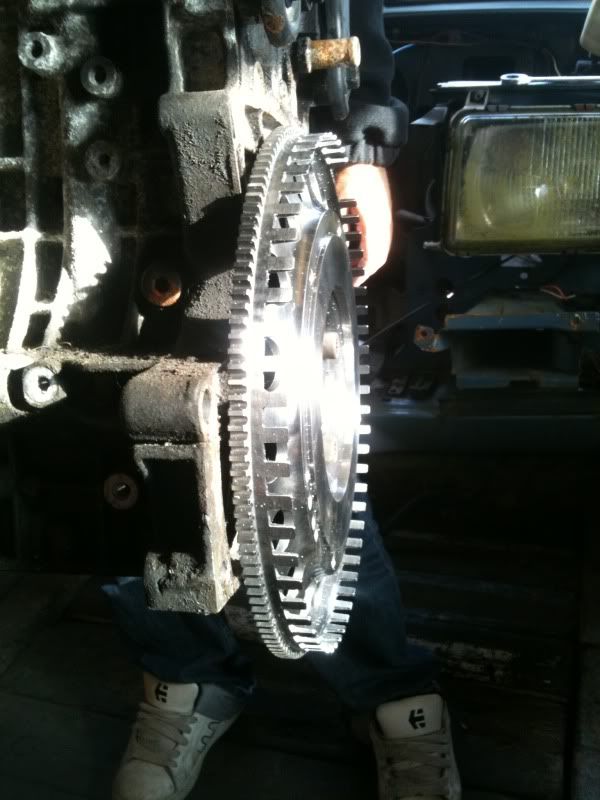
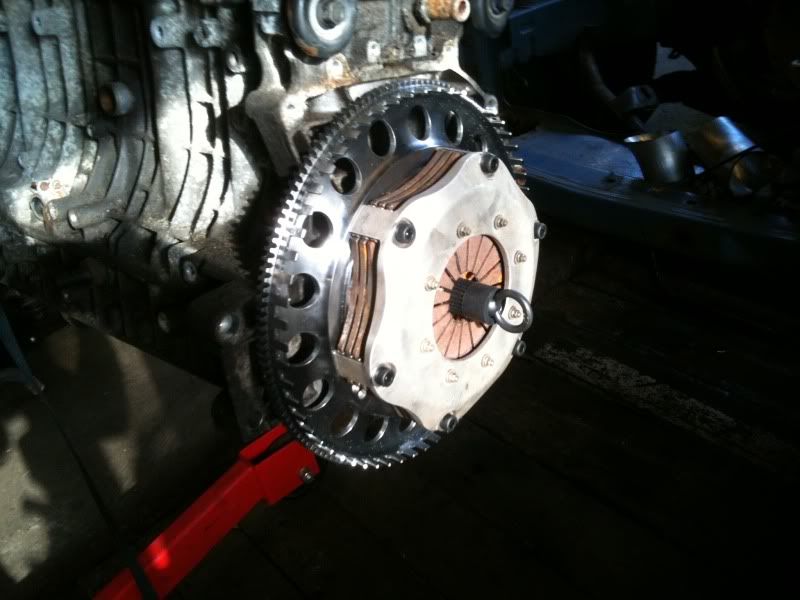
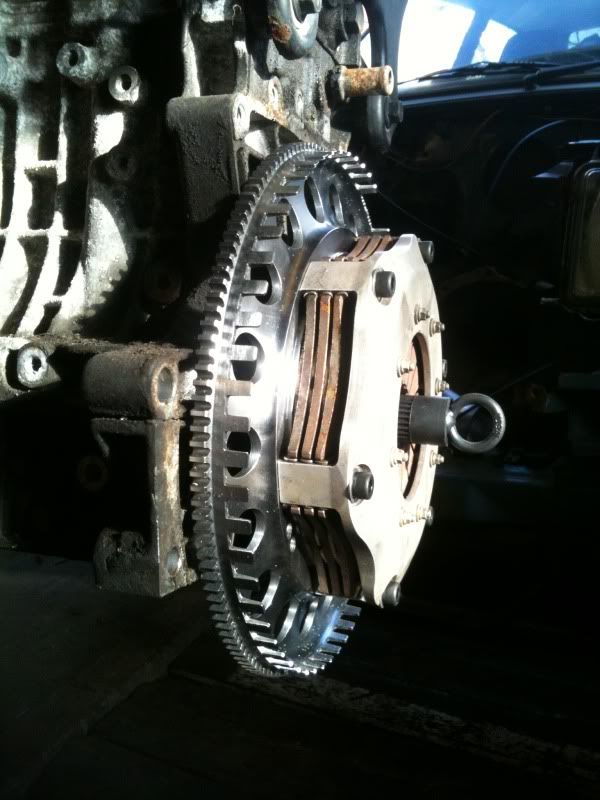
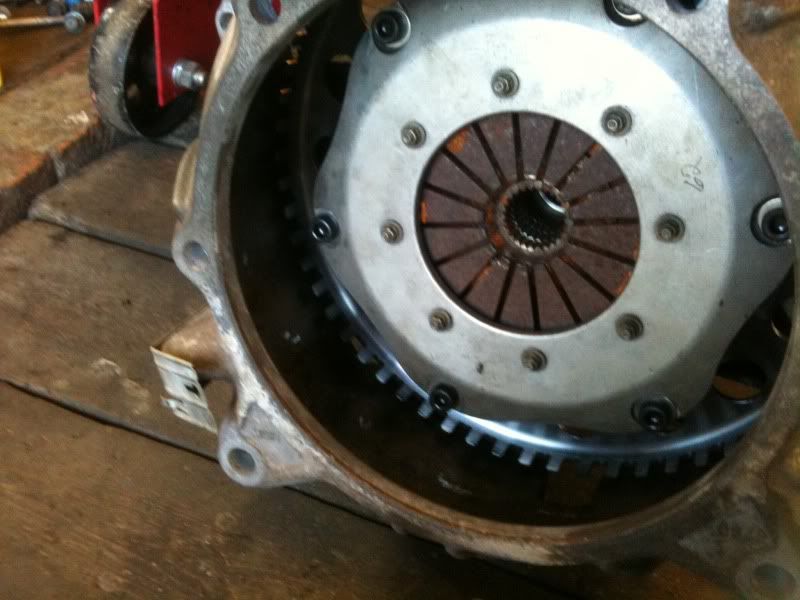
Today i have cut the sump and will big wing it to up the oil capacity again. I have also very nearly got the bulkhead cut enough to get the engine sat where i want it. I also did a dry run of the torque tube on the clutch with the bellhousing so i can go ahead and get an adapter plate made now.
Adam
-
Well i haver removed the rusty battery tray and smoothed the inner wing. I have also started work on the tunnel, which is what i was working on today when a parcel arrived for me. I'm glad its turned up now so i acn sort out making the adapter plaet for the Corvette torque tube!!!
Cheers Adam
-
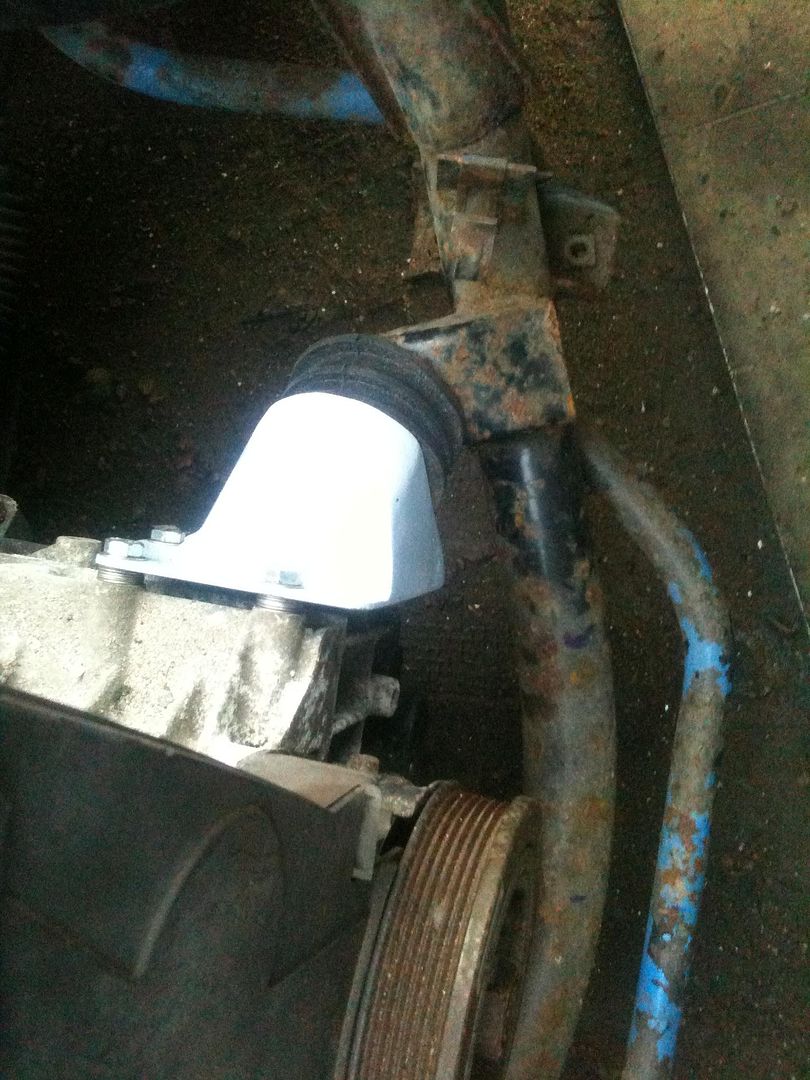
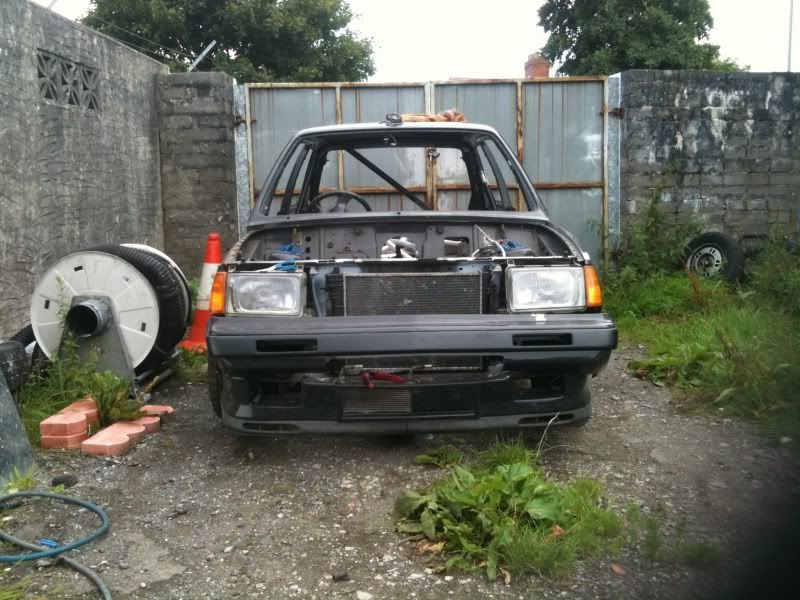
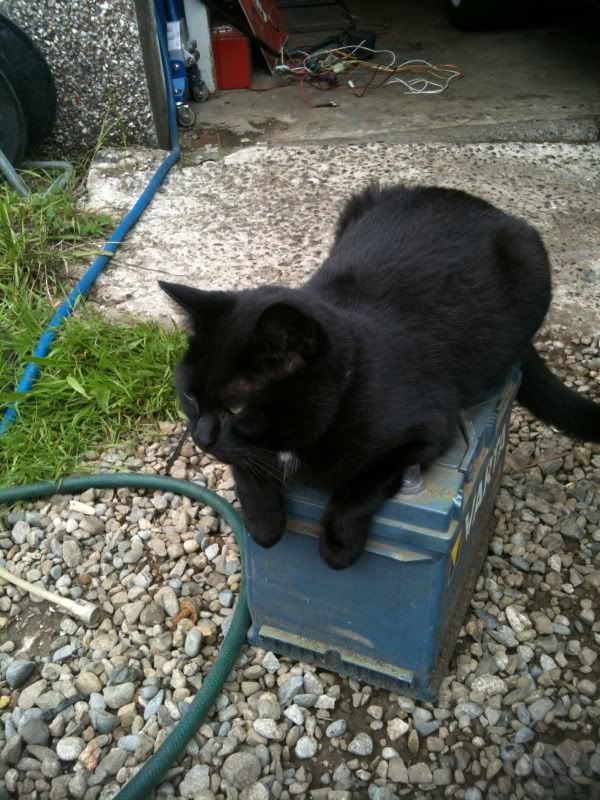
I got all of the glass out of the car for proper welding to commence and my cat decided she needed a recharge whilst helping me.
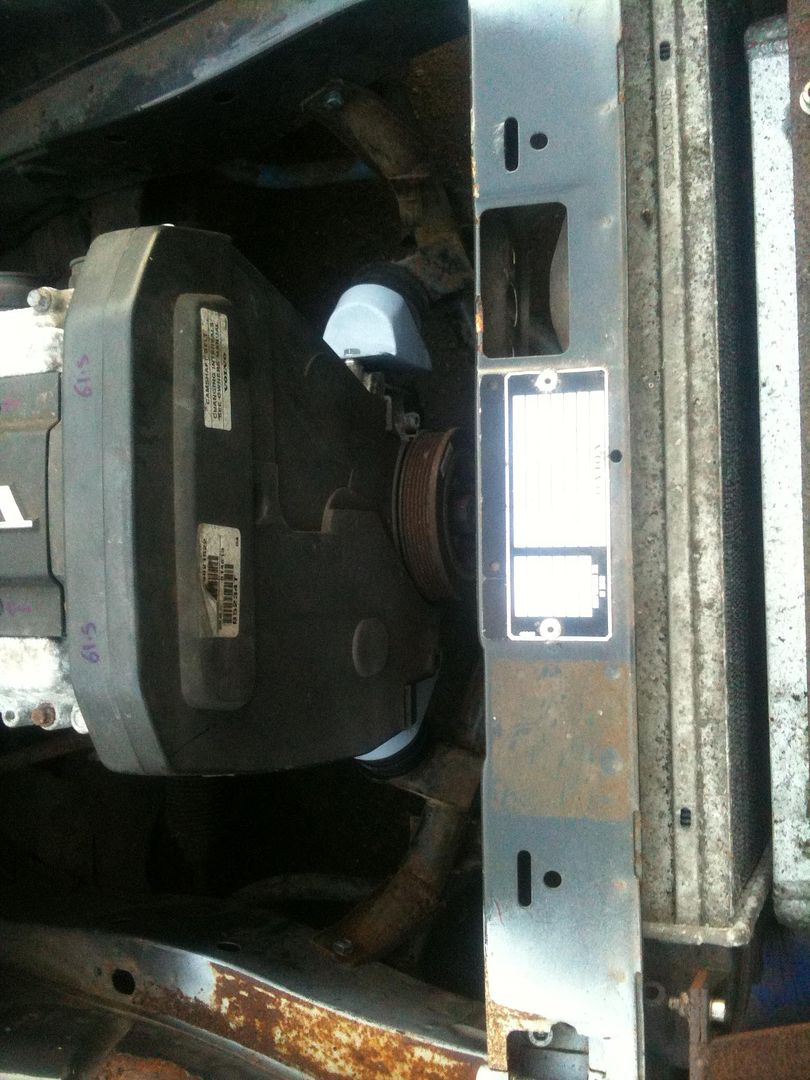
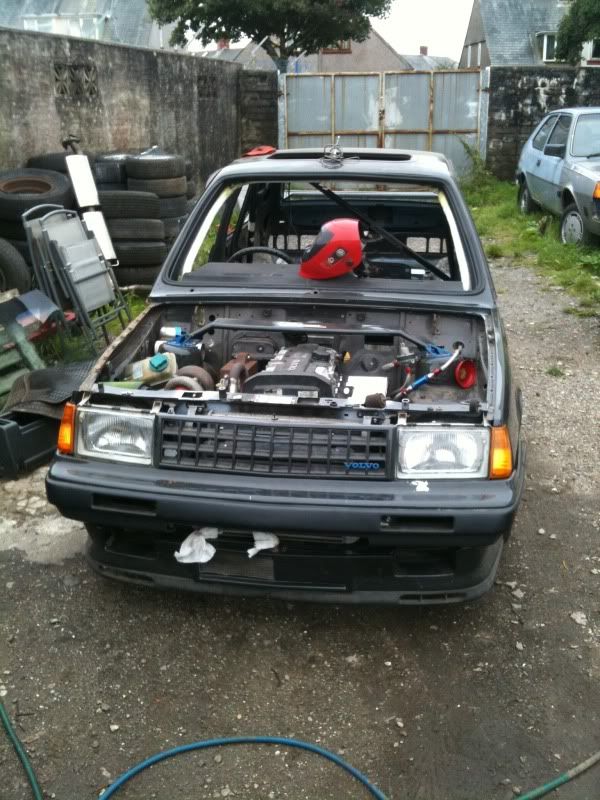
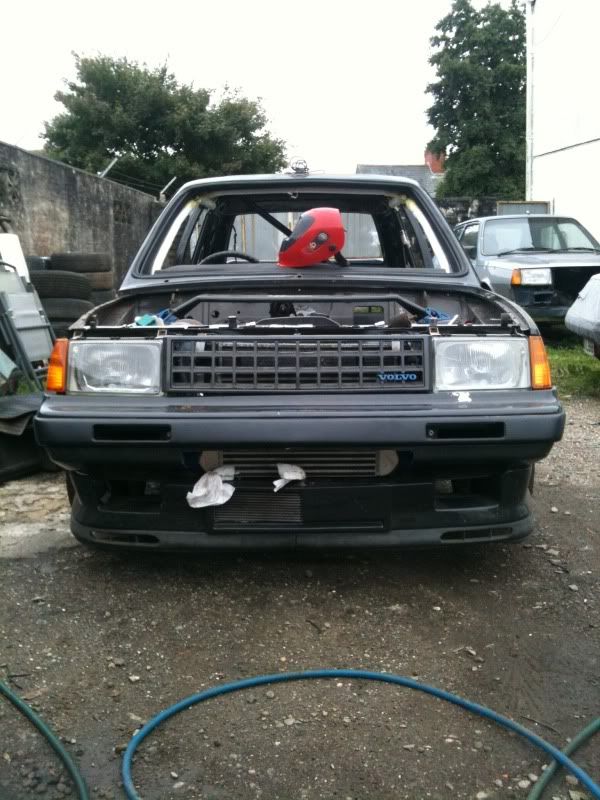
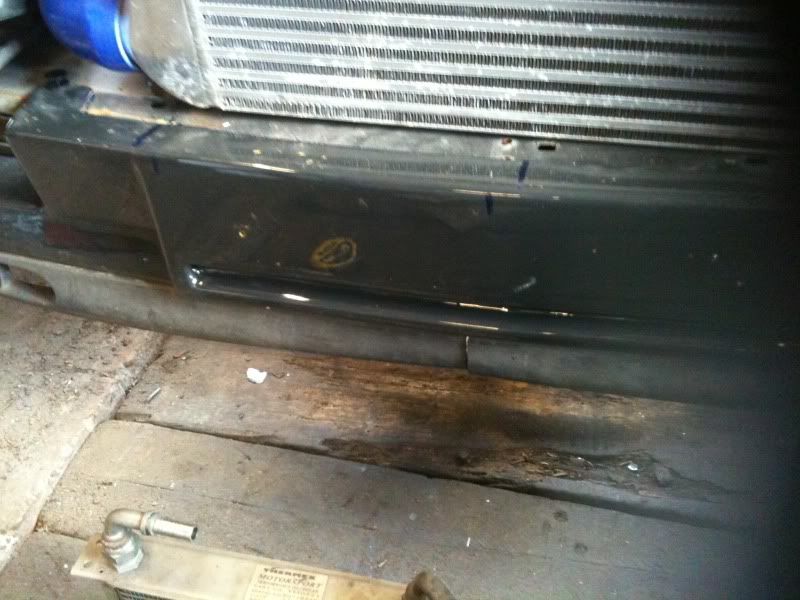
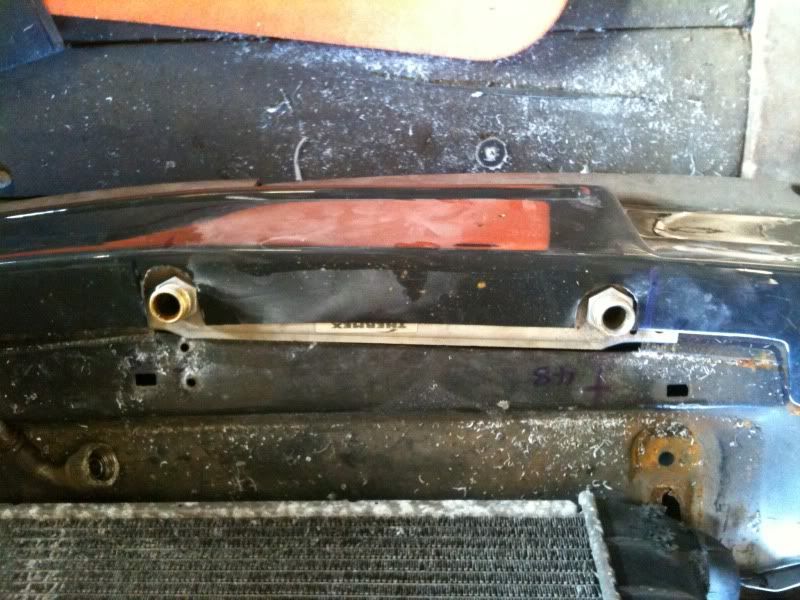
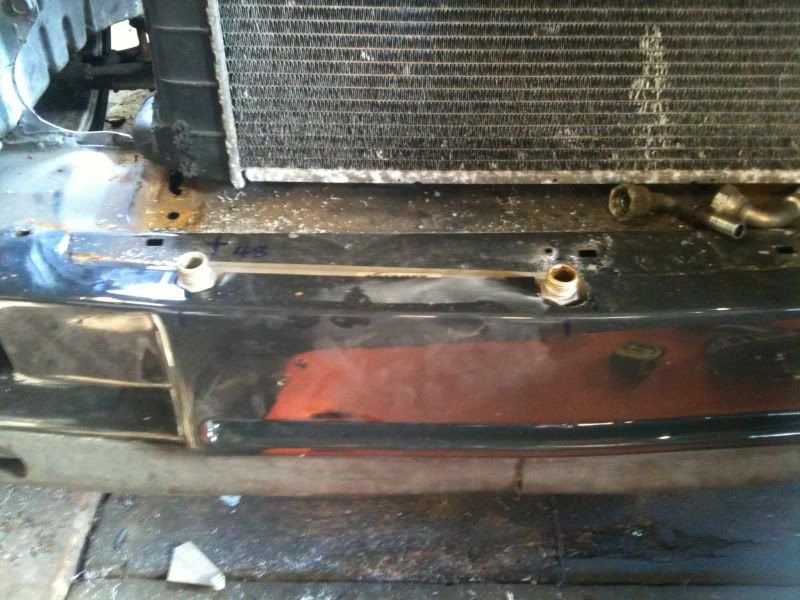
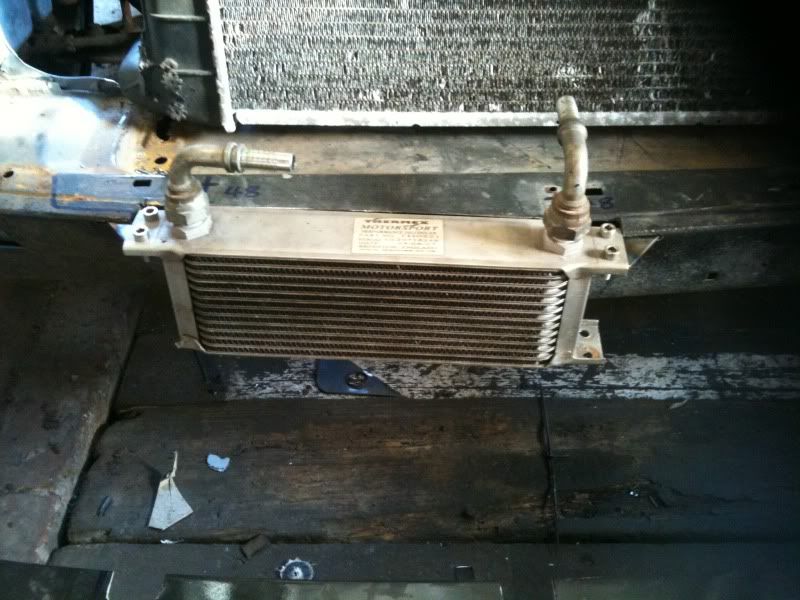
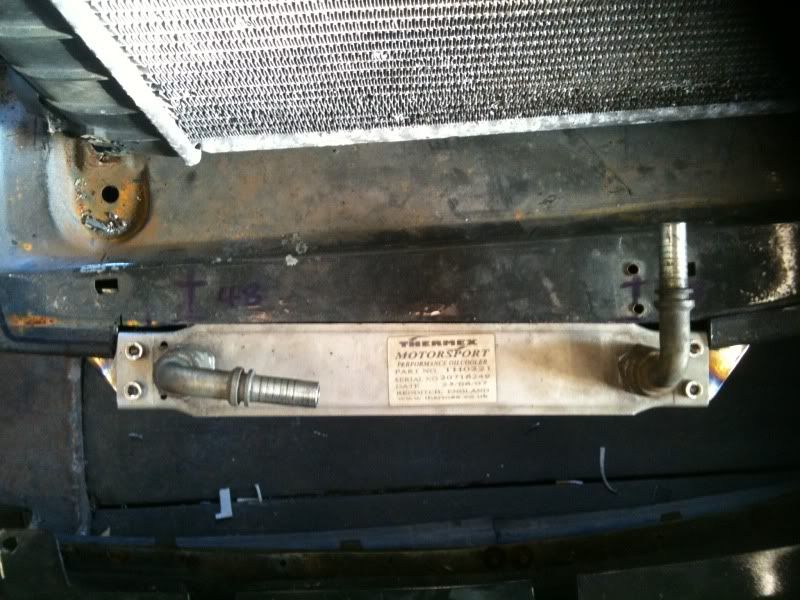
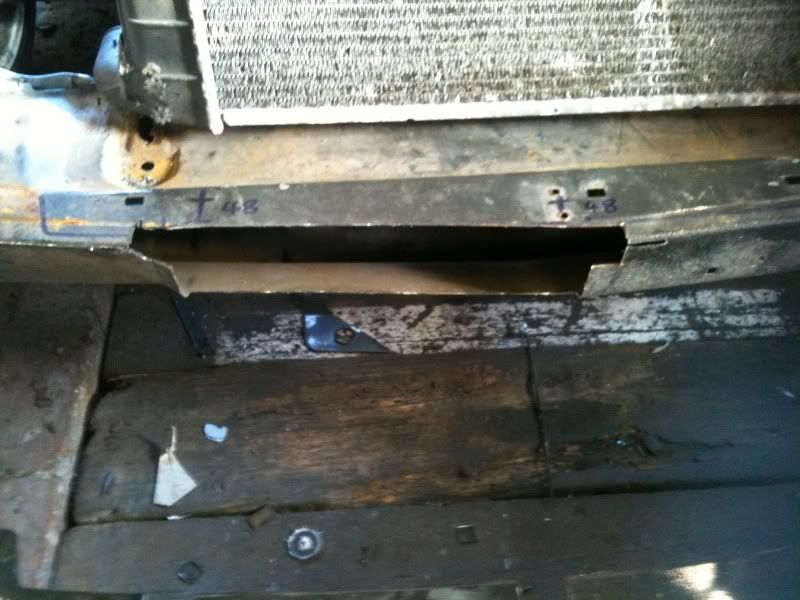
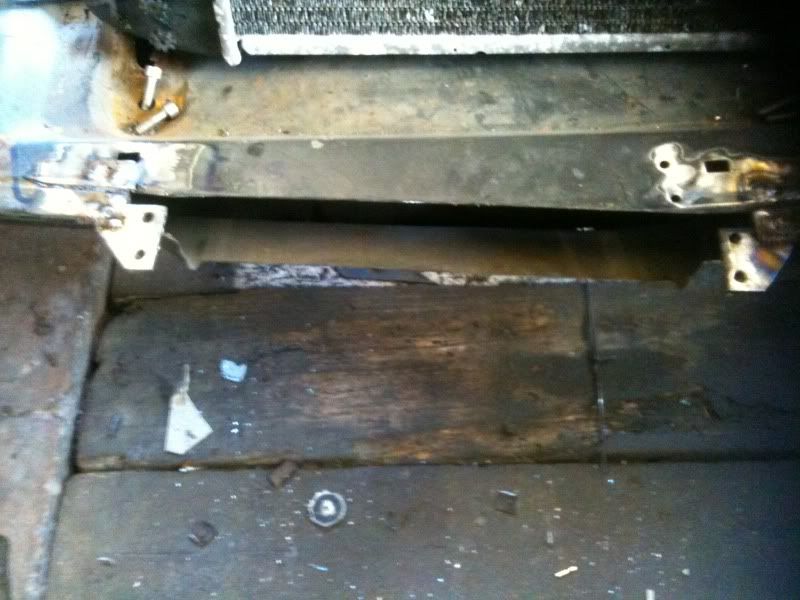
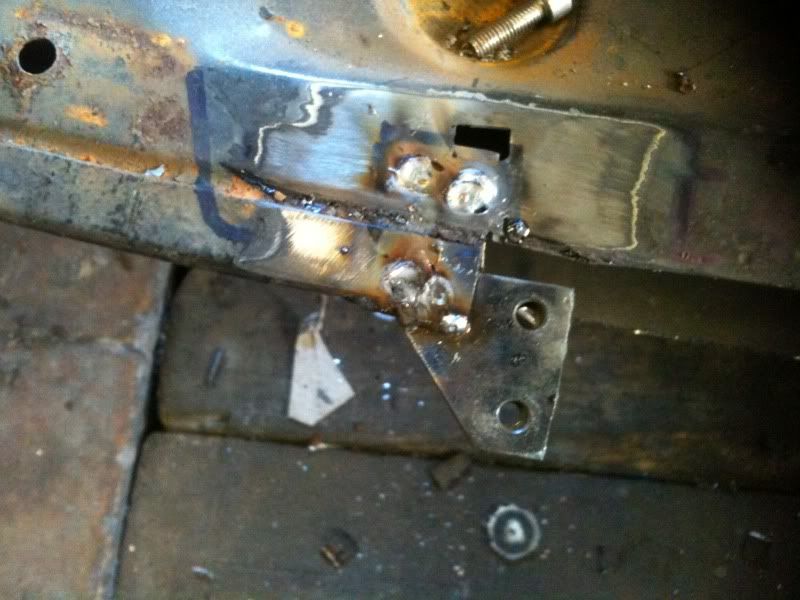
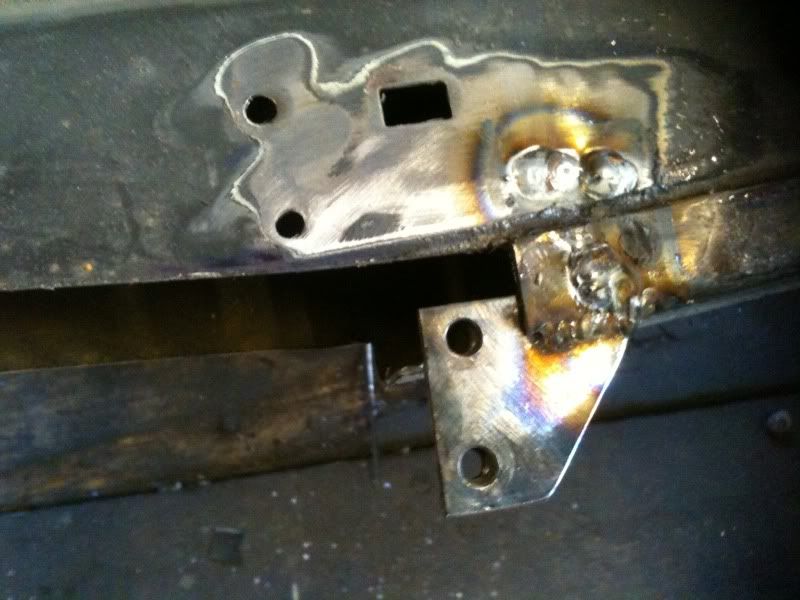
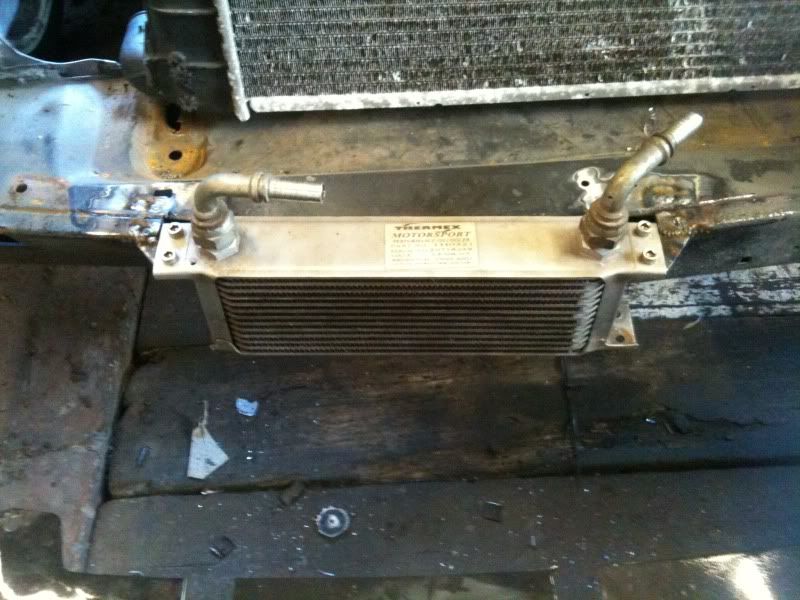
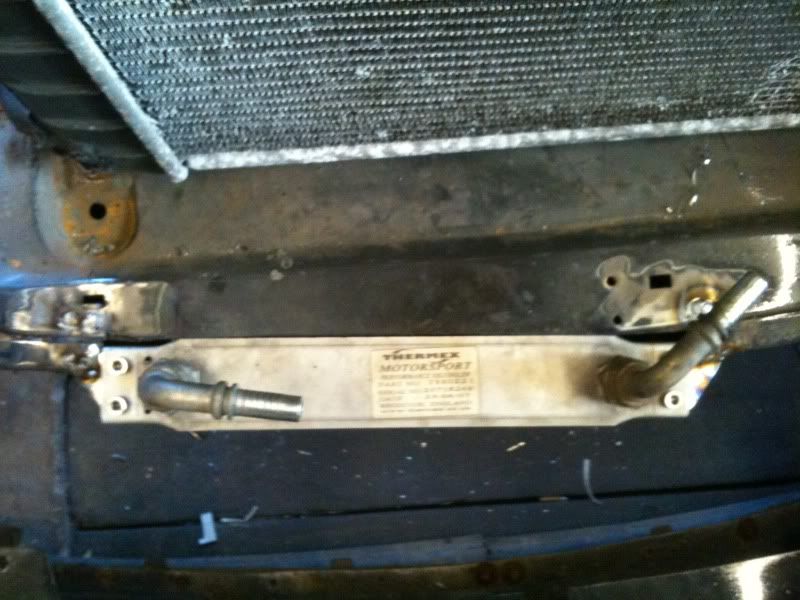
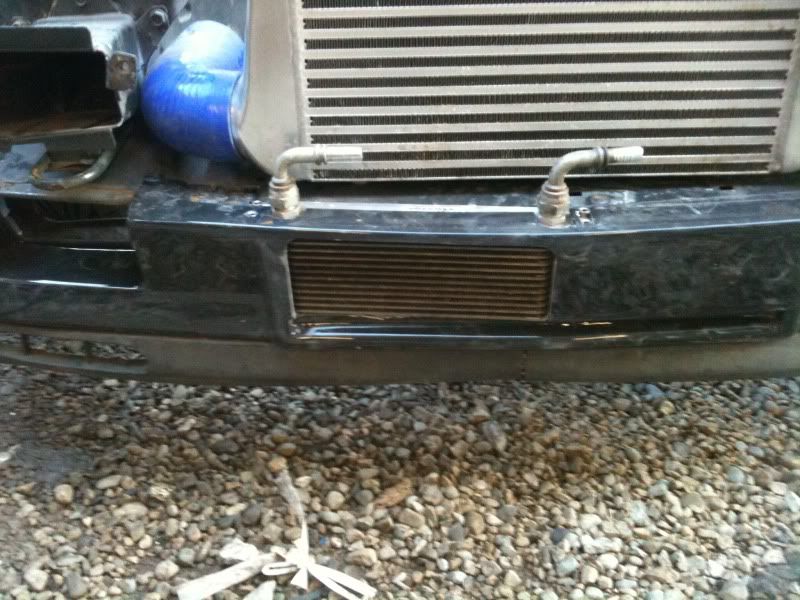
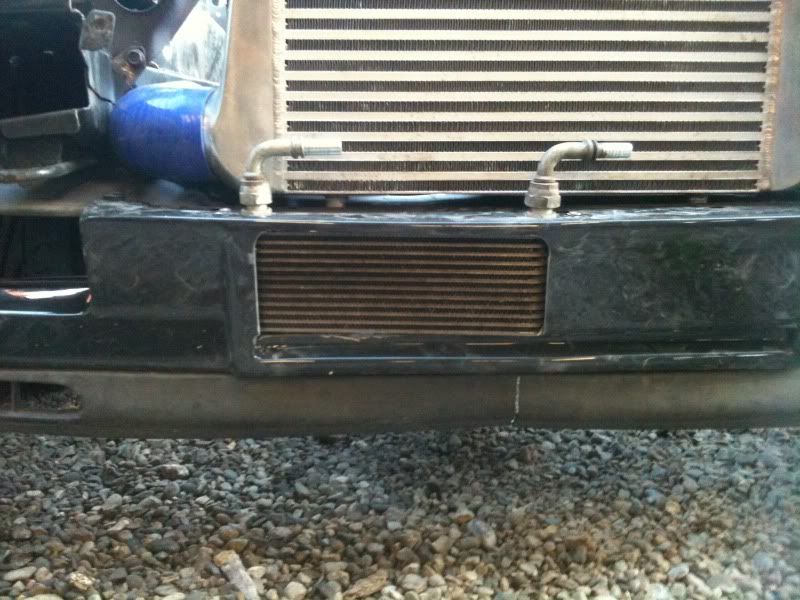
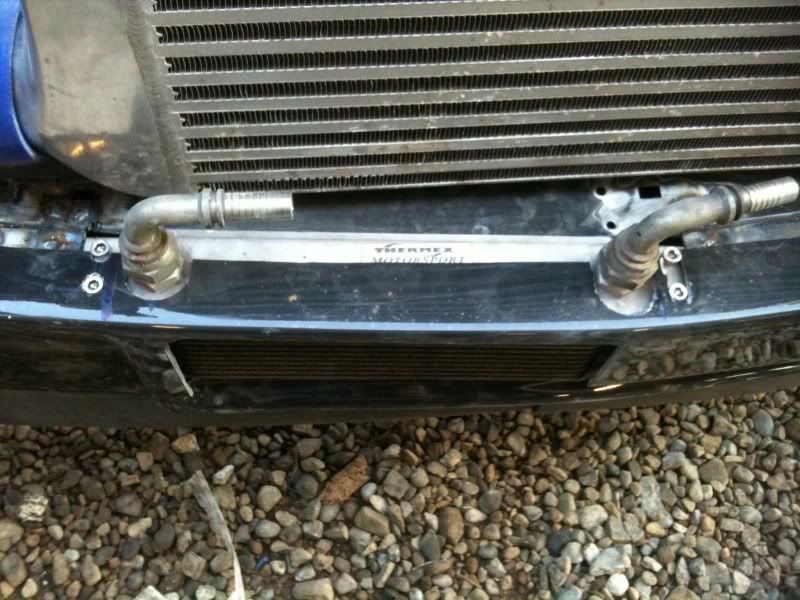
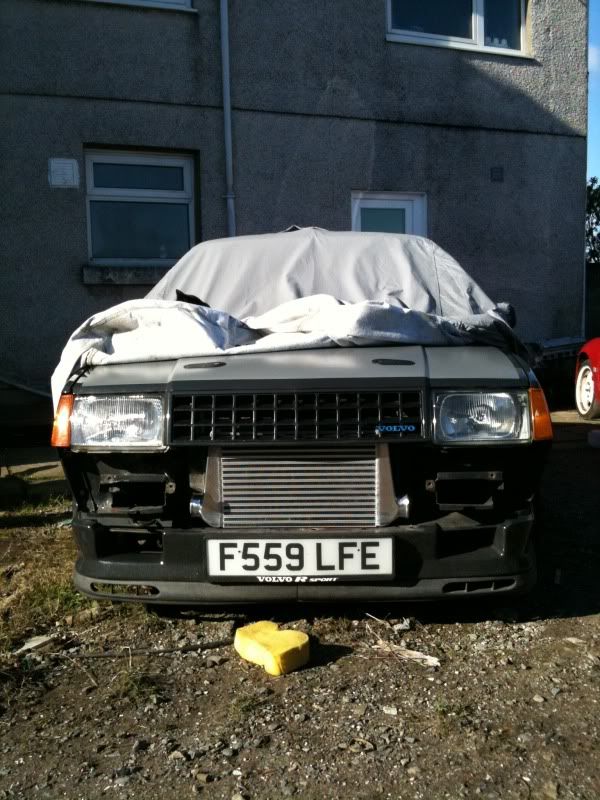
I worked out how to mount my oil cooler, it was an idea i had a while ago and today i got the courage to hack the front panel to make it fit. Luckily i got it all finished before i ran out of welding gas.
I'm very happy with the result, i will have to run a small japenese reg plate but it should be fine. The fibreglass will need fettling when i come to paint it but i'm happy with it.
Adam
-
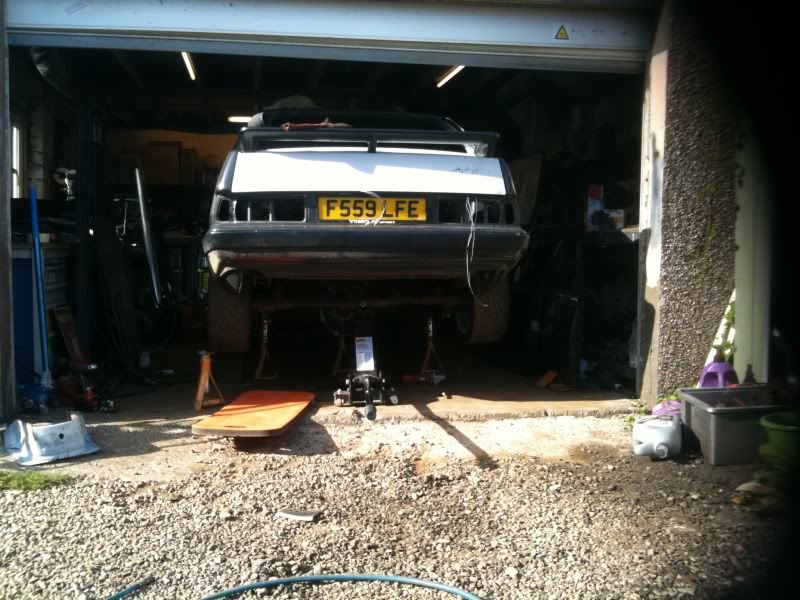
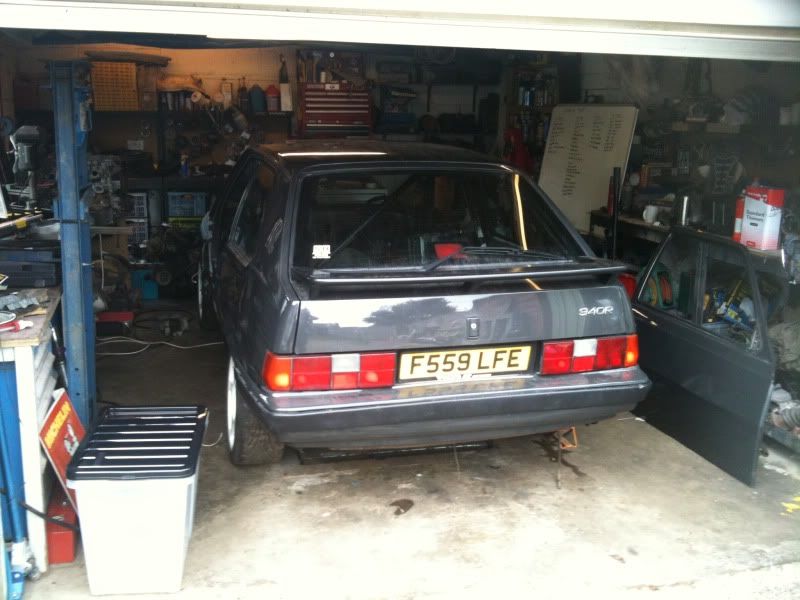
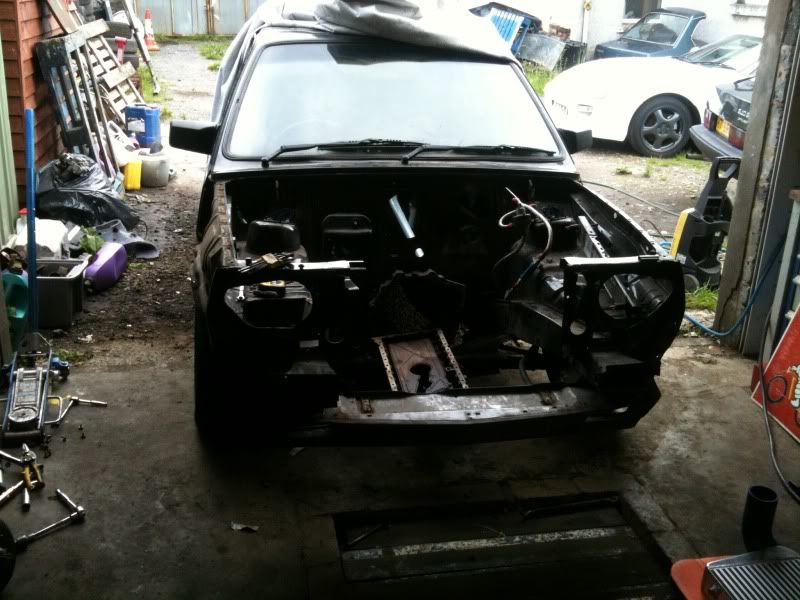
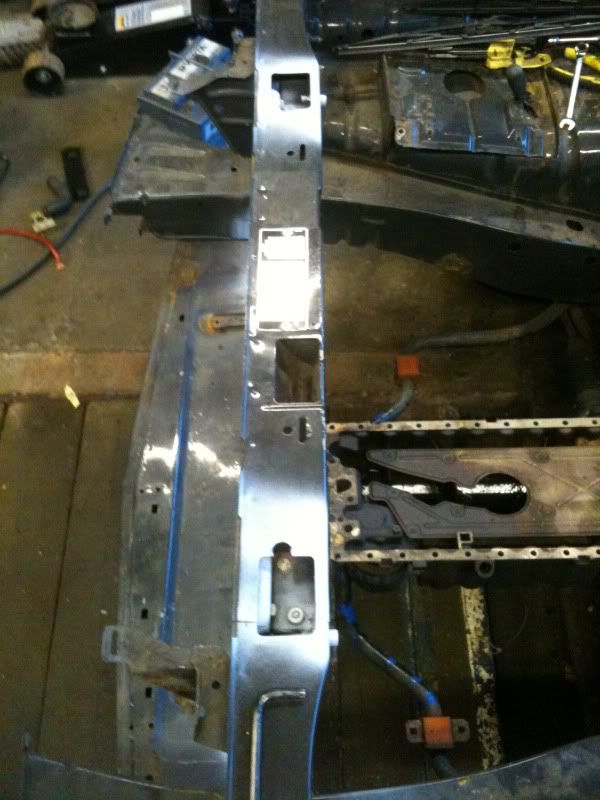
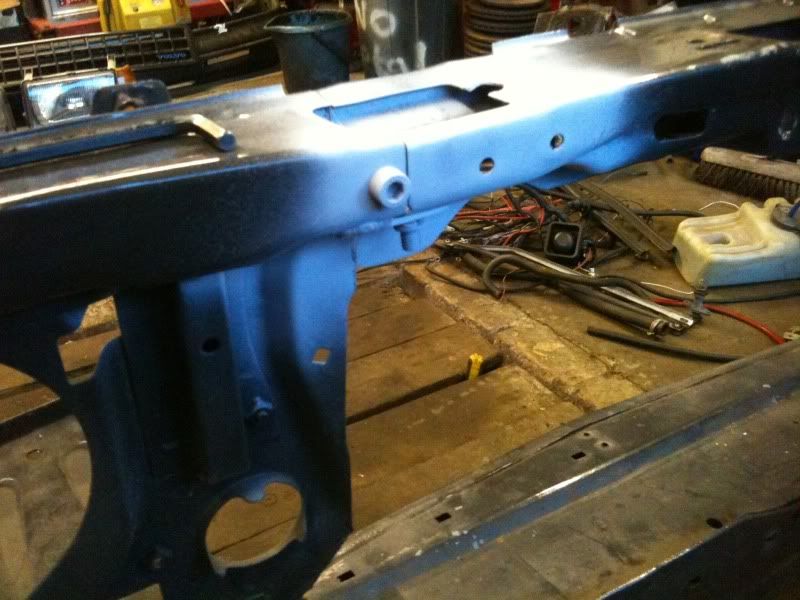
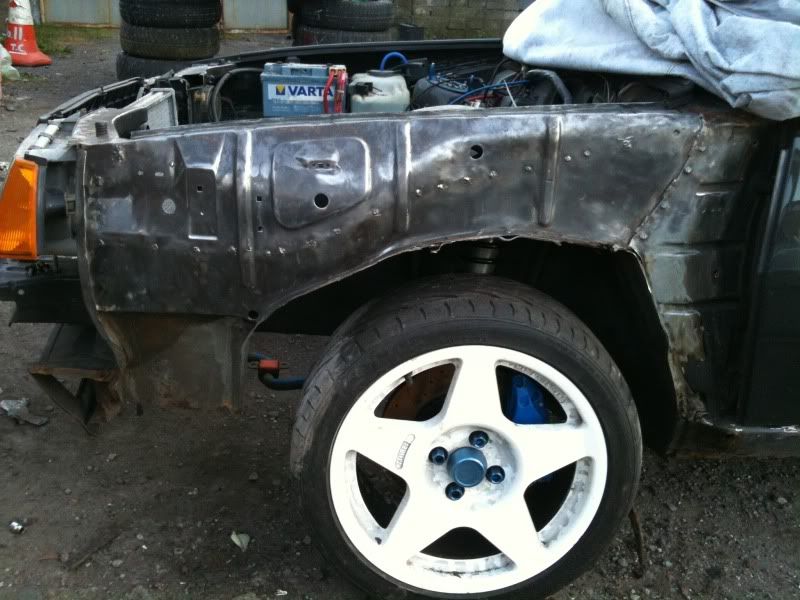
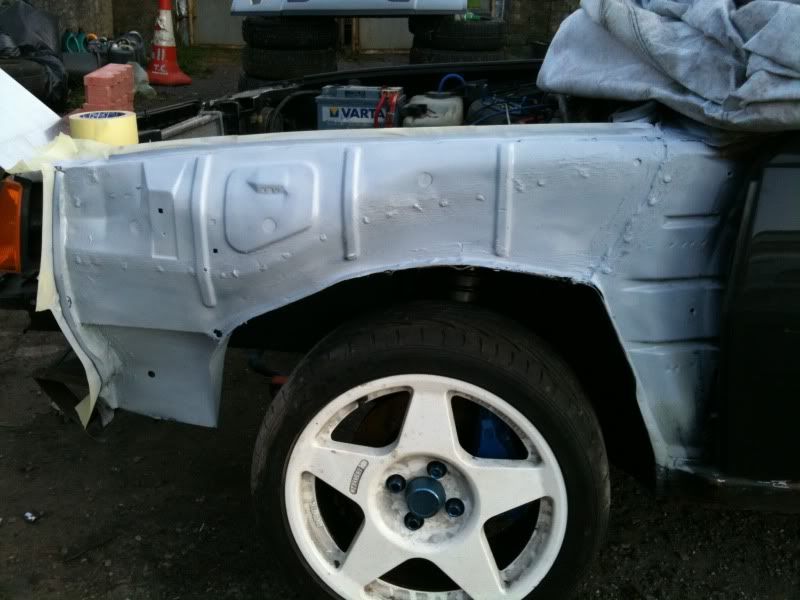
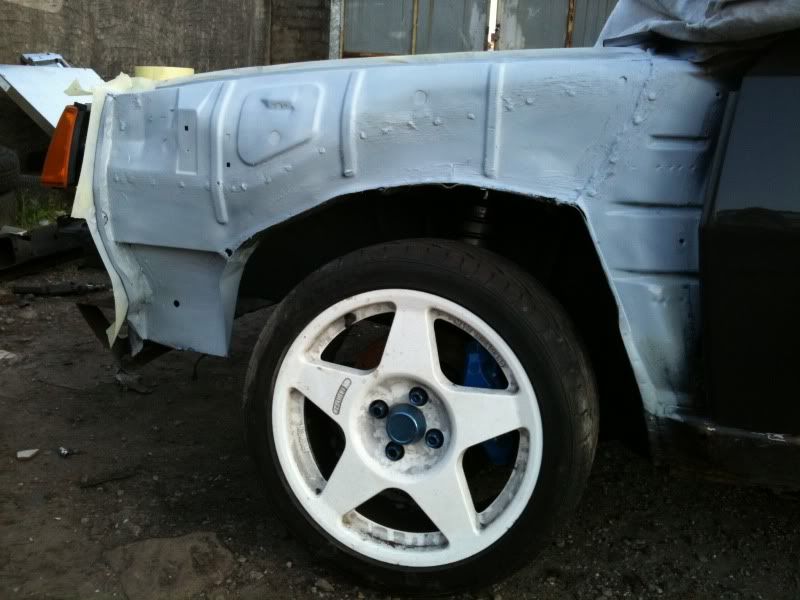
I finally have the car in the garage to de-panel so i can do all the grinding and welding of the shell with the glass removed. I'm working on the engine bay at the moment because the rain has been stopping me removing the final panels.
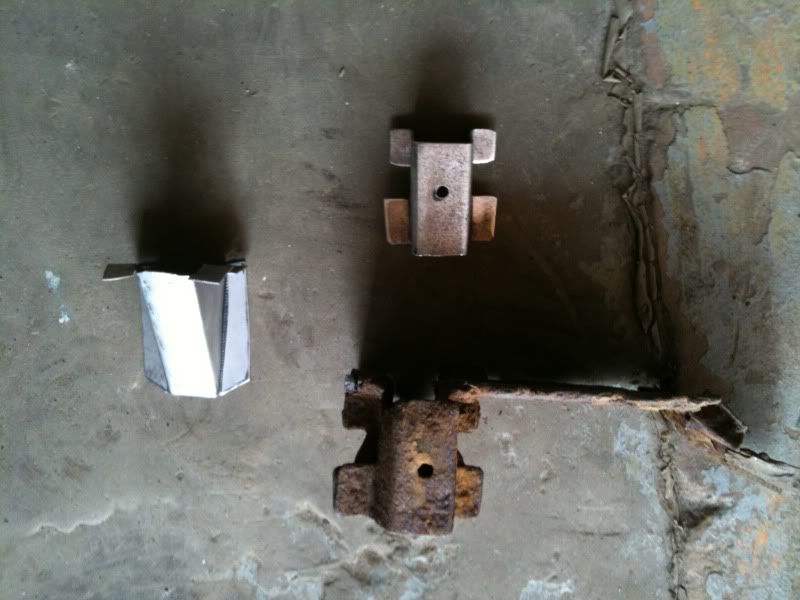
Progress however is being made, mainly the little head scratching parts that take hours thinking about then minutes making. Exactly like the removeable bonnet slam panel. I had to make it removeable but useable, retain its strength and be able to slot back in without major work. The end conclusion was two tabs on the body with captive nuts and two on the panel again with captive nuts.
The only reason i need this panel is because of the extra length of slotting the T5 in.
I have also sorted the small rust section on the O/S innner arch and removed the lip that reduces the amount of suspension travel i end up with.
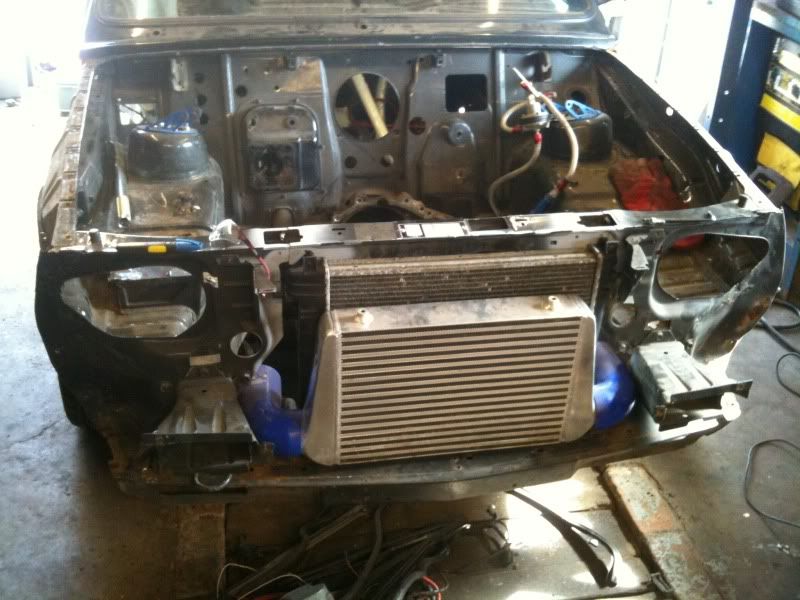
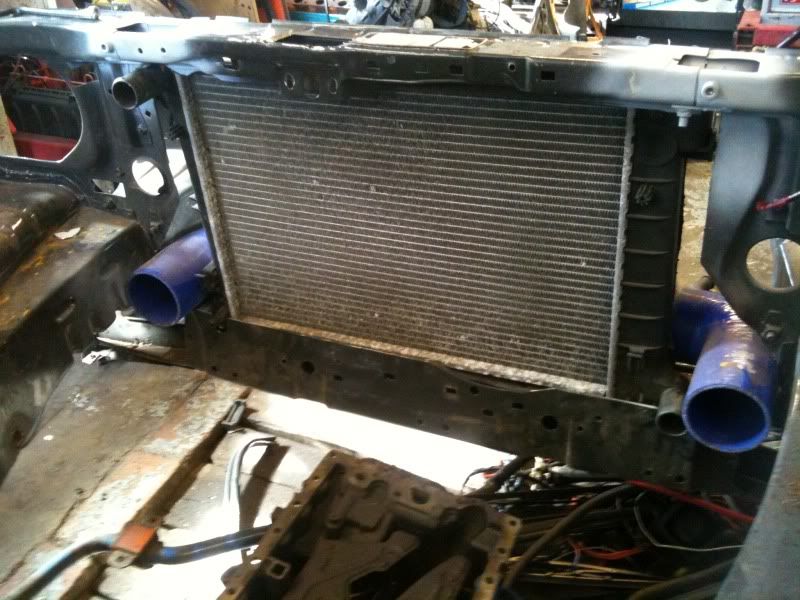
I have also totally stripped the wiring and the engine bay and am looking at modding the bulkhead to allow best fitment of the engine.
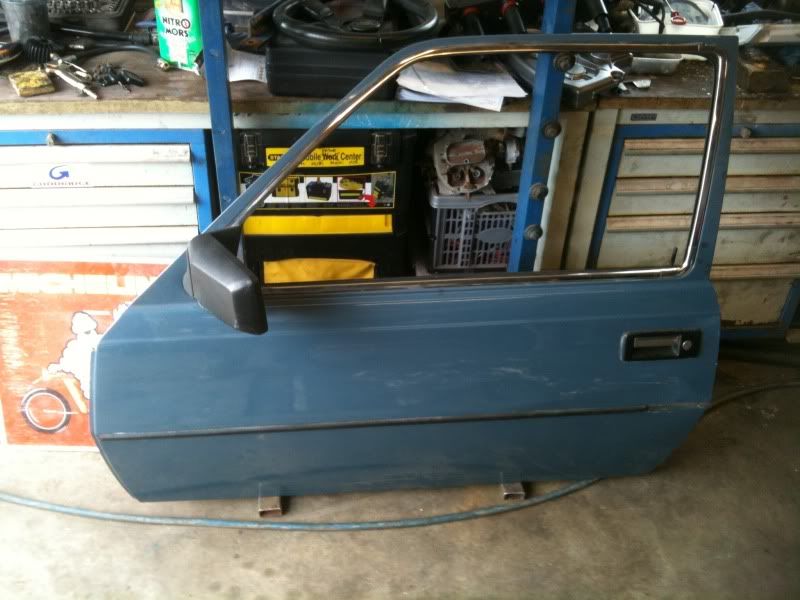
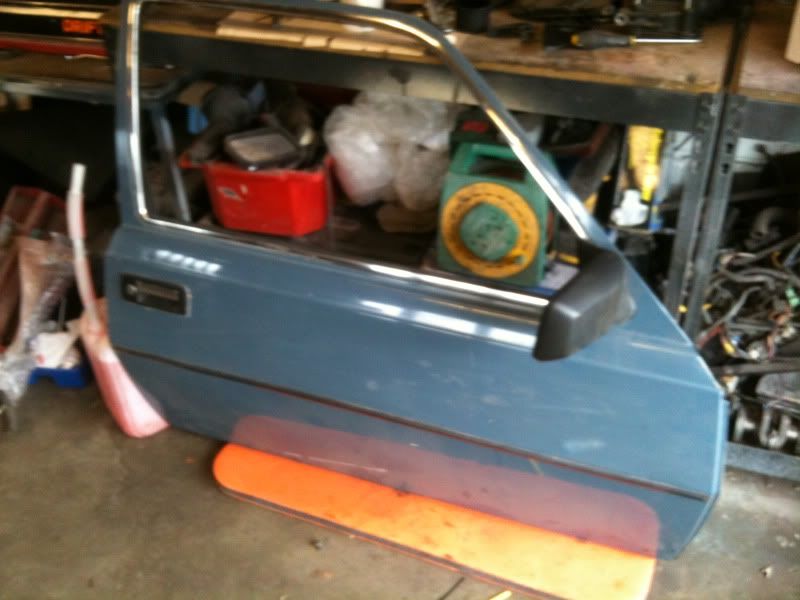
I picked up a pair of rust free but dented doors aswell.
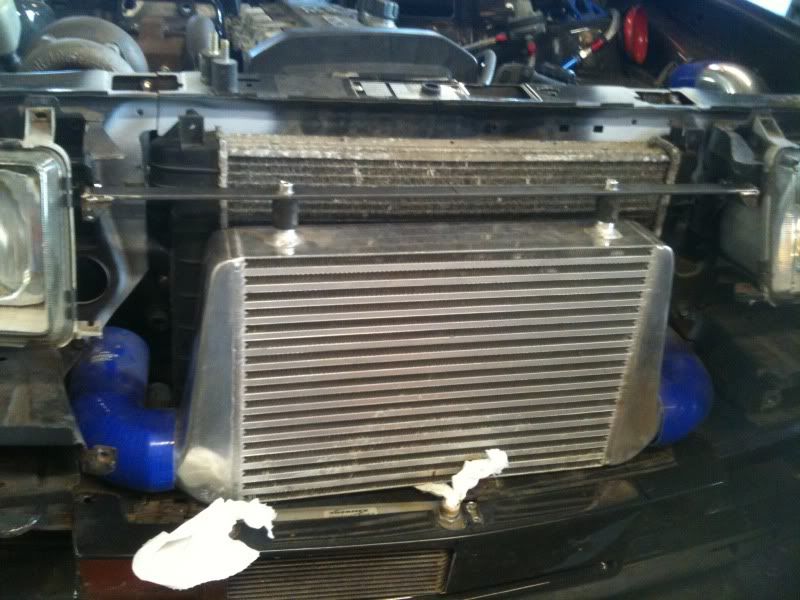
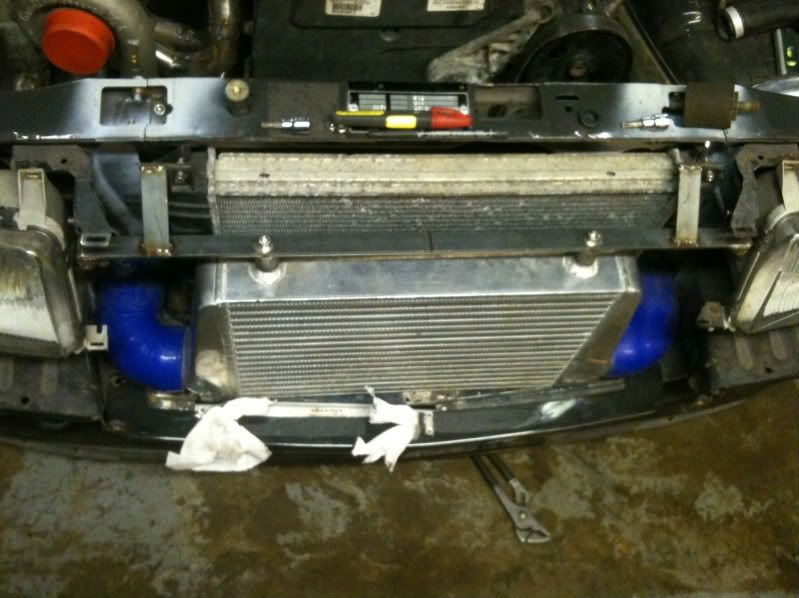
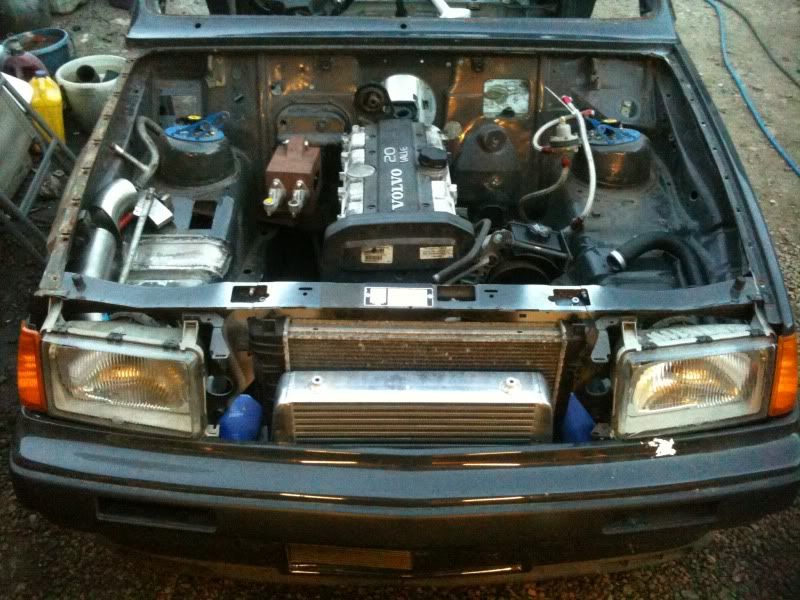
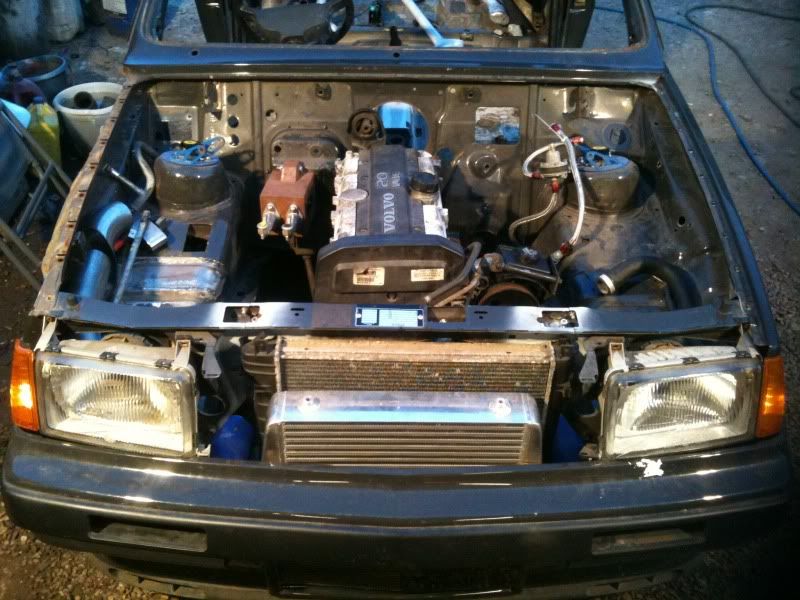
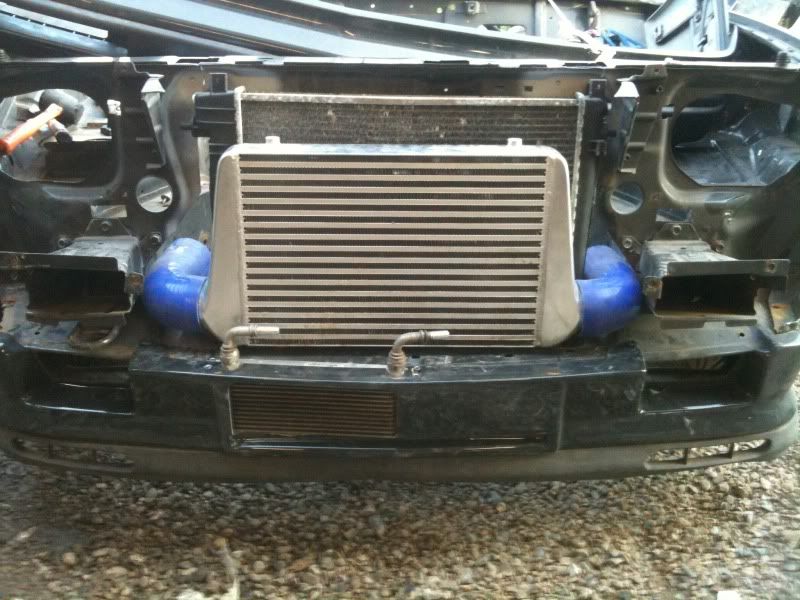
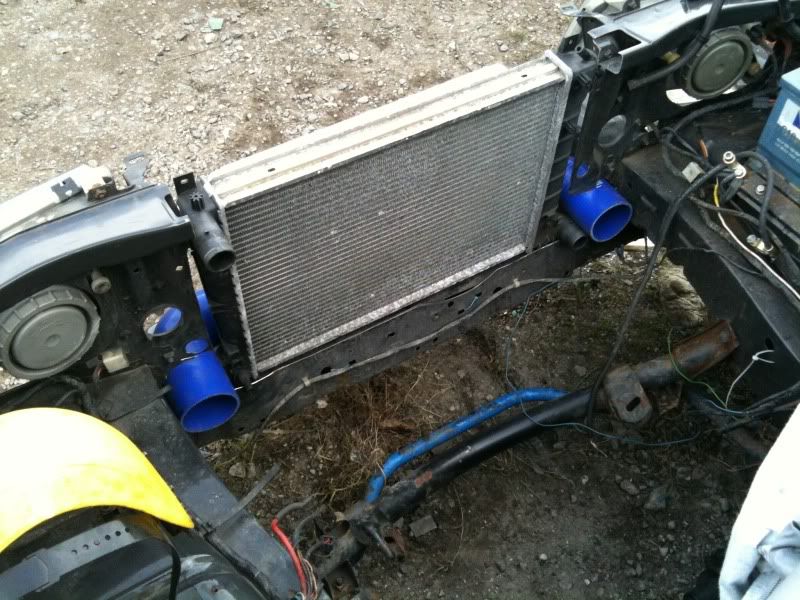
And got the final fitment of the intercooler and radiator down aswell.
Any ideas on position for oil cooler????? Running out of space.
Adam
-
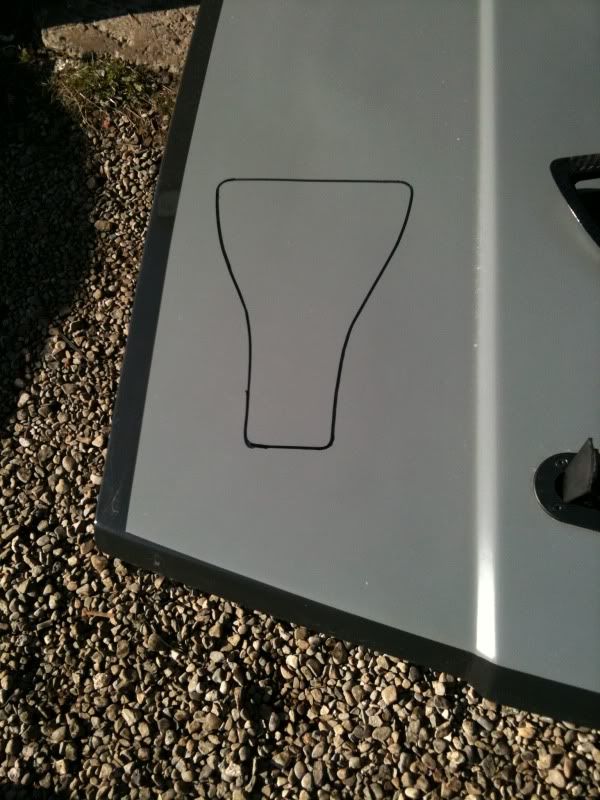
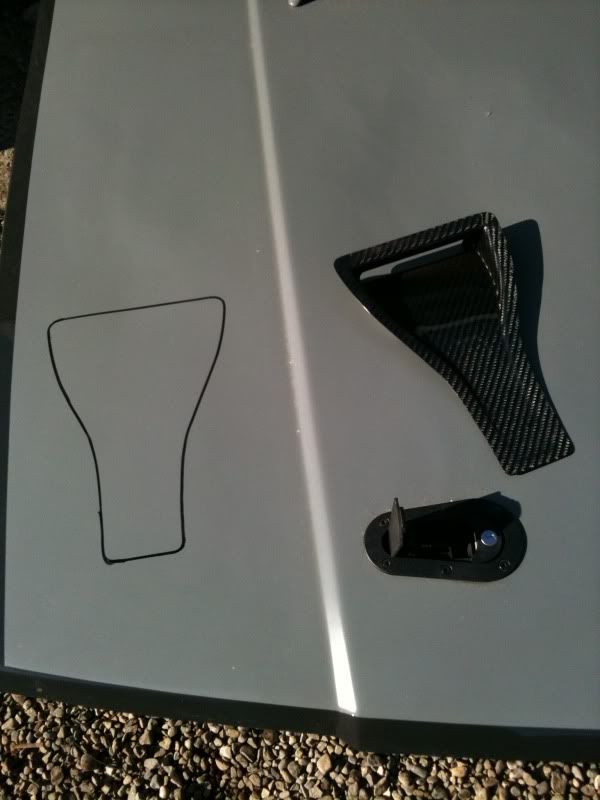
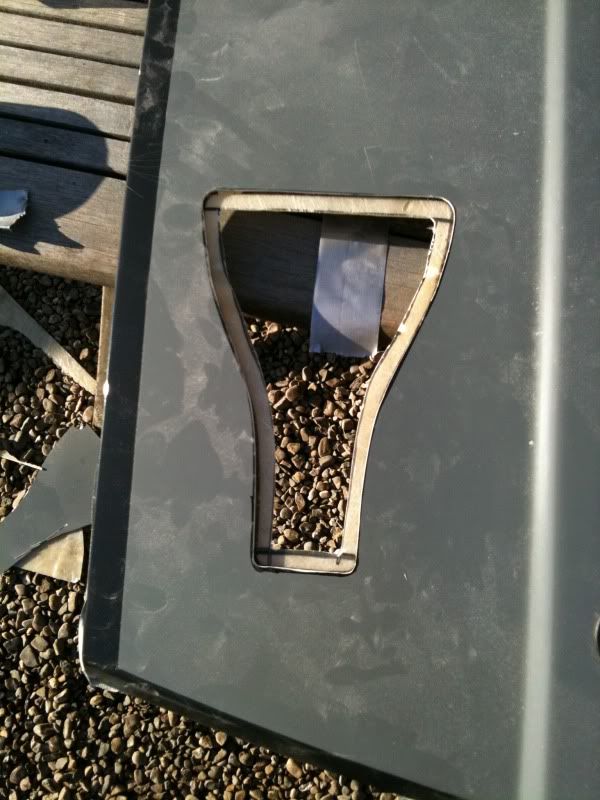
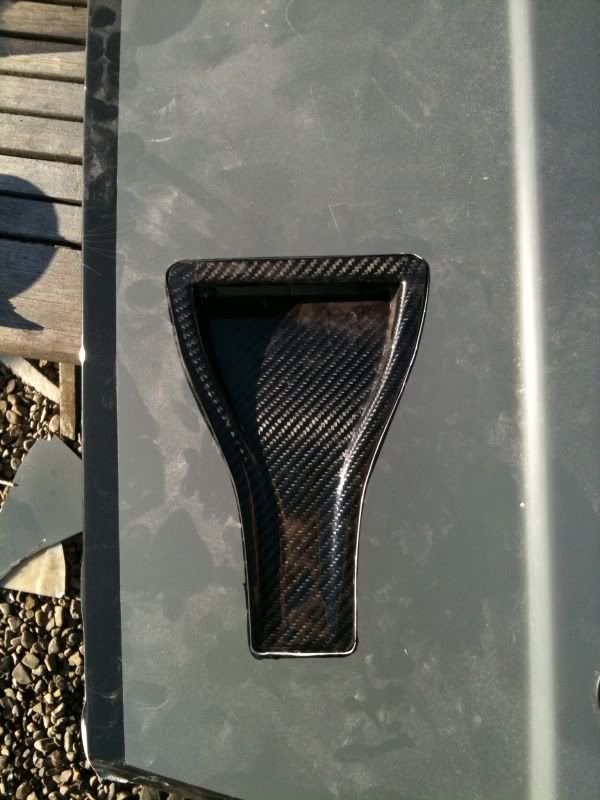
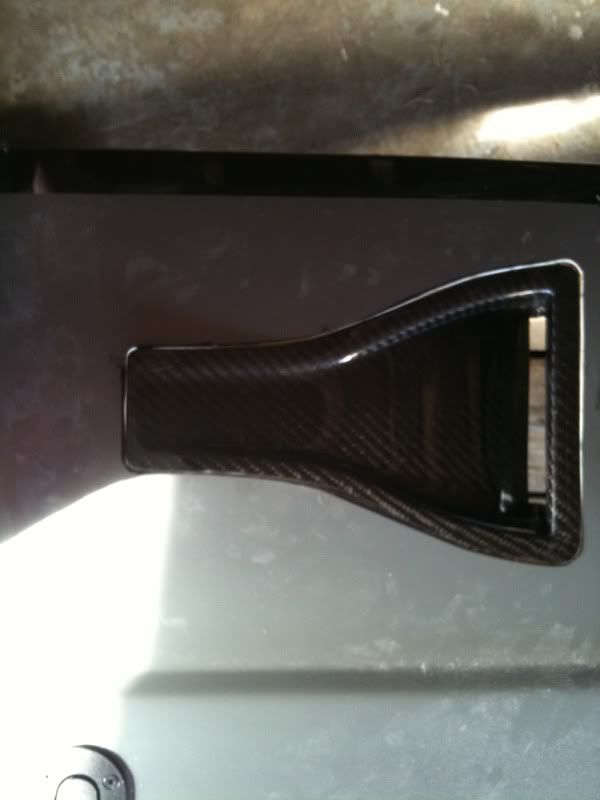
Hi everyone i have been slowly working on little parts getting them out of the way, the last few days i have made my delocked tailgate. Seems to of come out very well.
Adam
-
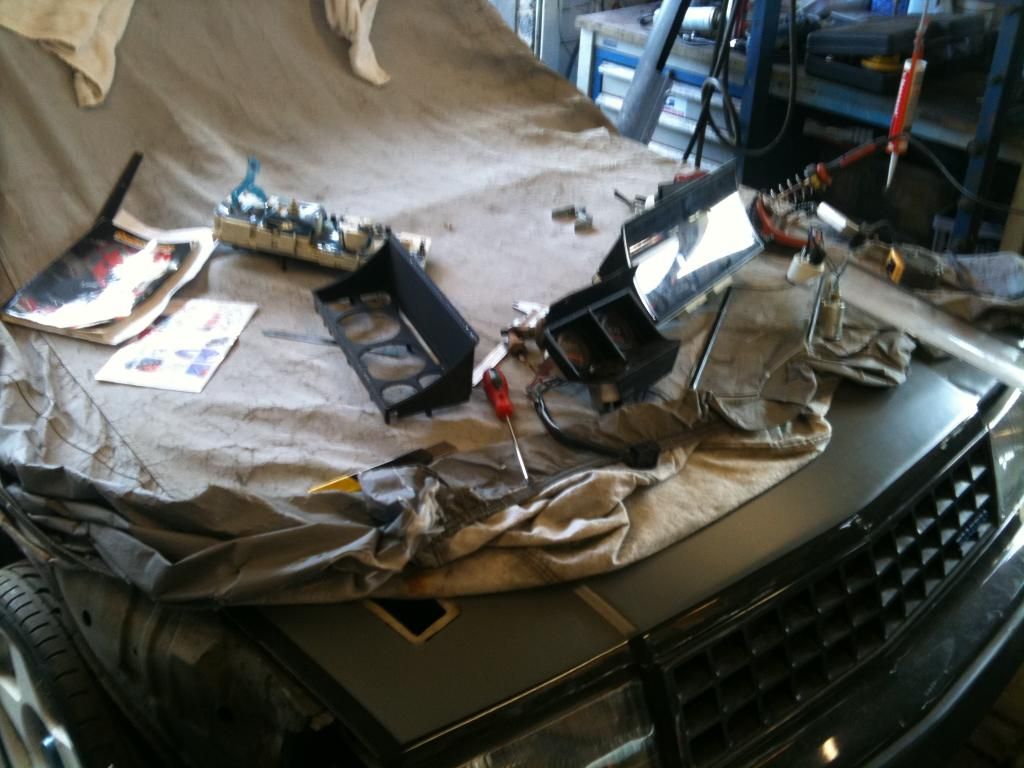
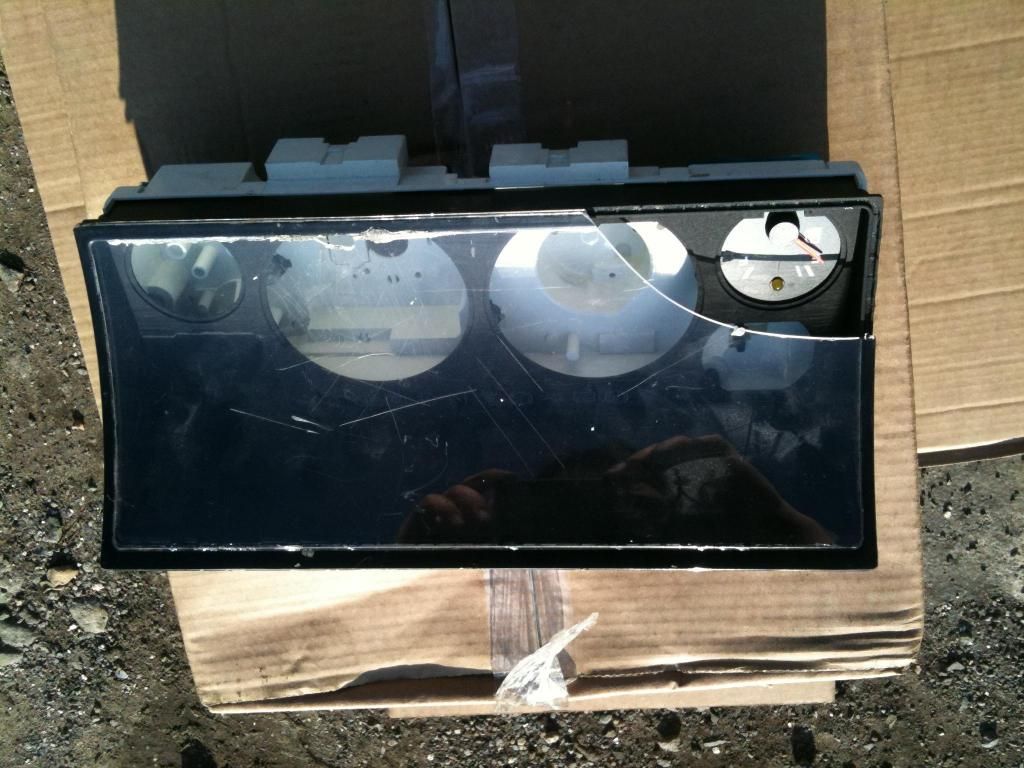
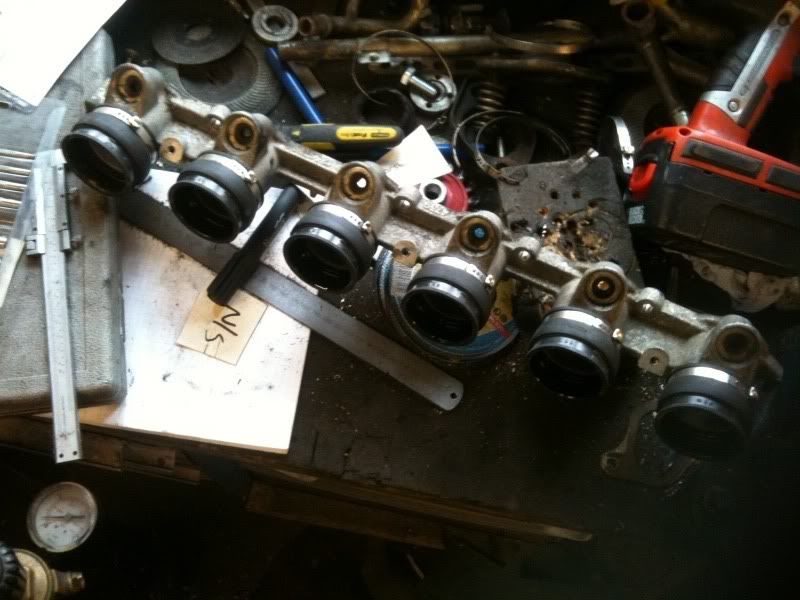
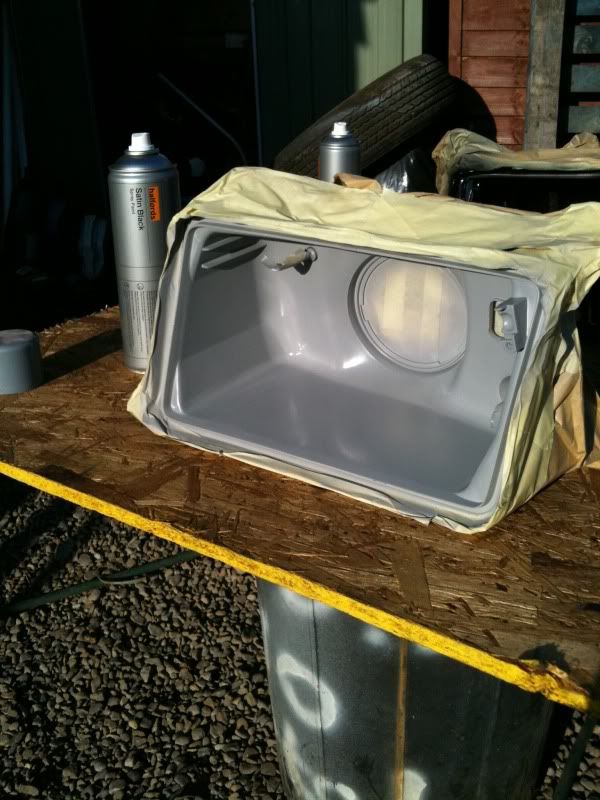
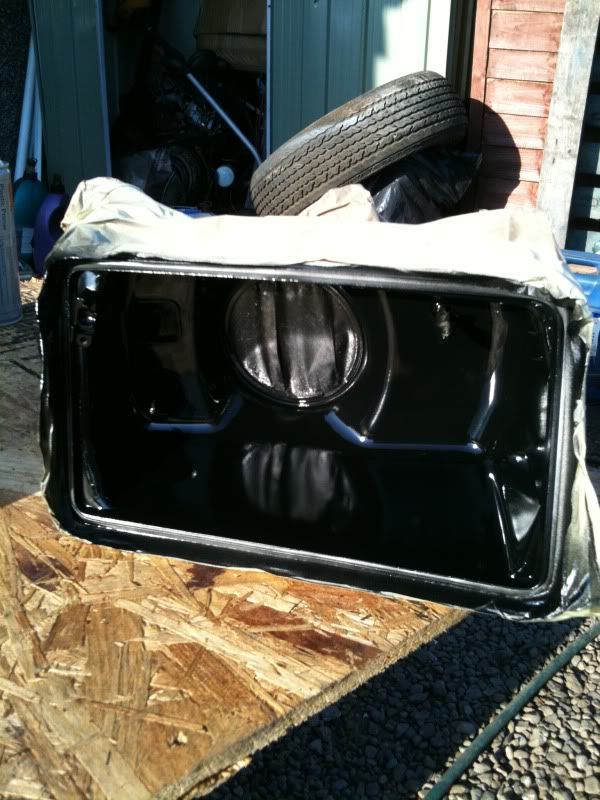
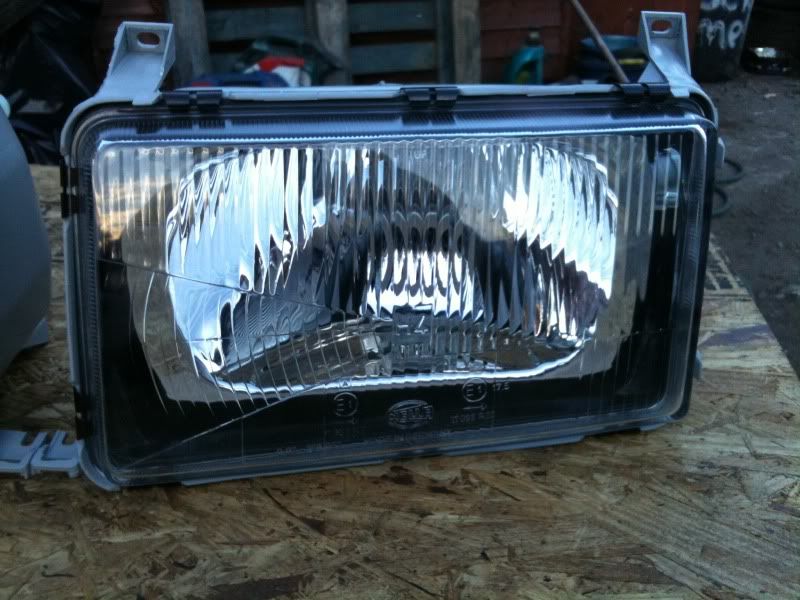
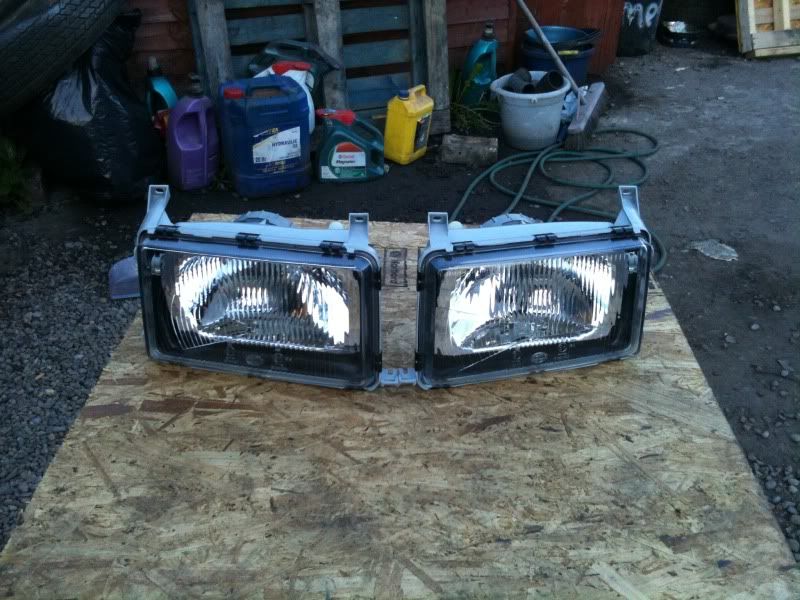
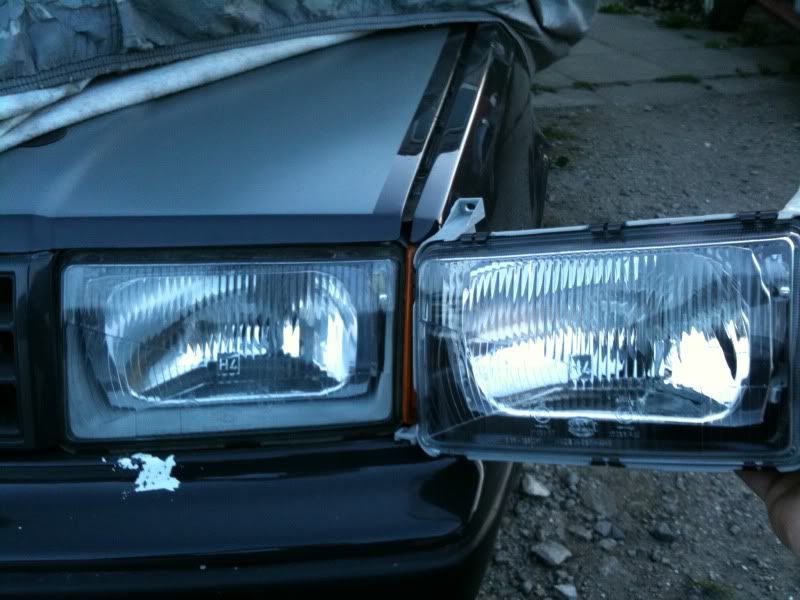
This update i have mostly been painting headlights and making manifolds.
As photos show i have painted the inside of the headlight bowls which gives the lights a tinted look witout altering the way they reflect the light.
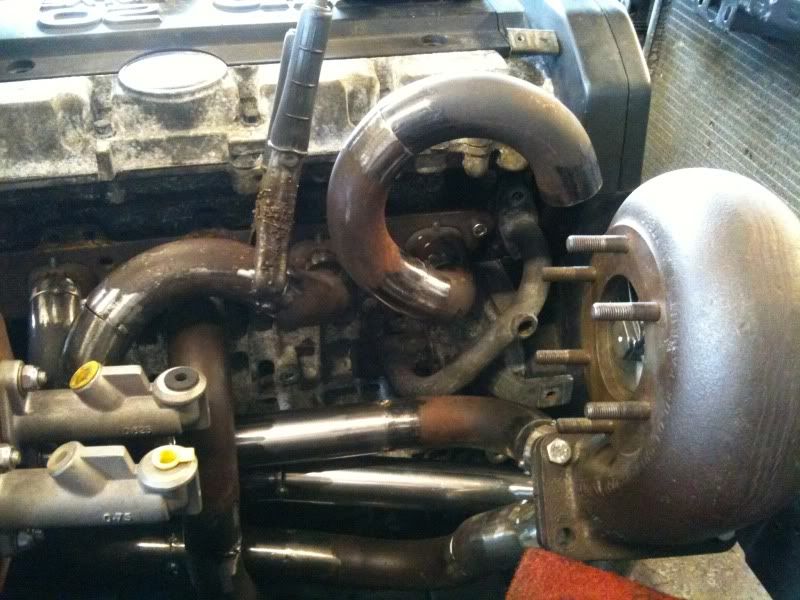
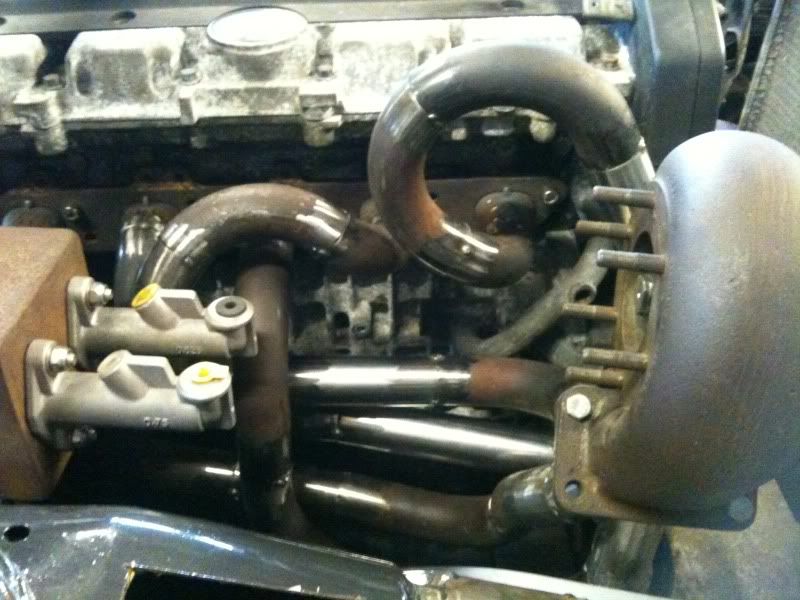
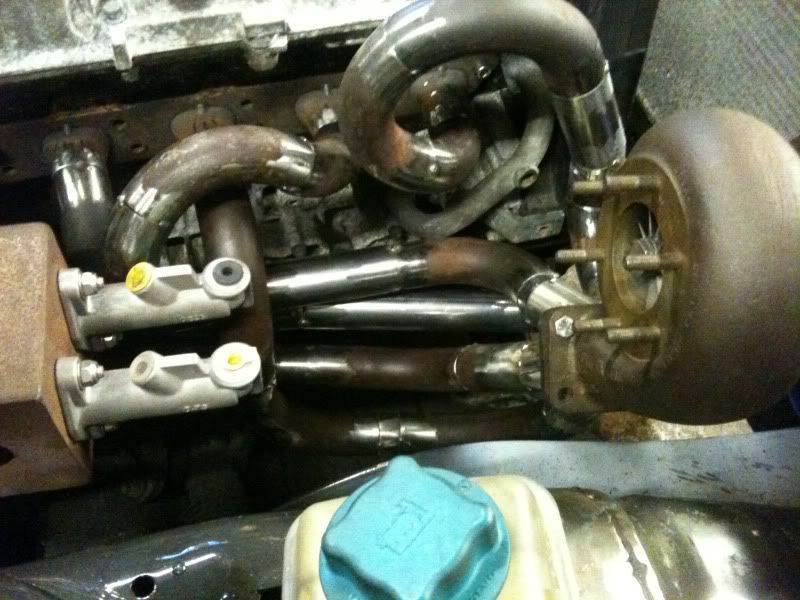
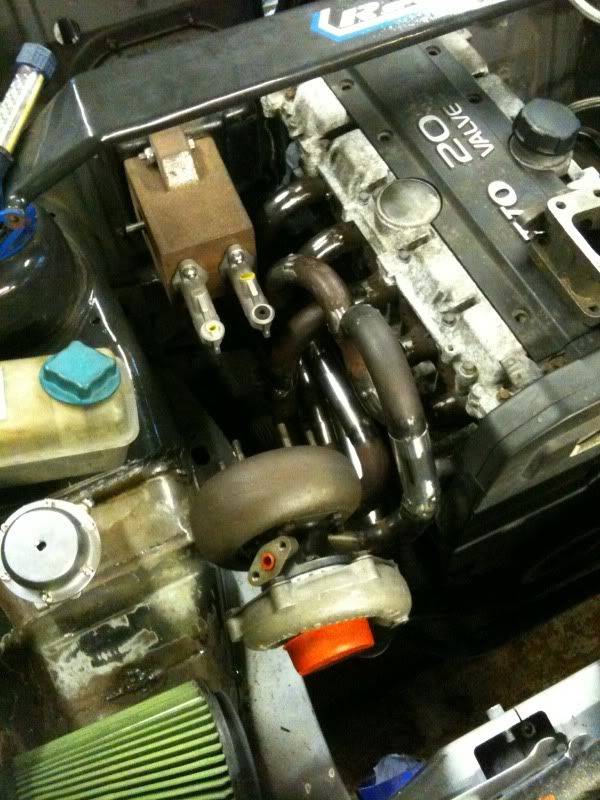
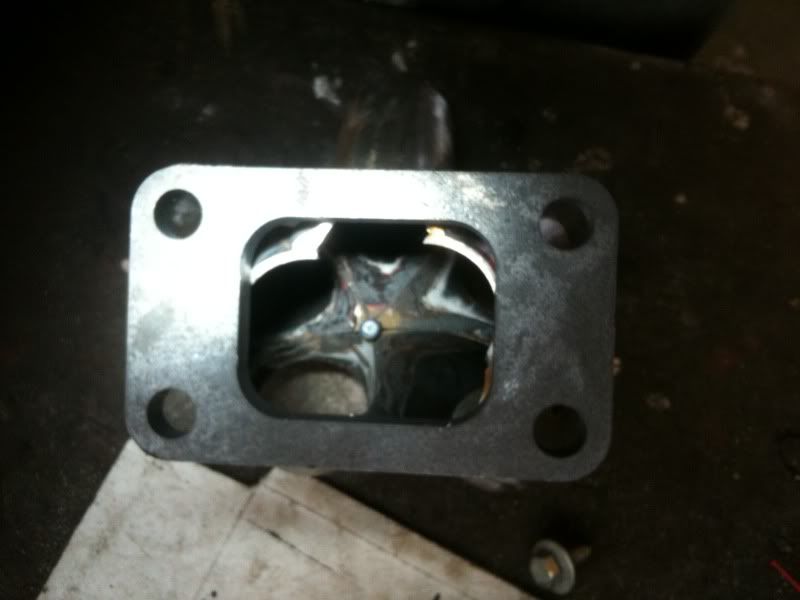
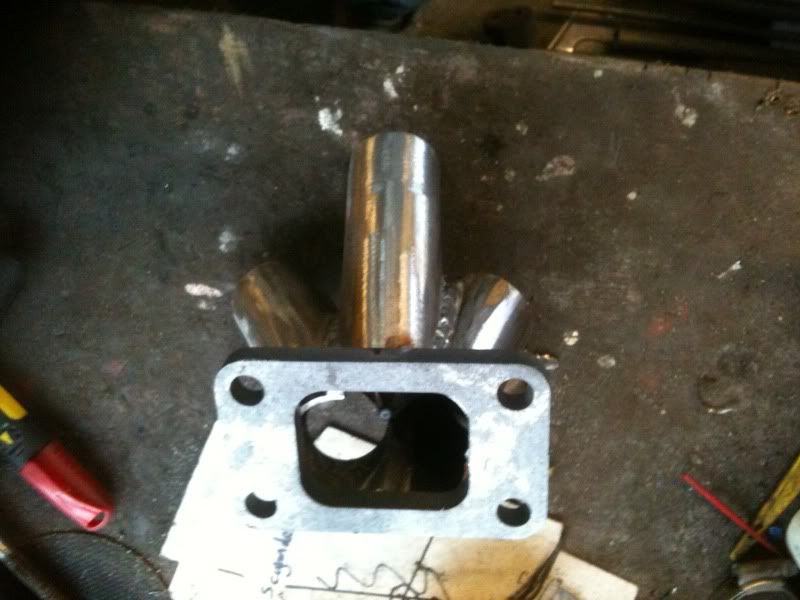
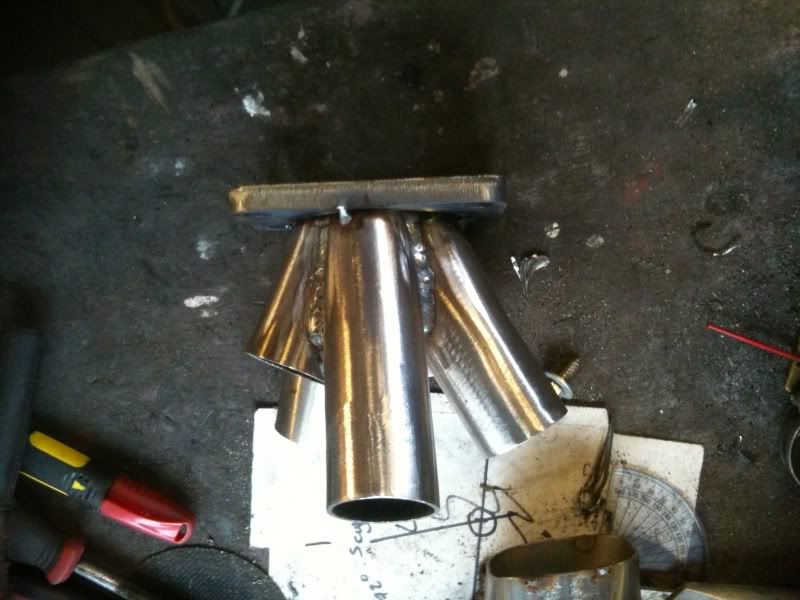
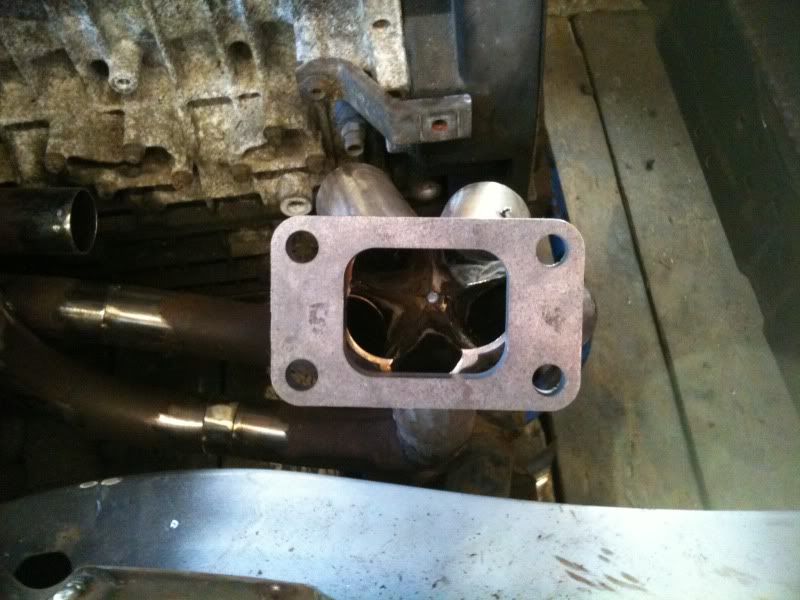
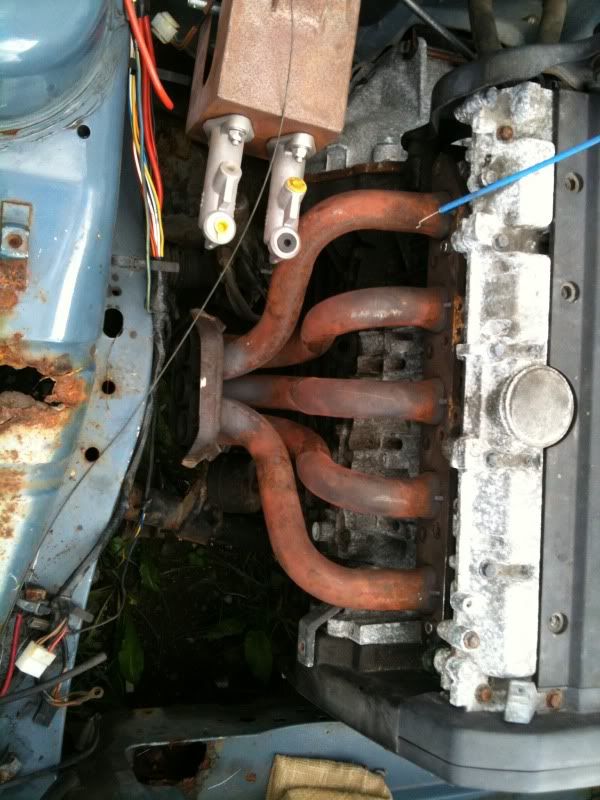
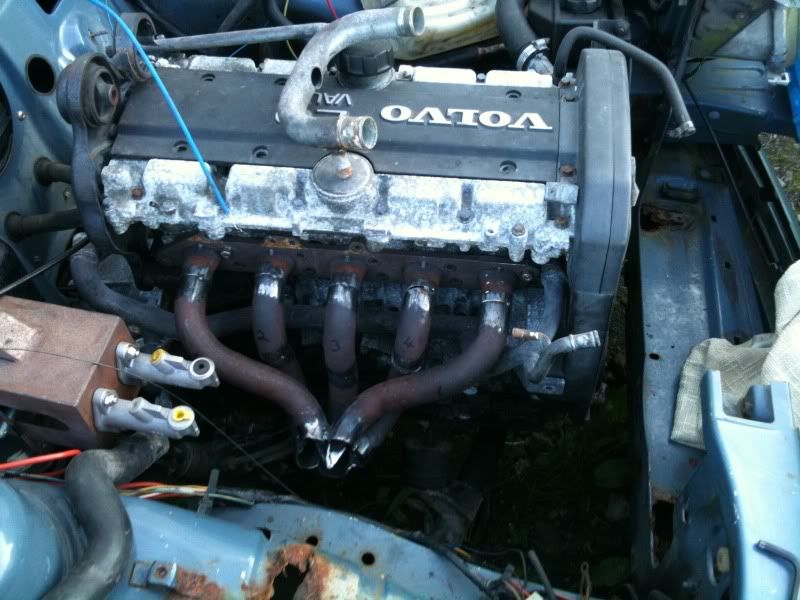
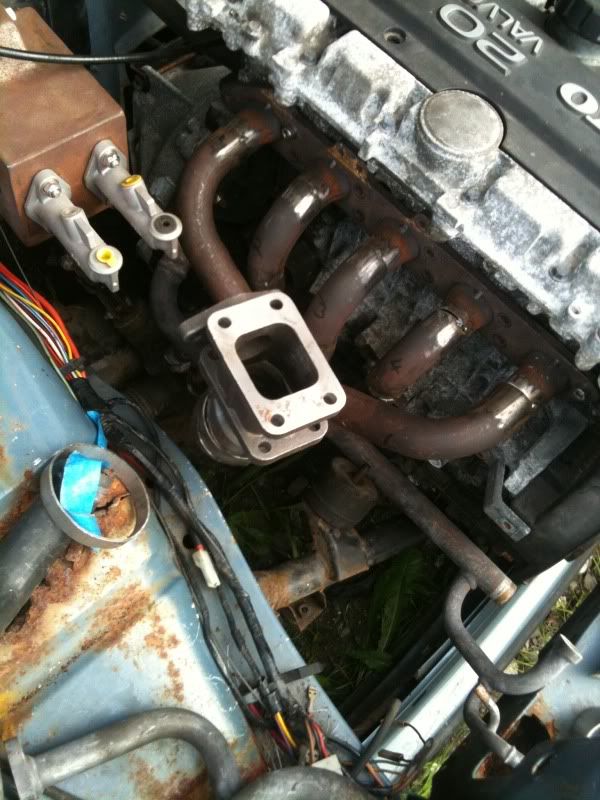
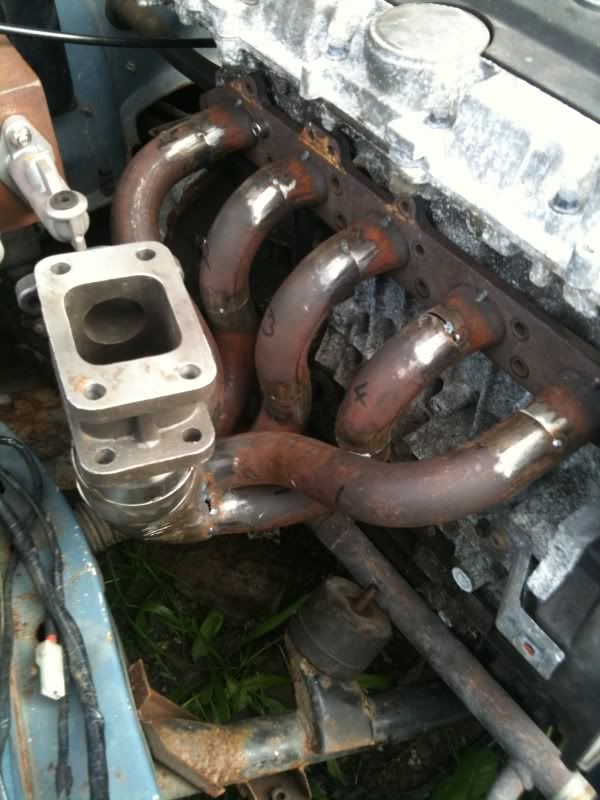
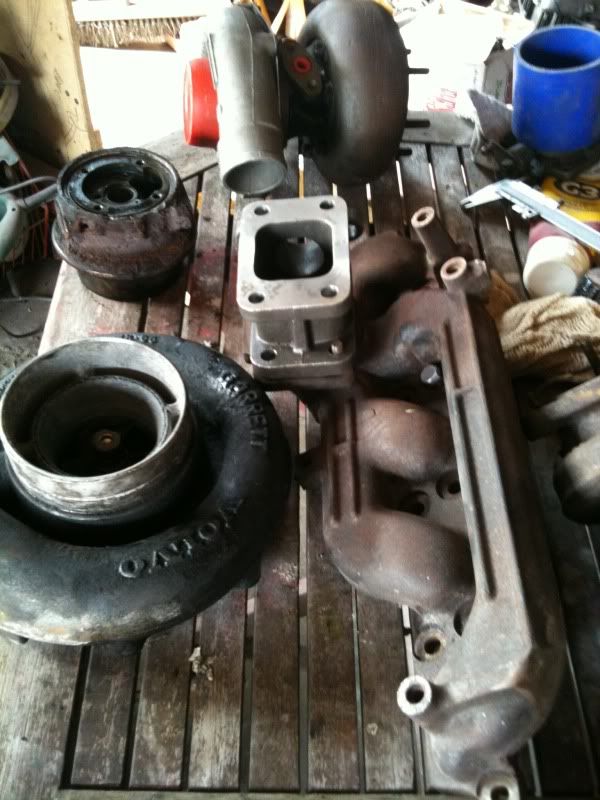
I have also been experimenting with an exhaust manifold. Starting with the NA manifold from a 2.5 20V 850. The turbo hasnt ended up exactly where i want it and im 90% sure i'm going to remake it/ start again. It was more of an experiment to prove it would work. The collector turned out good, but i think using 3" pipe as the elbow after the collector is going to reduce its efficiency. The adapter flange on top is very tempory, it was the only T3 flange i had so i just tacked it on to check things out.
Anyone got any thoughts on the effieciency of the manifold? i.e would it be better to have the primaries longer with the collector directly before the turbo flange??
Adam
-
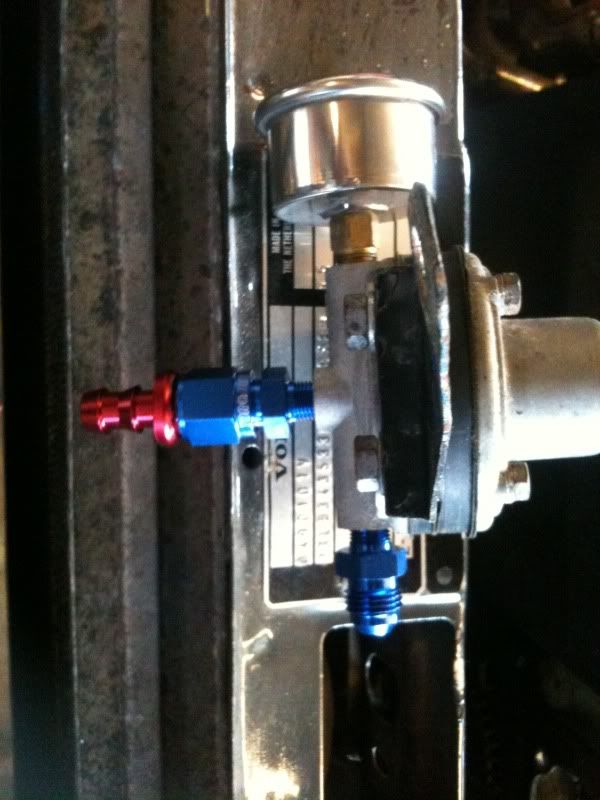
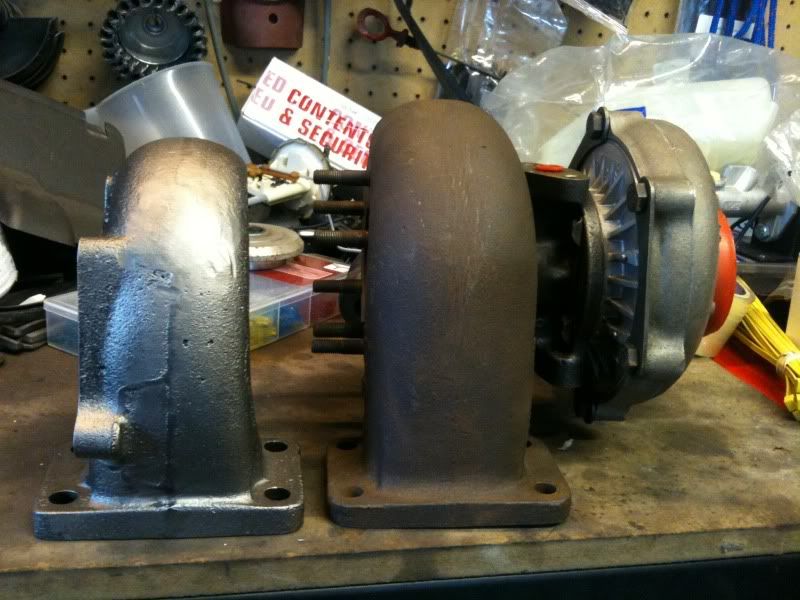
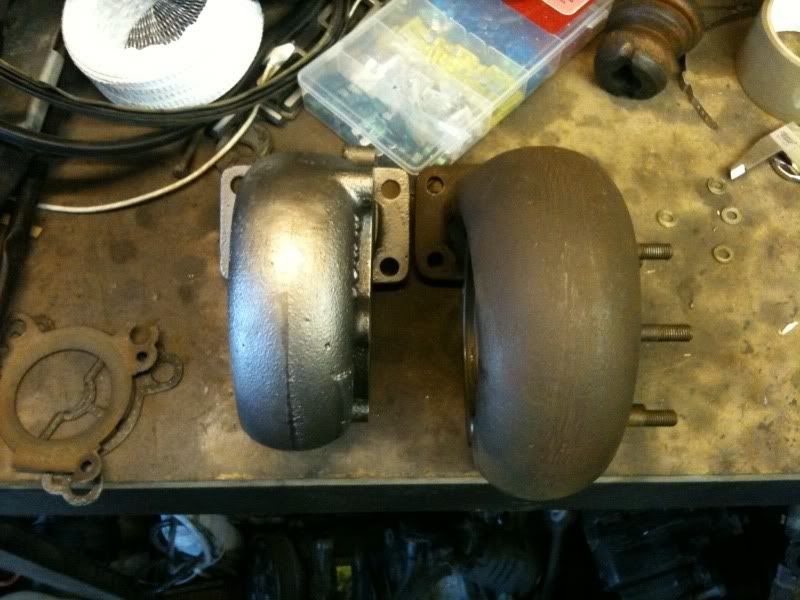
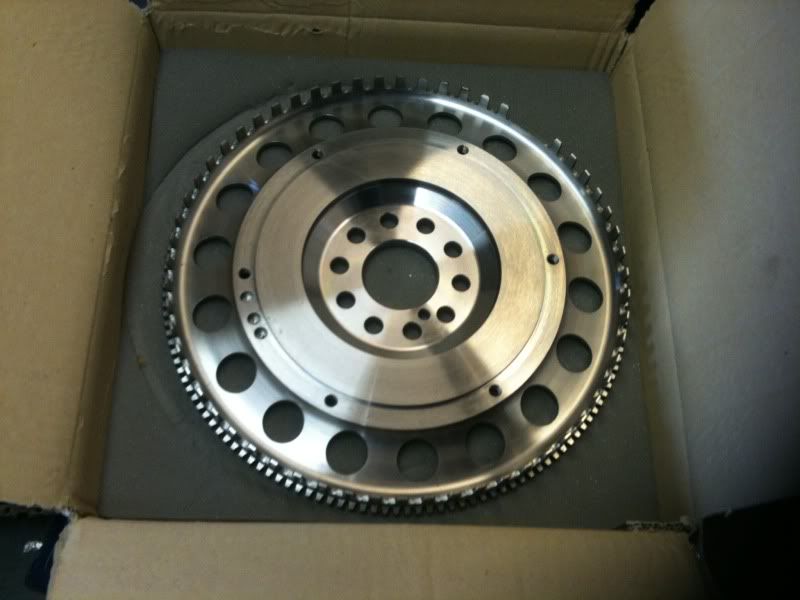
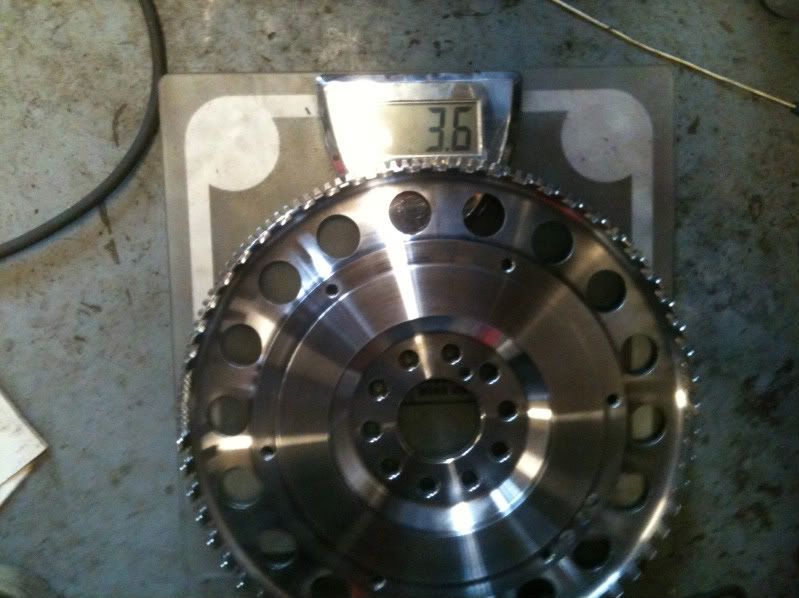
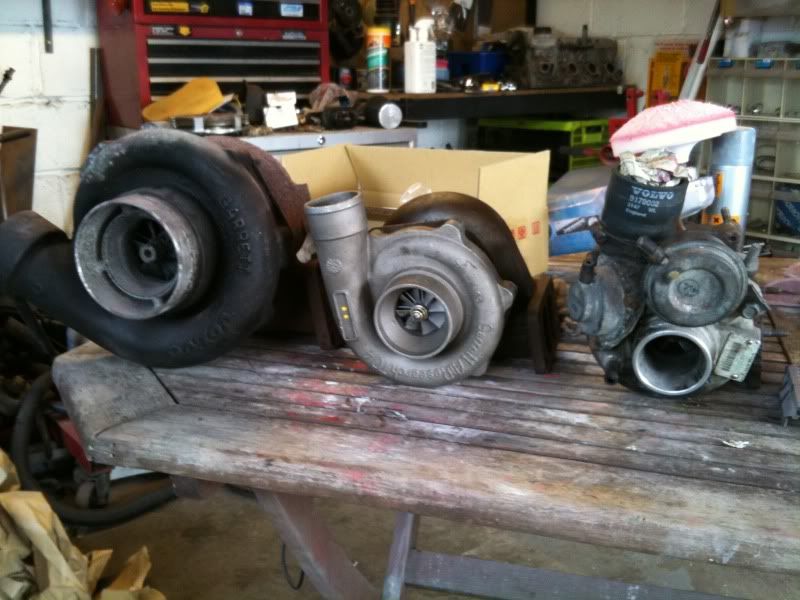
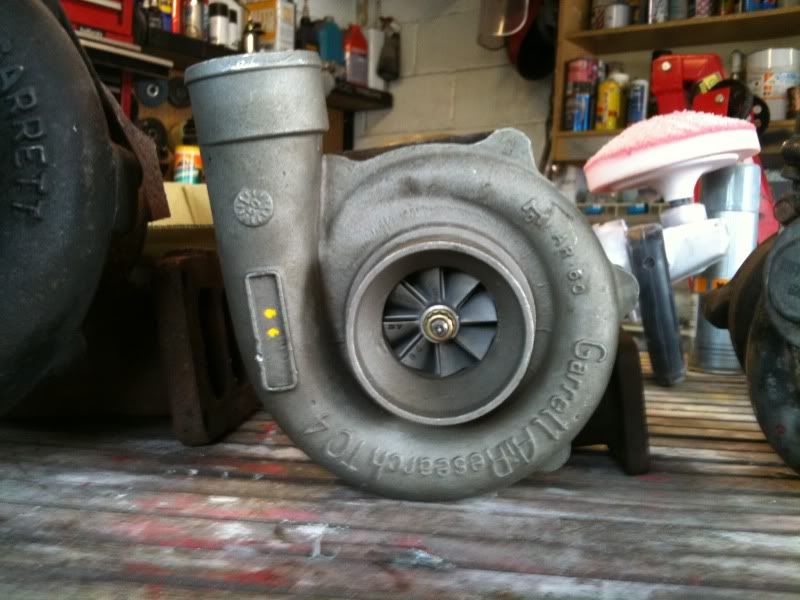
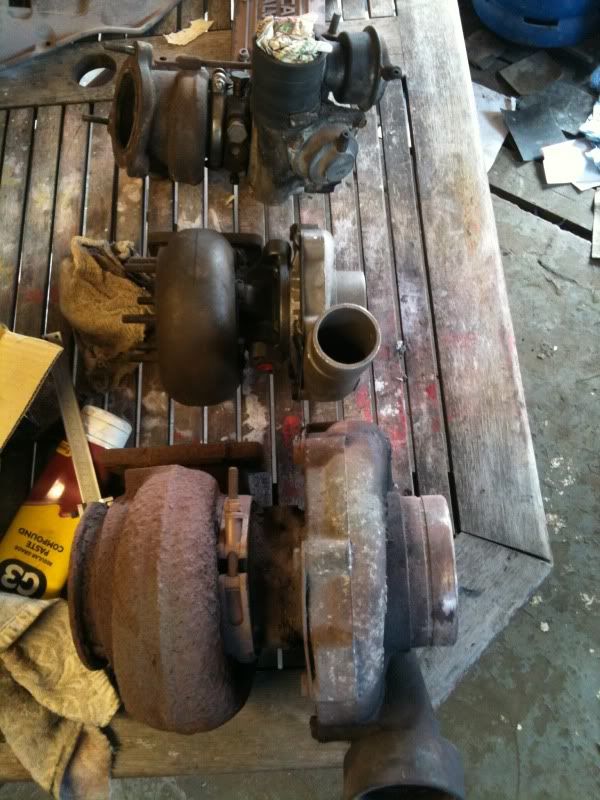
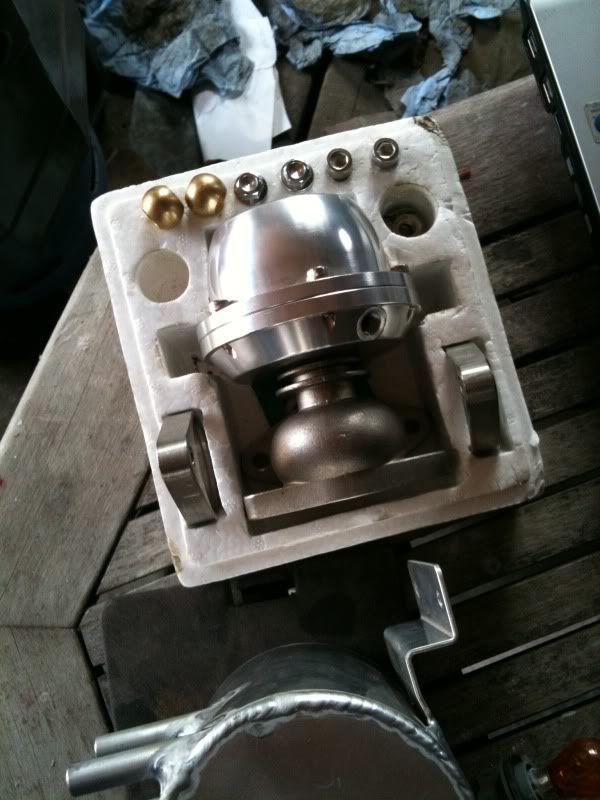
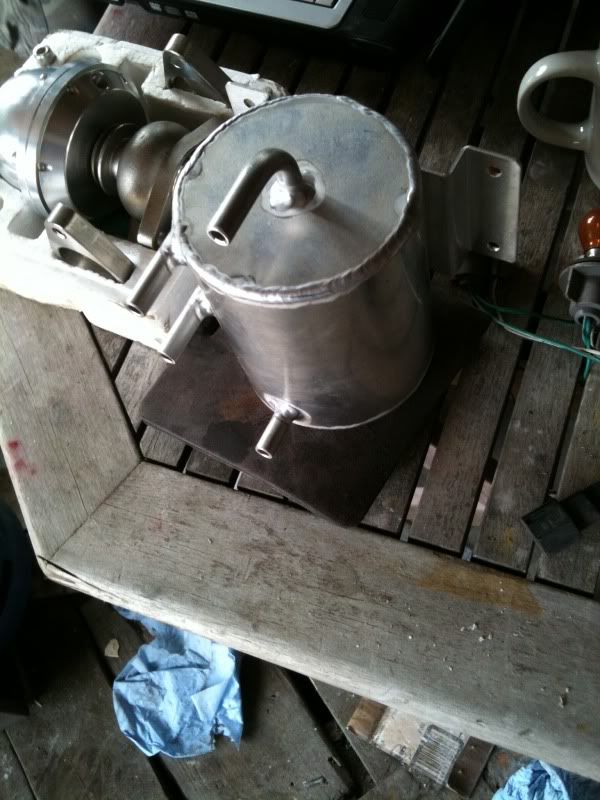
Been collecting parts again. Flywheel is on order and i have been adding to my turbo collection. Bought this Garrett T04 .60AR. Should do the trick. Bought an external wastegate and 1litre fuel swirl pot too.
Adam
-
Yes Corvette C5.
Adam
-
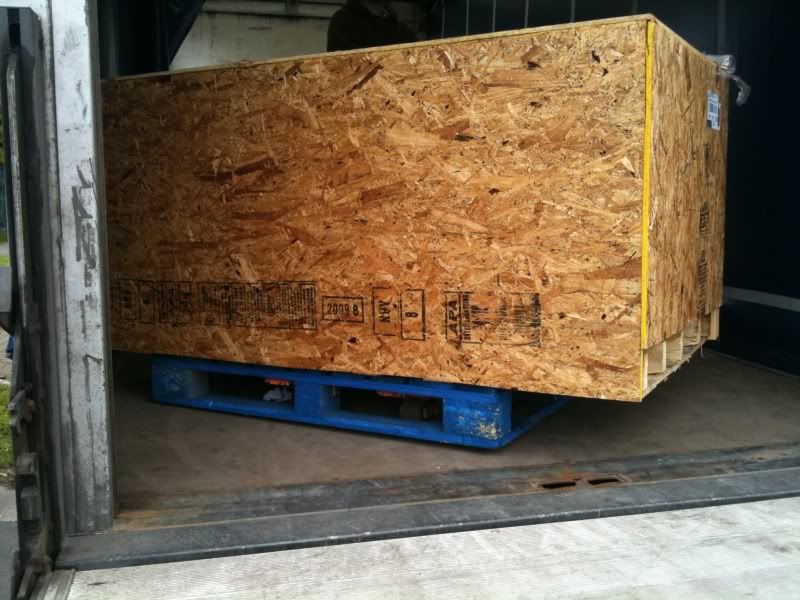
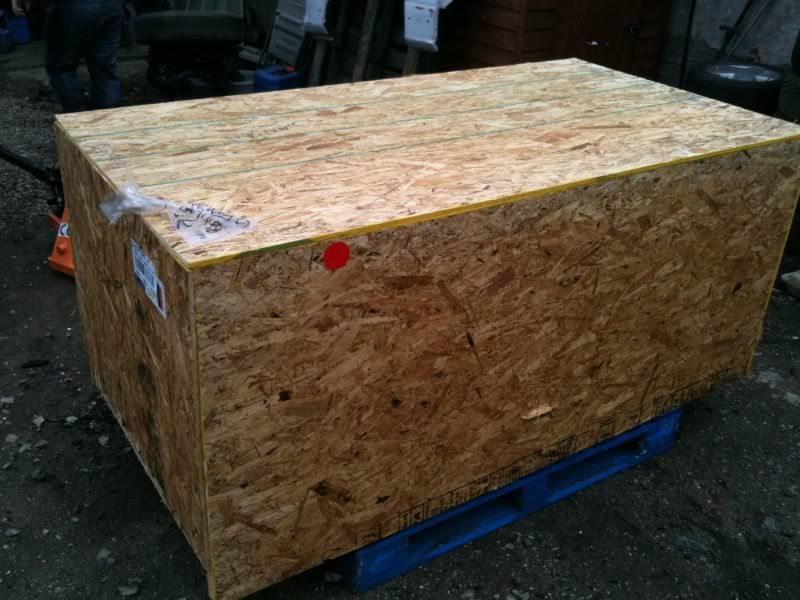
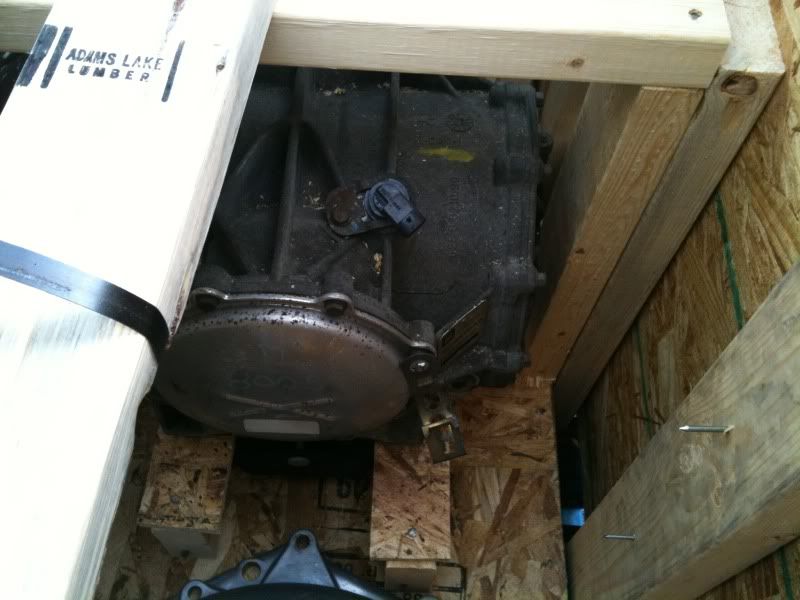
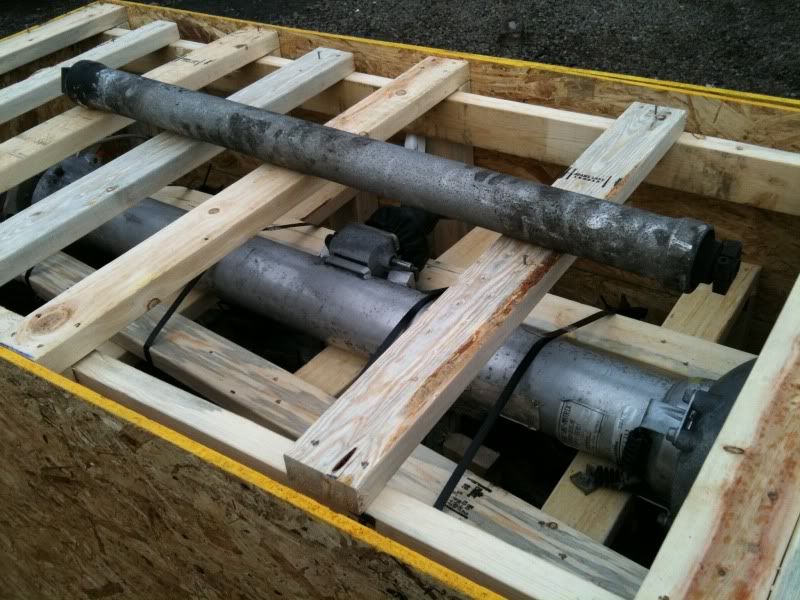
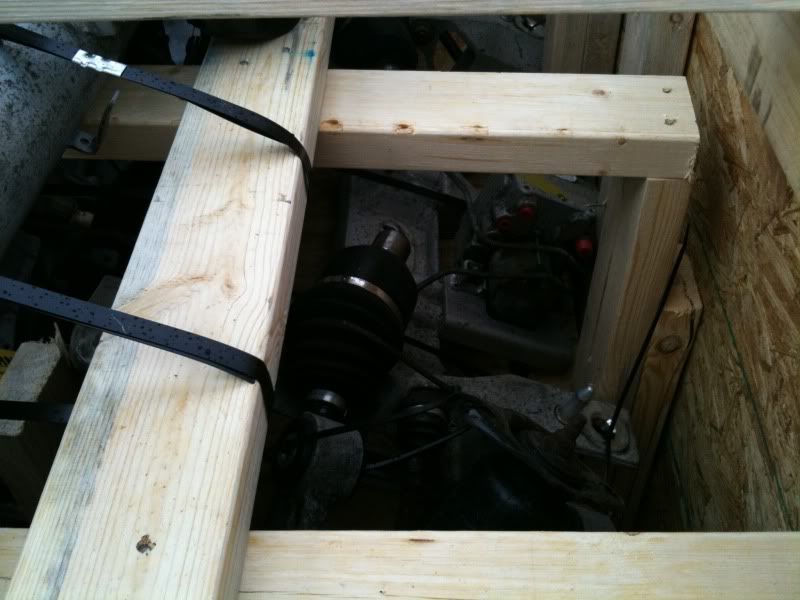
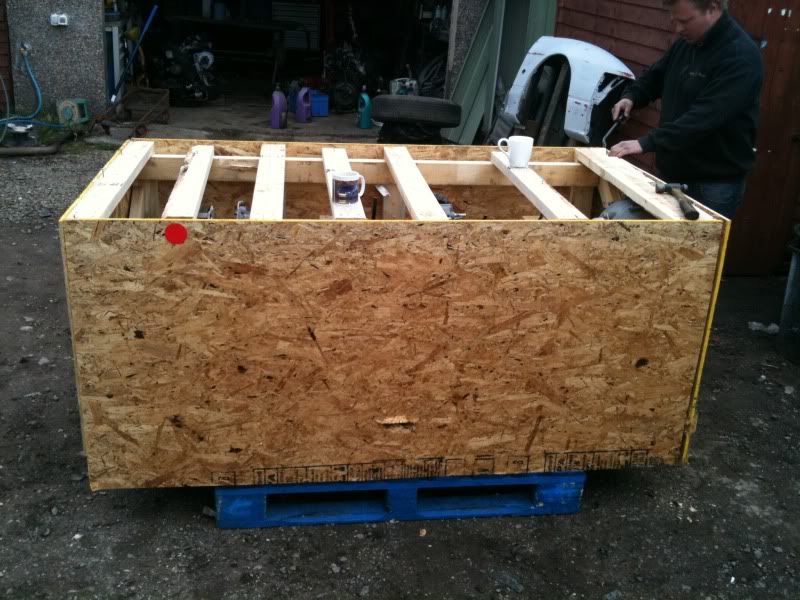
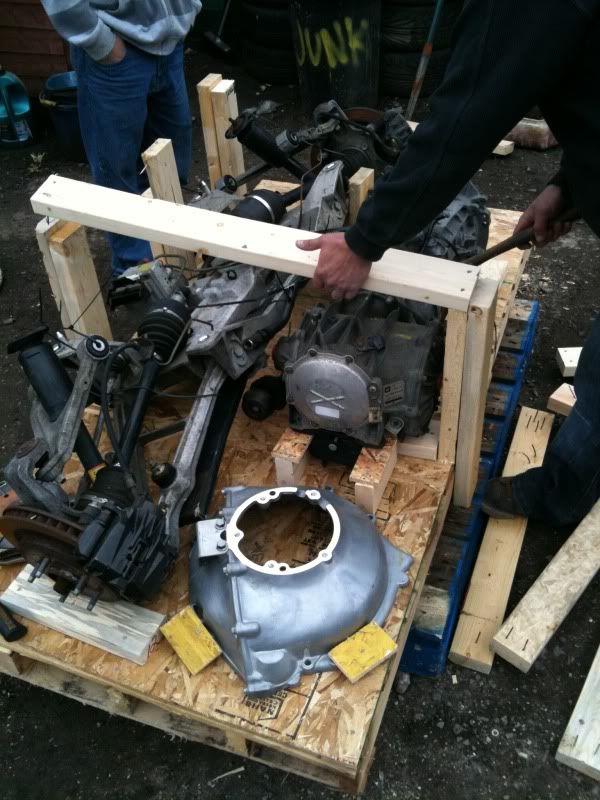
Well all has been quite quiet on this as i have been waiting for a very large and expensive crate to turn up from across the pond.
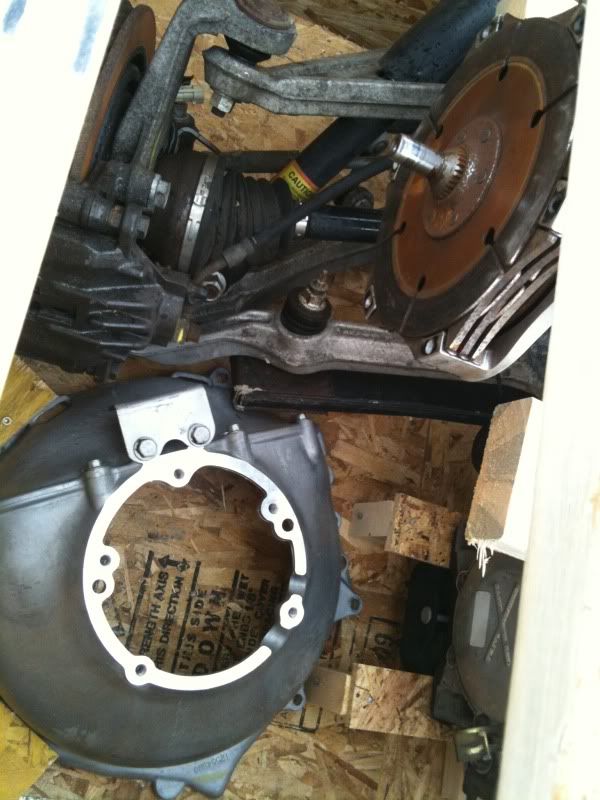
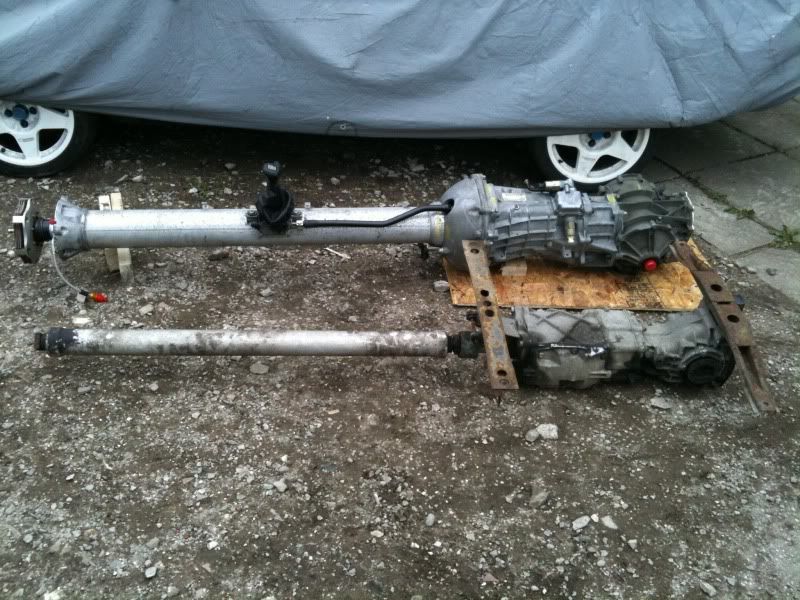
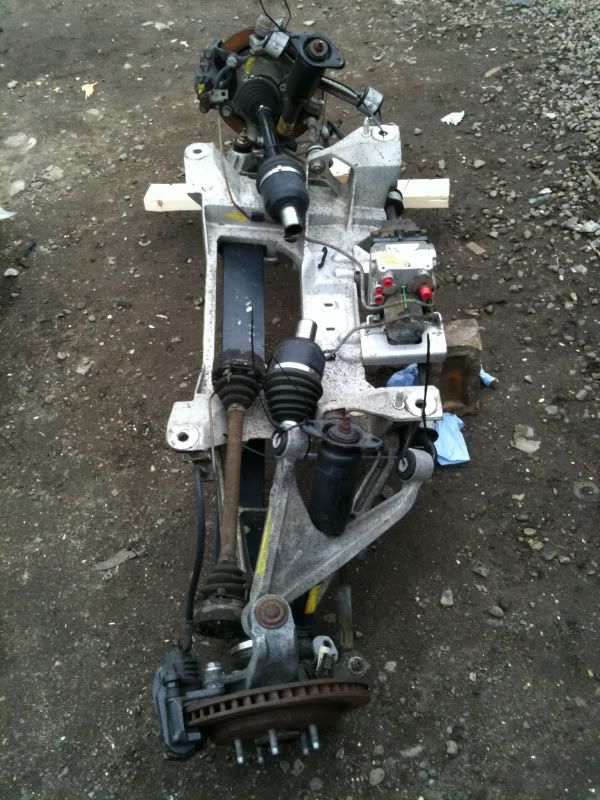
It arrived today so i got a chance to lay all the parts out for some good shots.
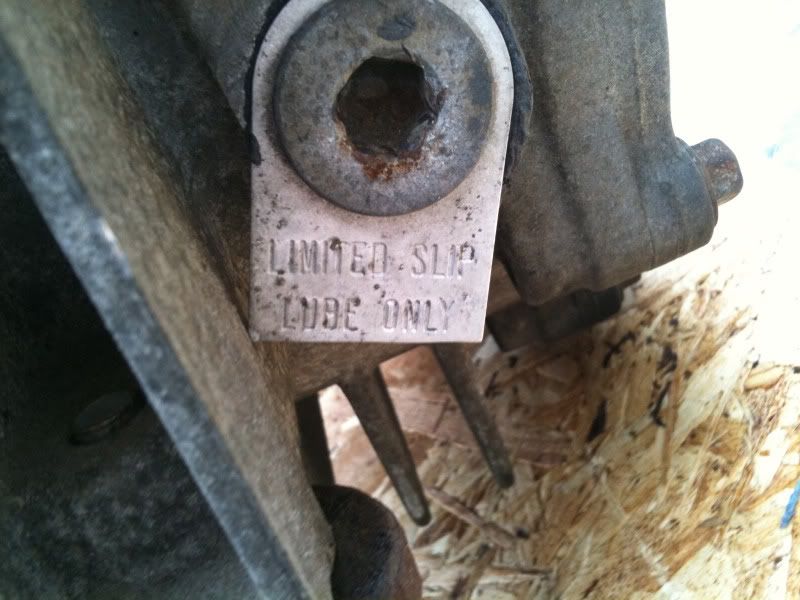
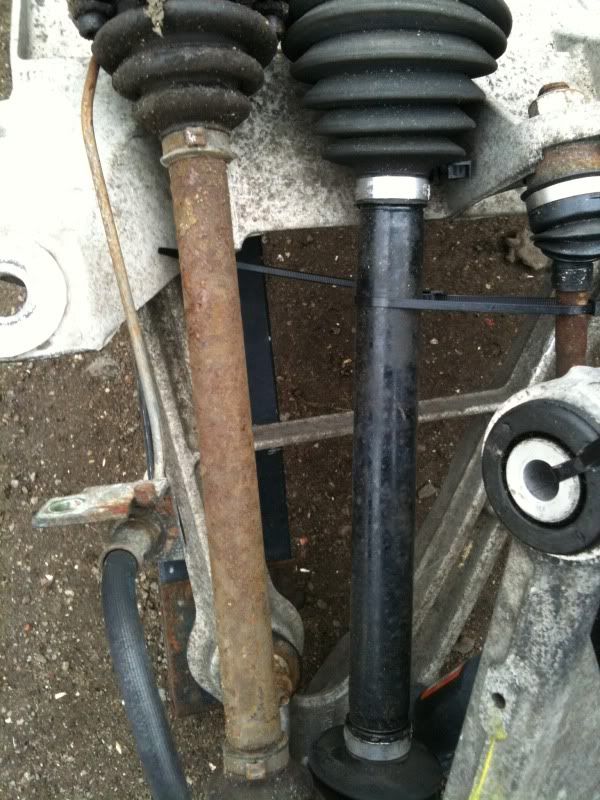
Very impressed with the Pick a Part i used the crate was so well made, all components had there own little stands. I got the rear suspension from the vette as an added bonus aswell!! And who said it was going to be nowhere near the right size? It doesnt even need shortening!!
Adam
-
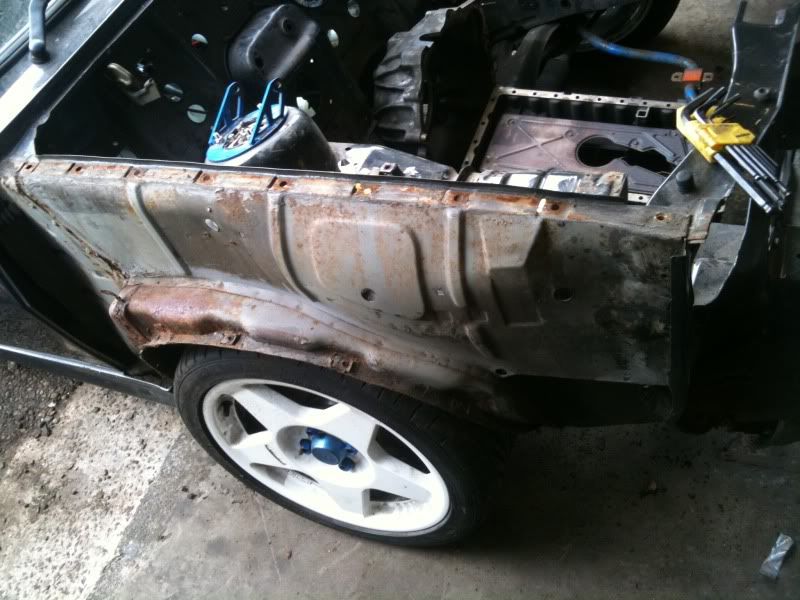
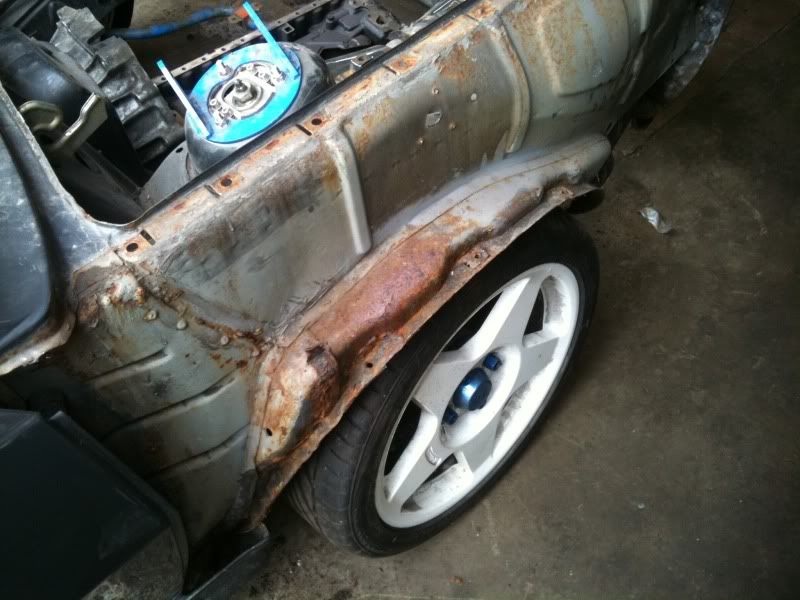
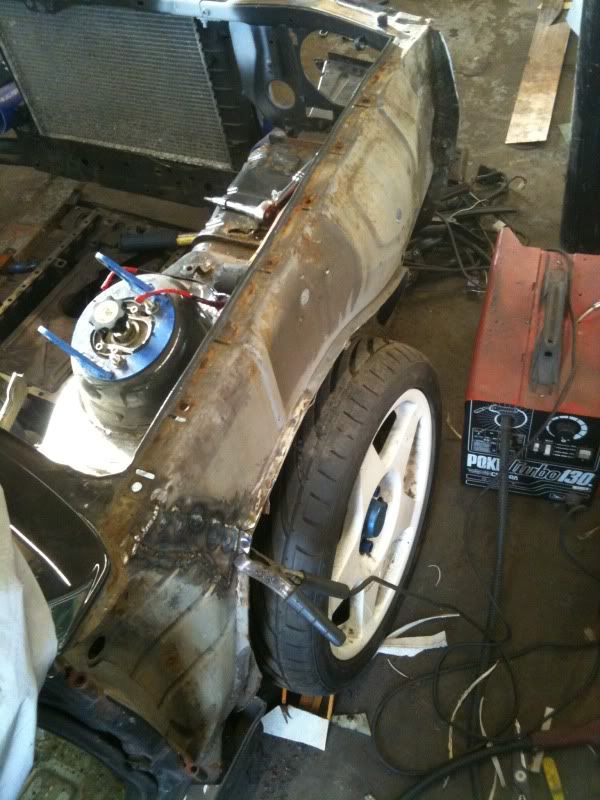
Well today i have been mostly chasing rust!!!! A simple sill repair is never as seems. I have had a small repair needed on the passenger side sill and jacking area since i took the car off the road so today i decided to start attacking it only the car bit back. To work on it properly i had to take the skirt off, then the wing as that sits over the front edge of the sill, so got to it. Removed wing and found totally rotten inner arch where the wing attaches.
Now on a 300 this is a pain anyway as they are a funny design with a wide edge, so i decided to totally cut it out roll the lip on the outer wing and run a plastic inner arch similar to more modern cars. This also allows for more suspension travel and wider wheels!!! WIN!!!
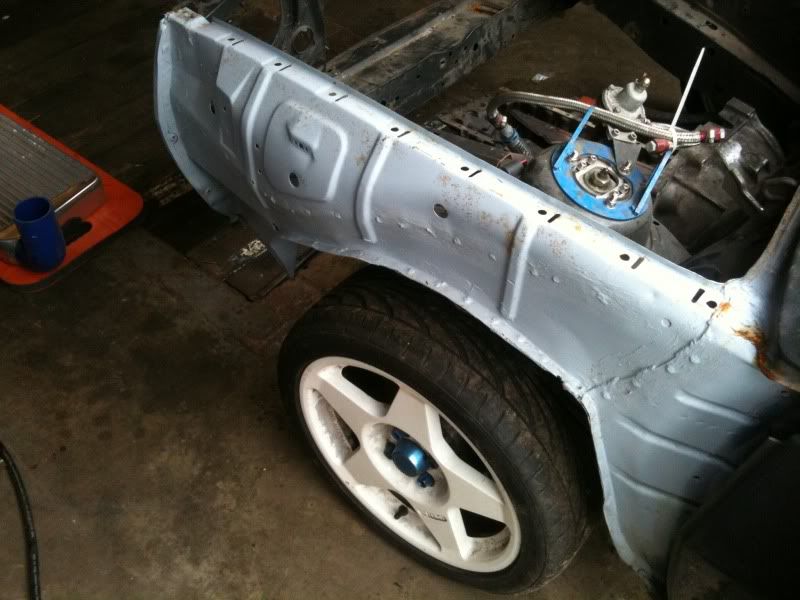
I have also been busy making a new jacking point for the same sill repair.
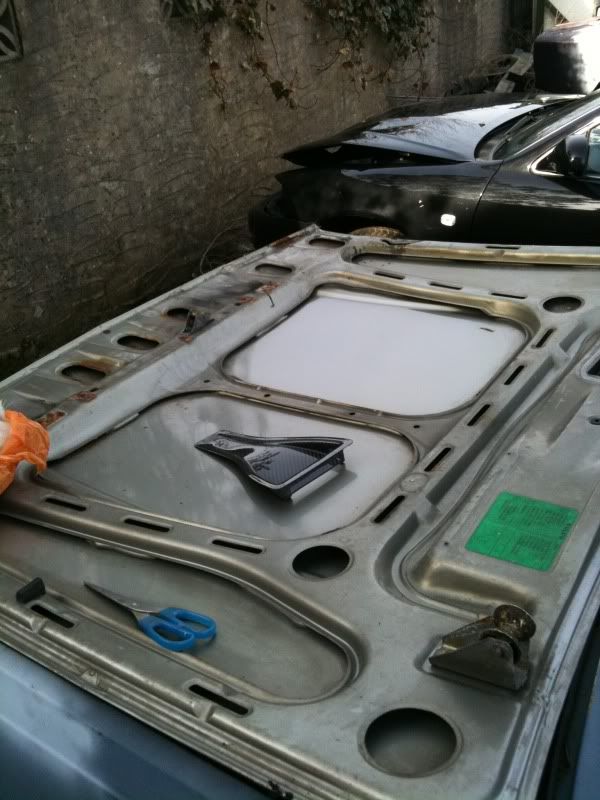
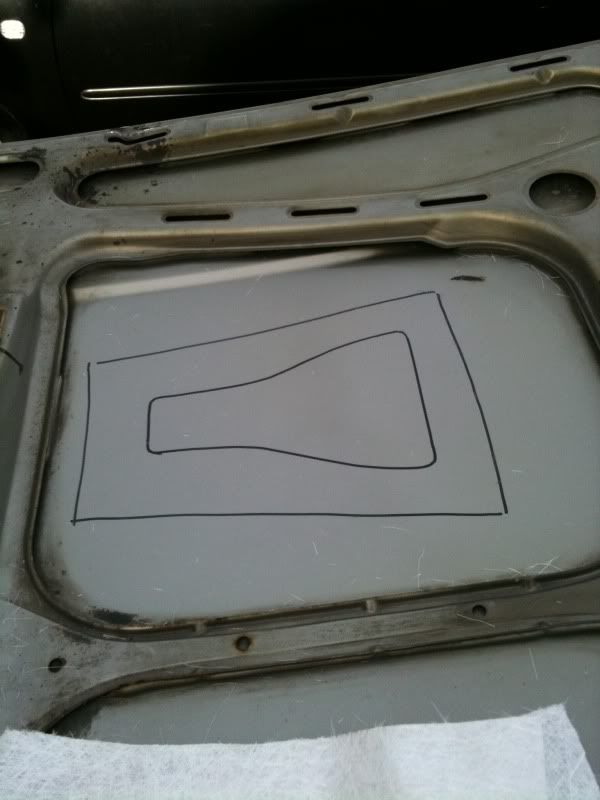
And i finally bonded the new inner bonnet patch in for the vent and made some holes!!!!
Anyway enjoy the pics.
Adam
-
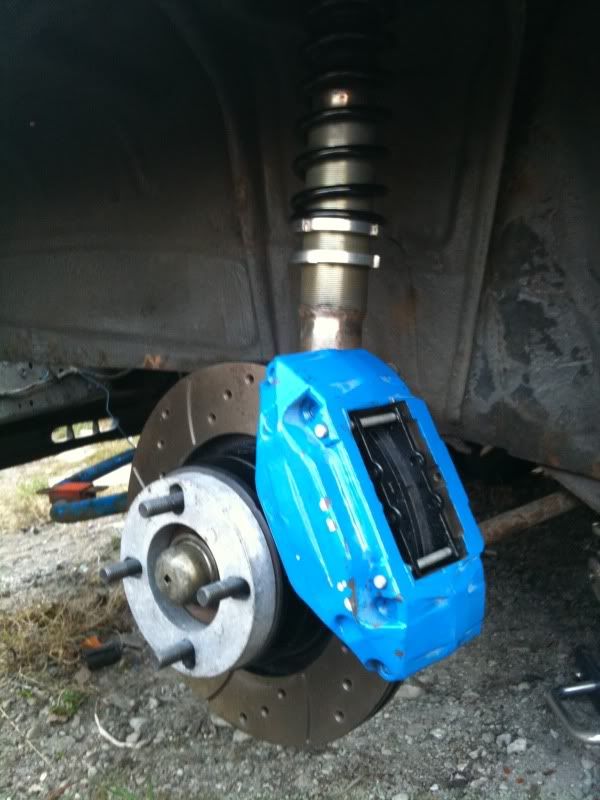
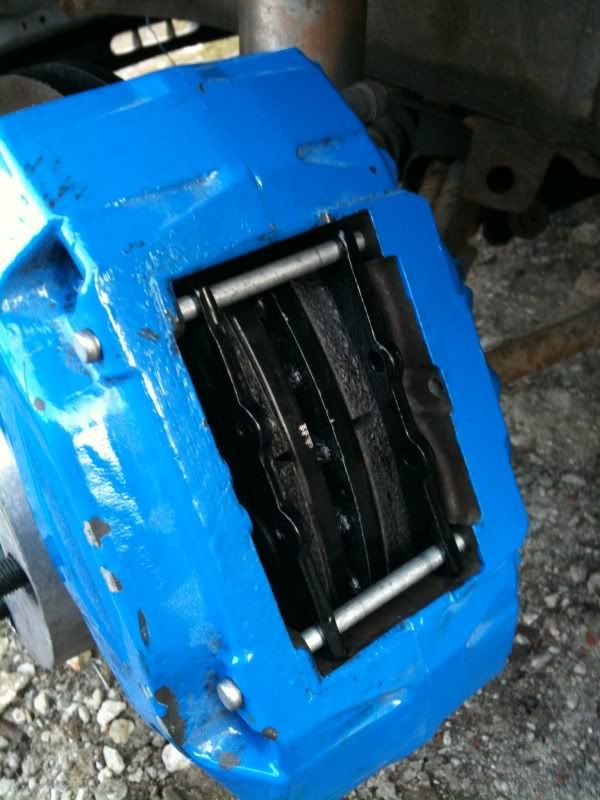
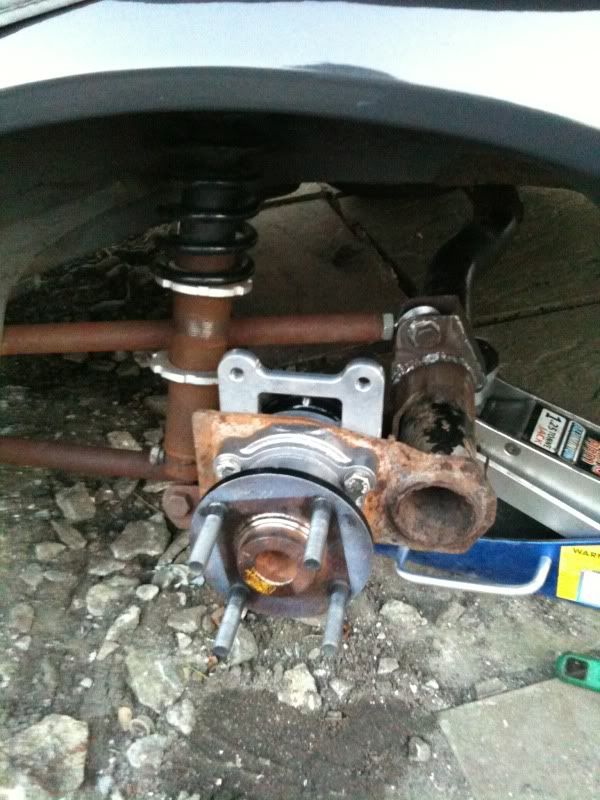
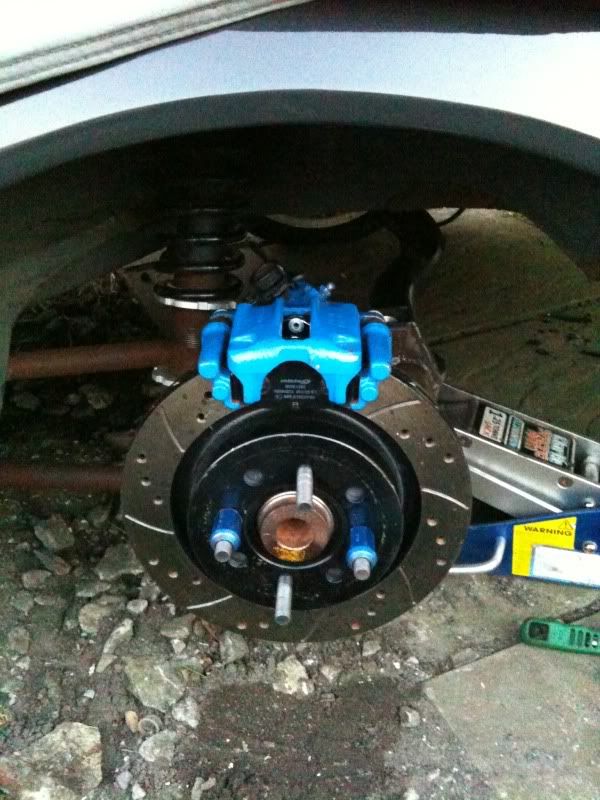
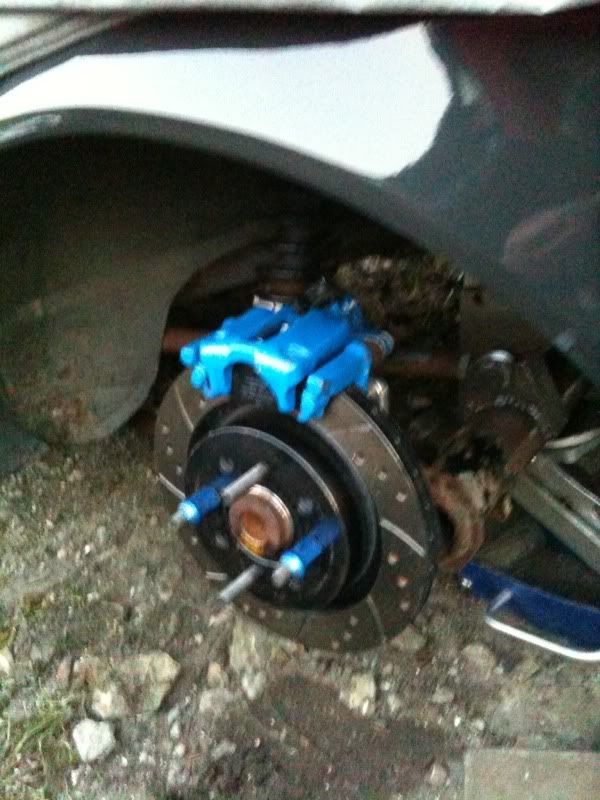
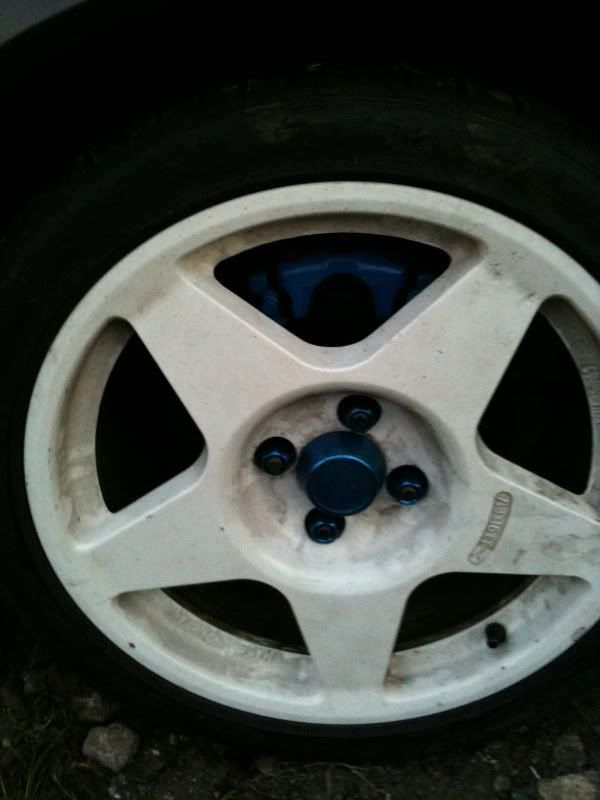
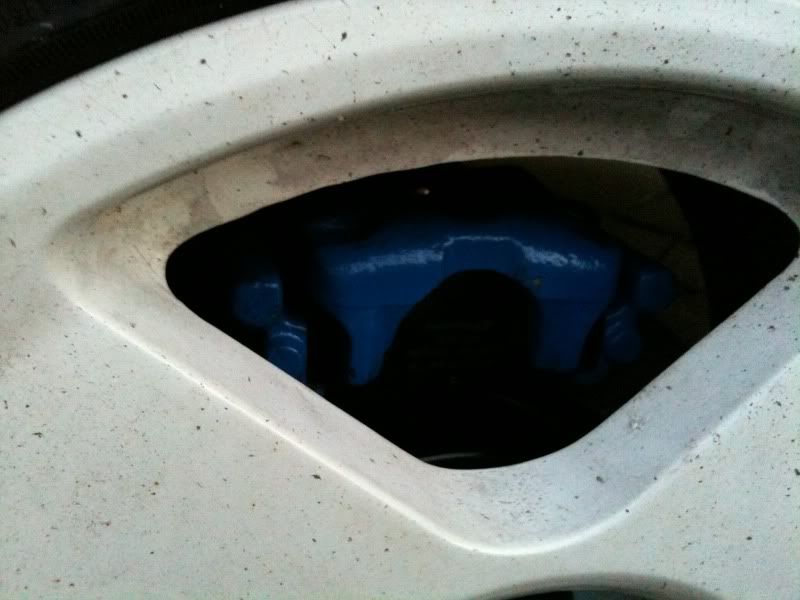
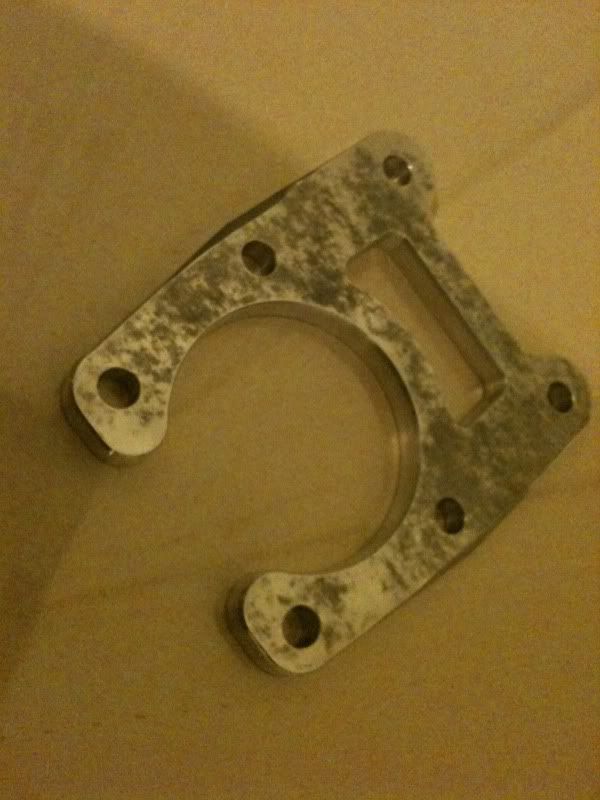
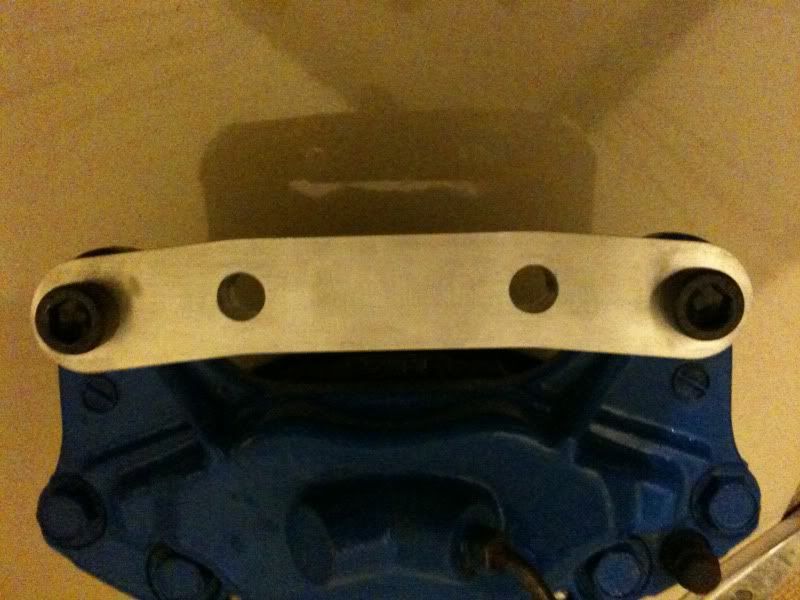
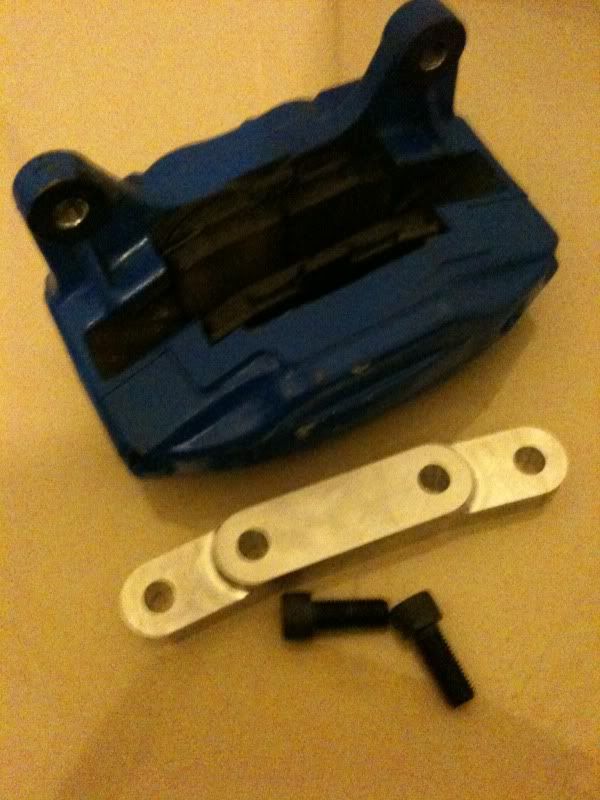
Well with the very little time i have had on this i have stripped all the soundproofing out to check the condition of the inside of the shell. I'm up to 26kg of weight reduction!! And i have had my long awaited brake brackets back which are looking very nice. So i checked caliper fitment and its all absolutely spot on. Not long before the brackets can go into production now!!
Adam
-
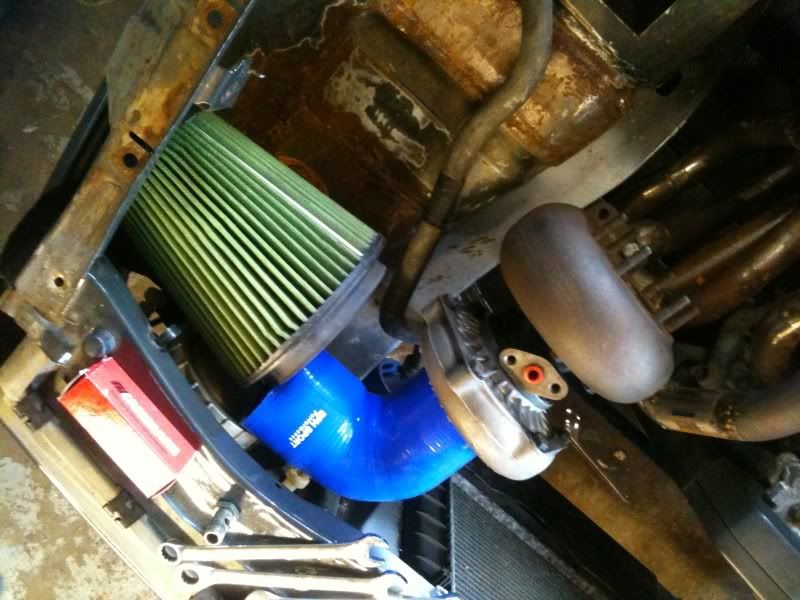
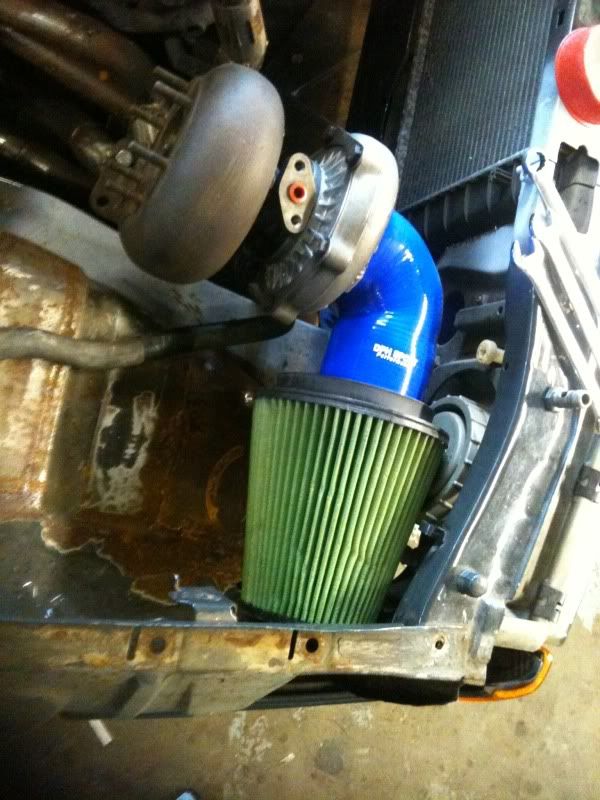
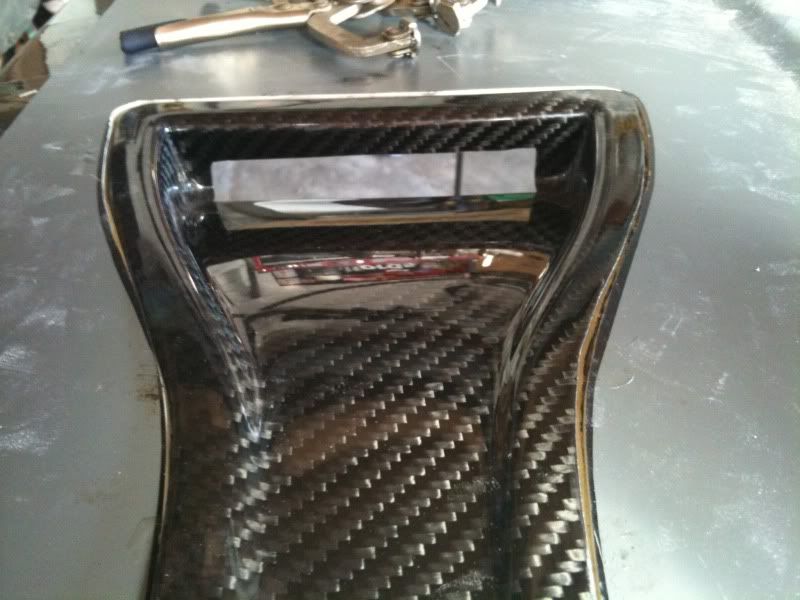
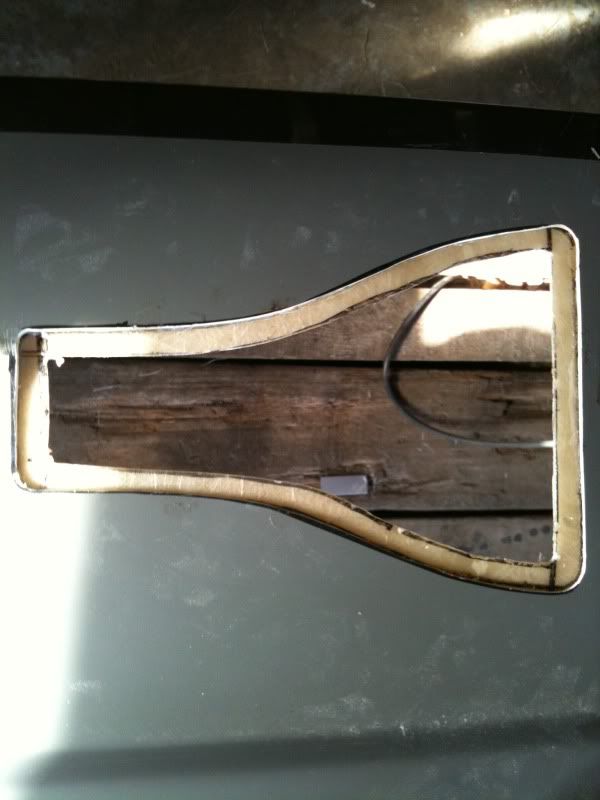
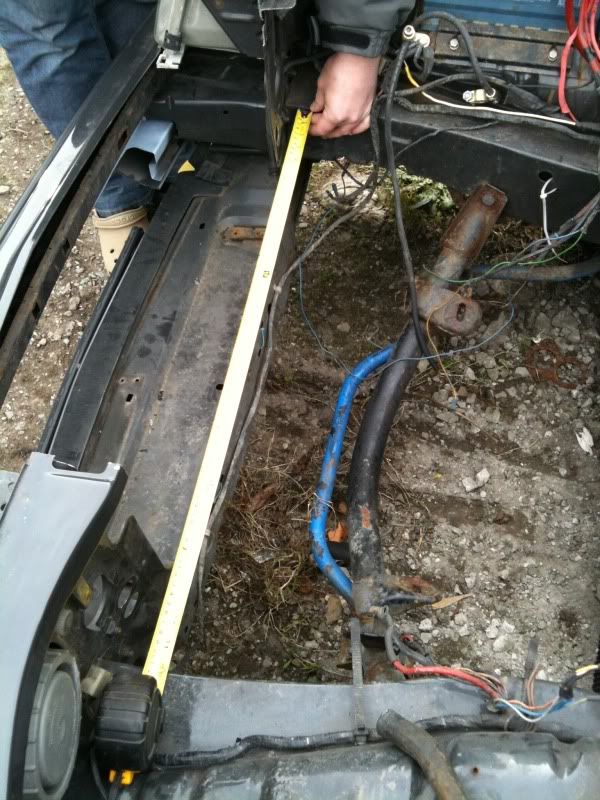
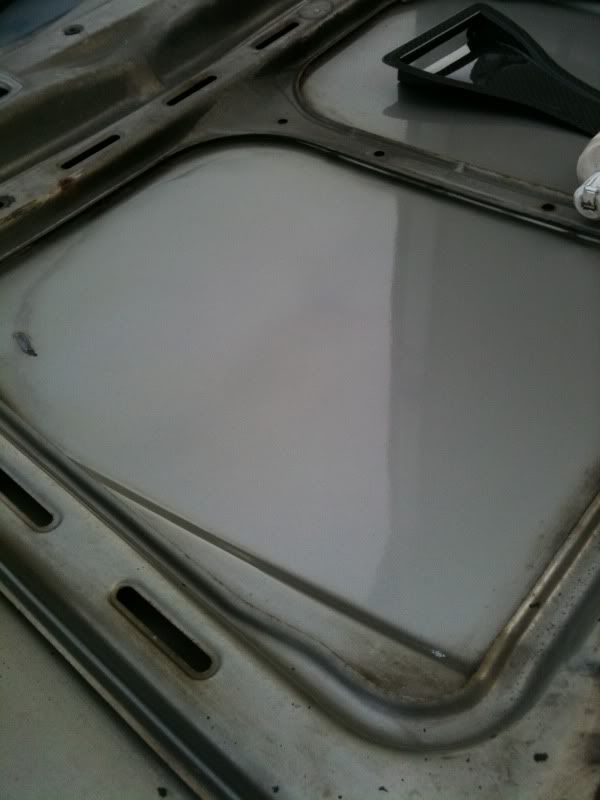
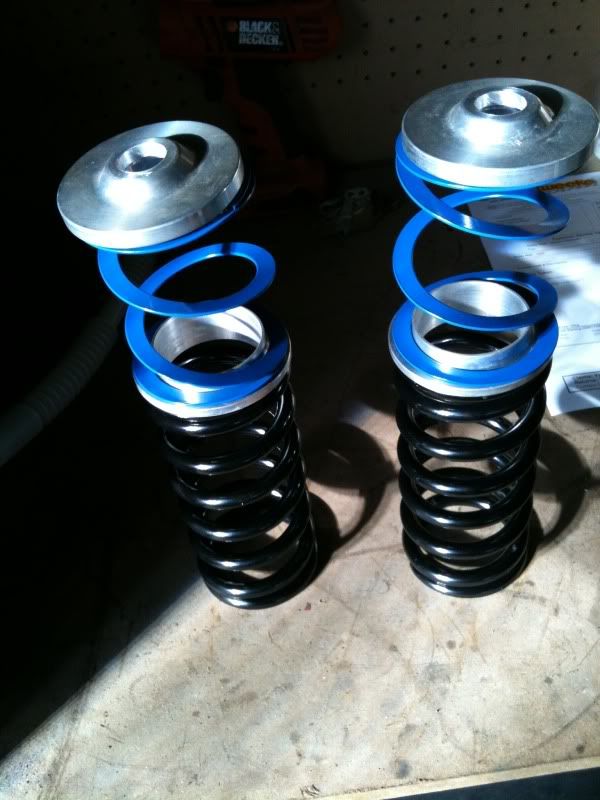
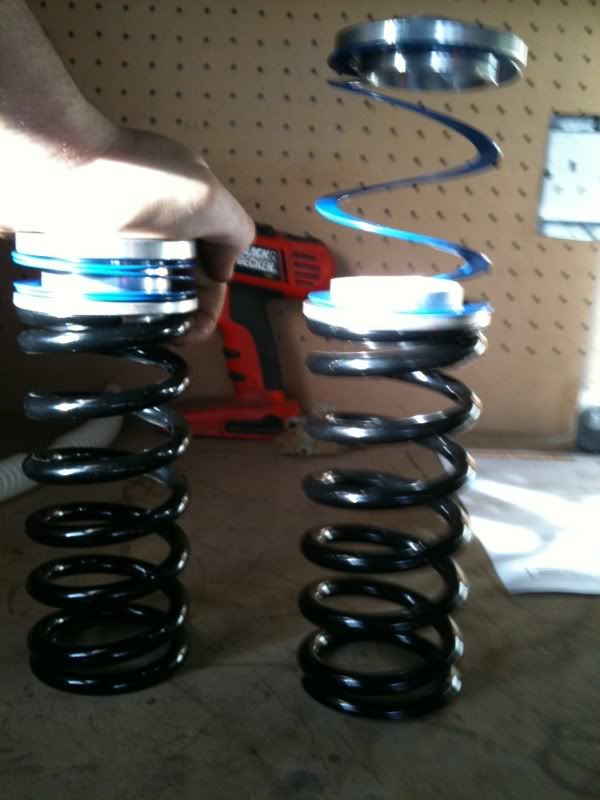
Not done a massive amount on this . I did manage to get my main boost pipes fitted from the intercooler into the bay. Took a mould of the inside of a standard bonnet too to create an inner skin for my vent to sit on. My coilover sprongs arrived for the front aswell.
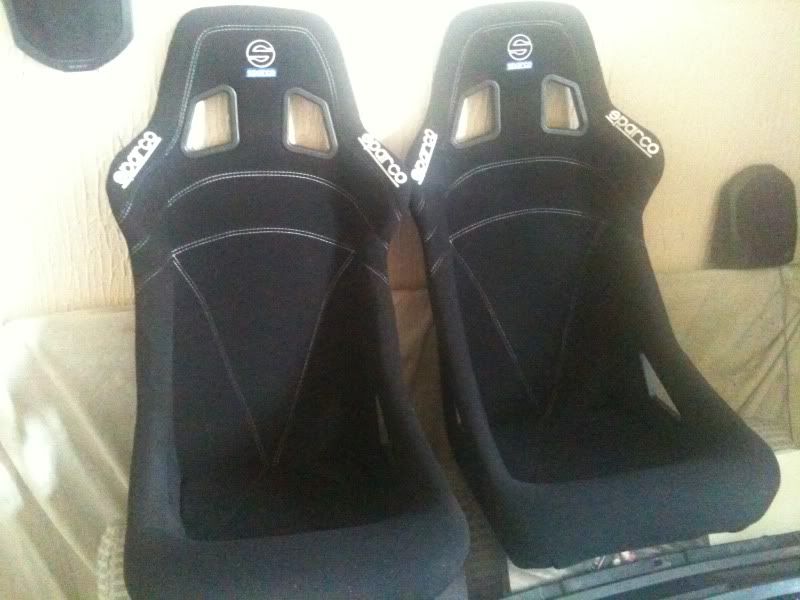
Oh and bought some lovely new seats!!!
Adam
-
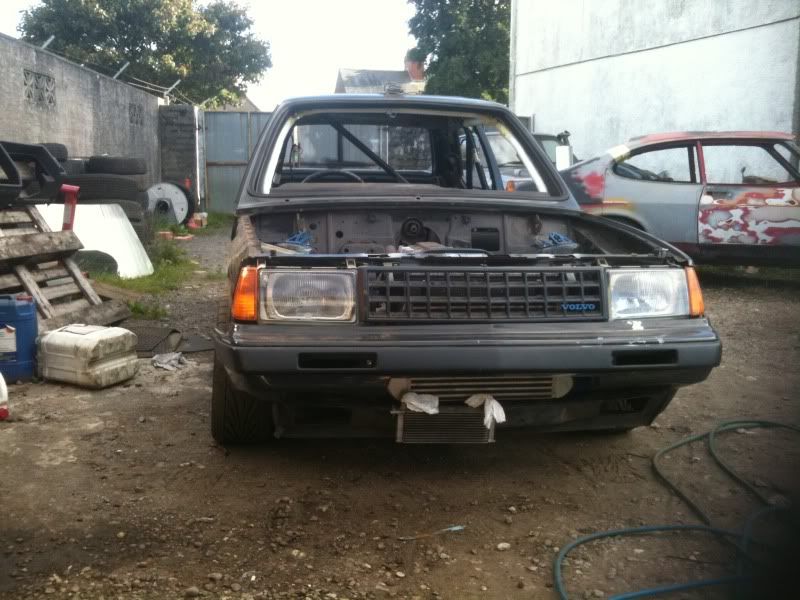
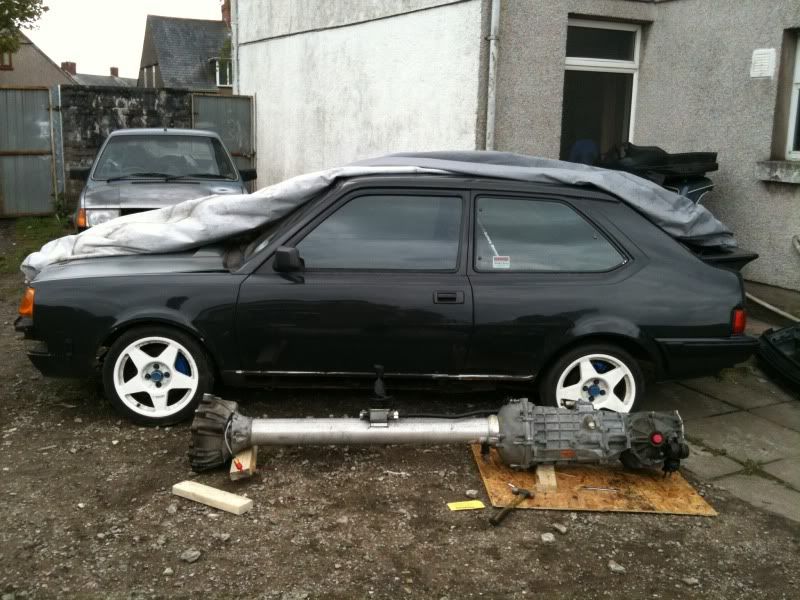
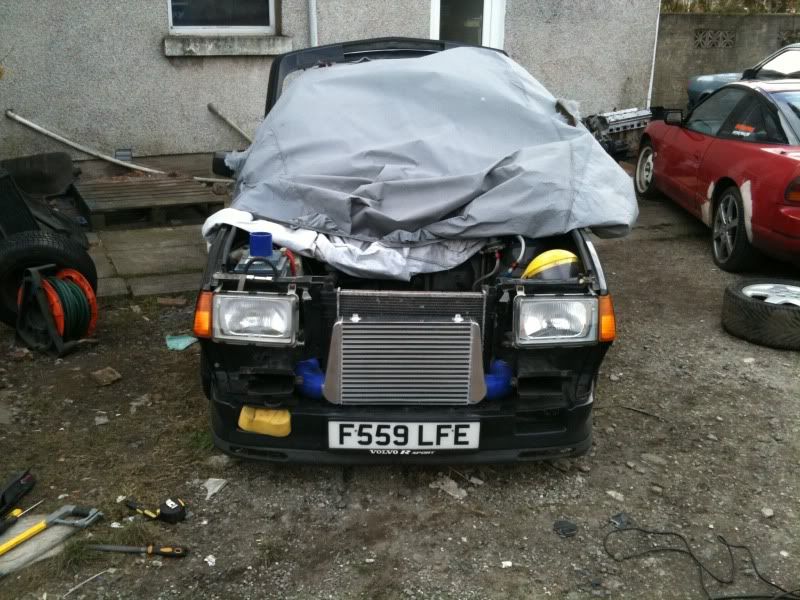
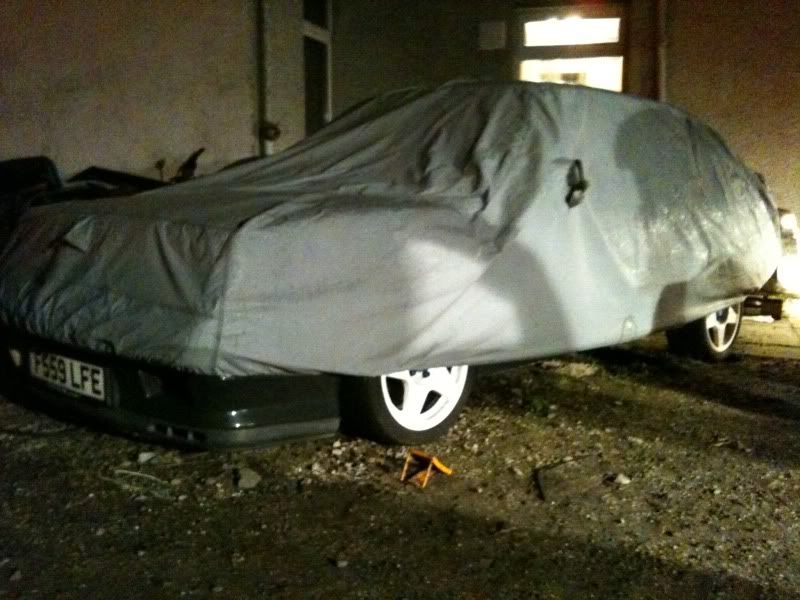
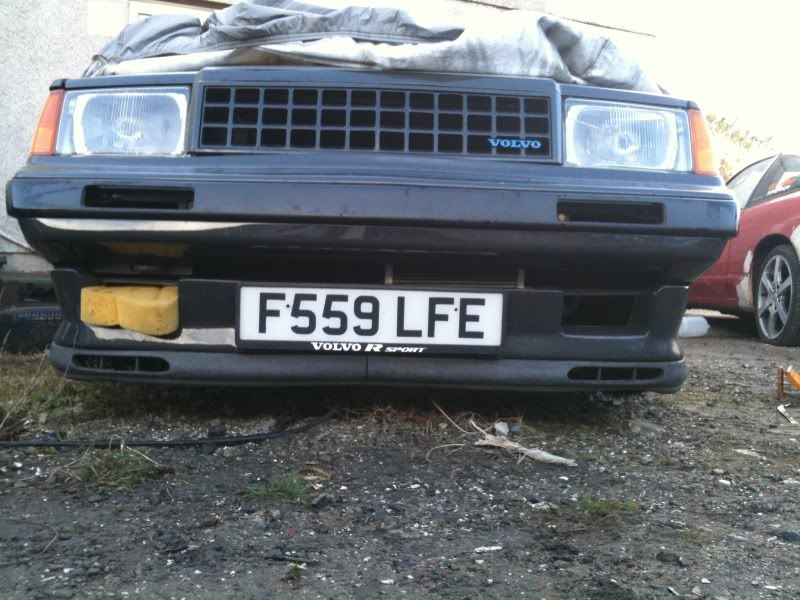
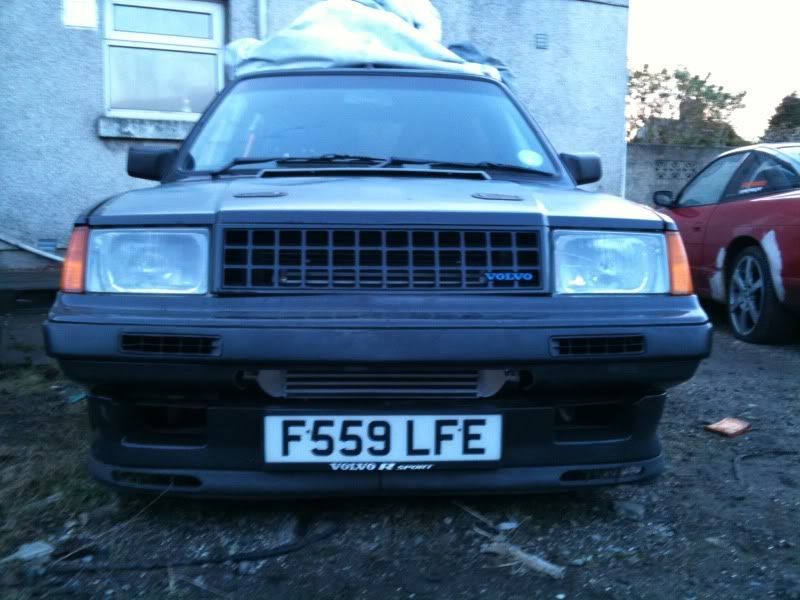
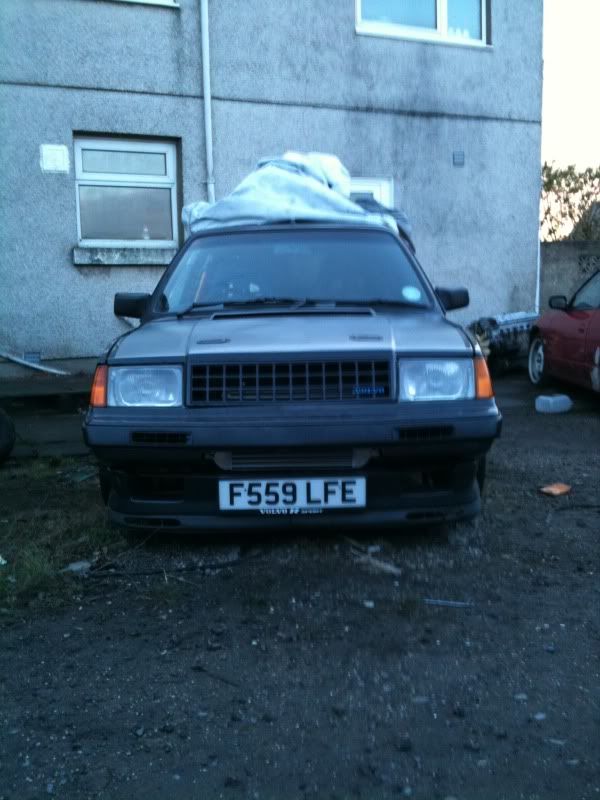
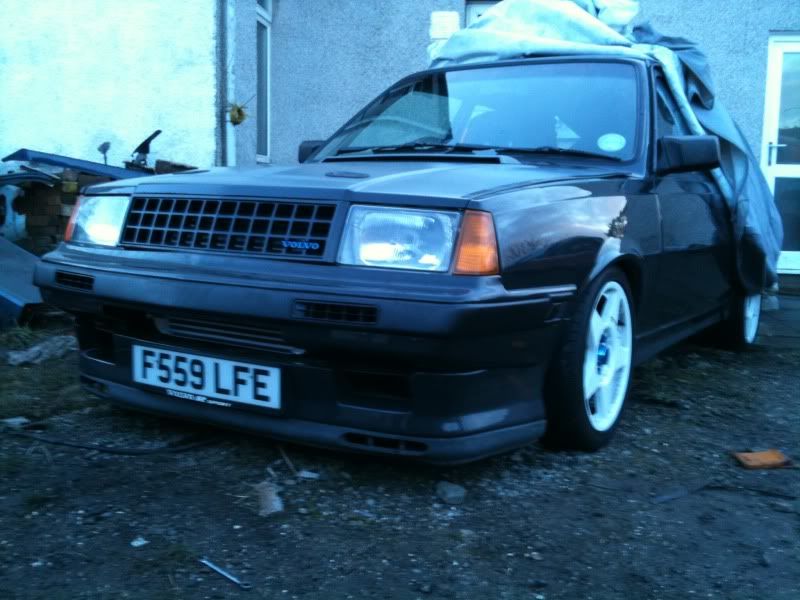
I meant to upload the first picture last nite but as you can tell it was dark so i never got around to it. Car is now on its own wheels, front is sat on bumpstops, but springs should arrive on monday. I spent a bit of time cutting the bumper out for better airflow to the intercooler. I'm very happy with the results, just need to relocate oil cooler now. Enjoy the pics.
Adam


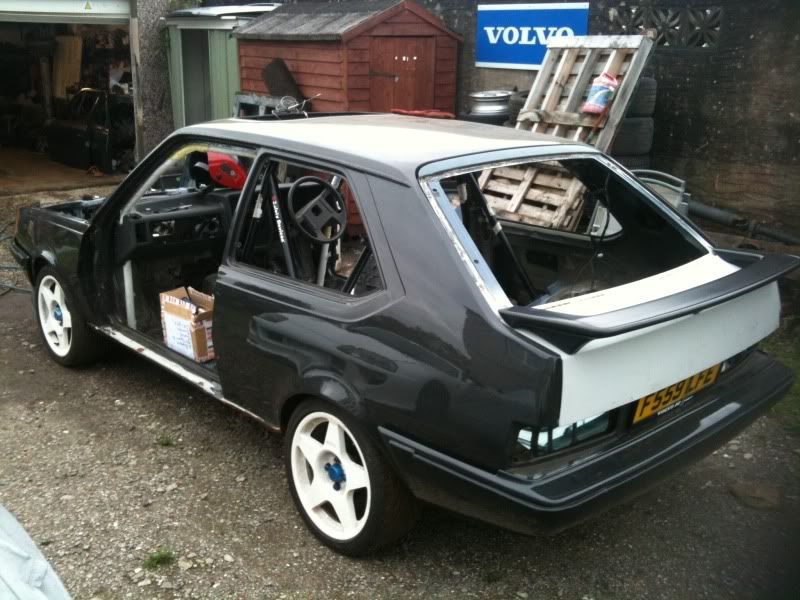


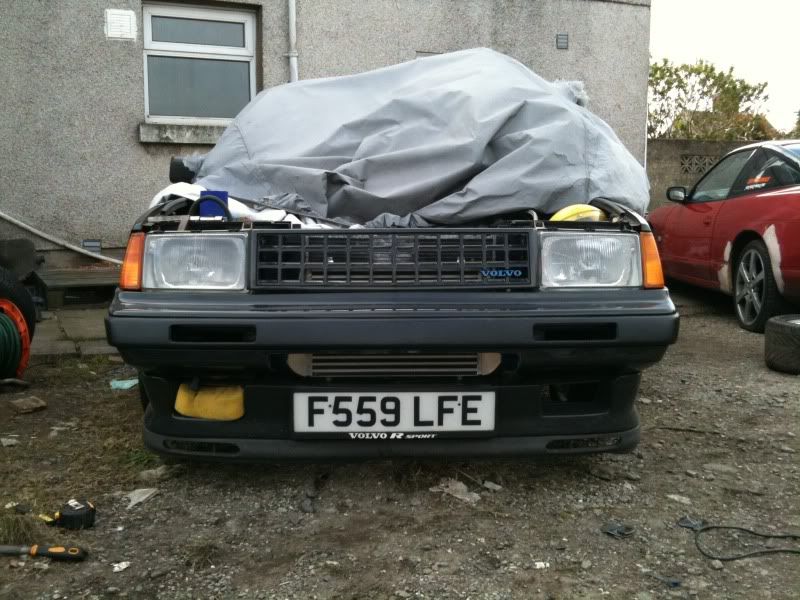
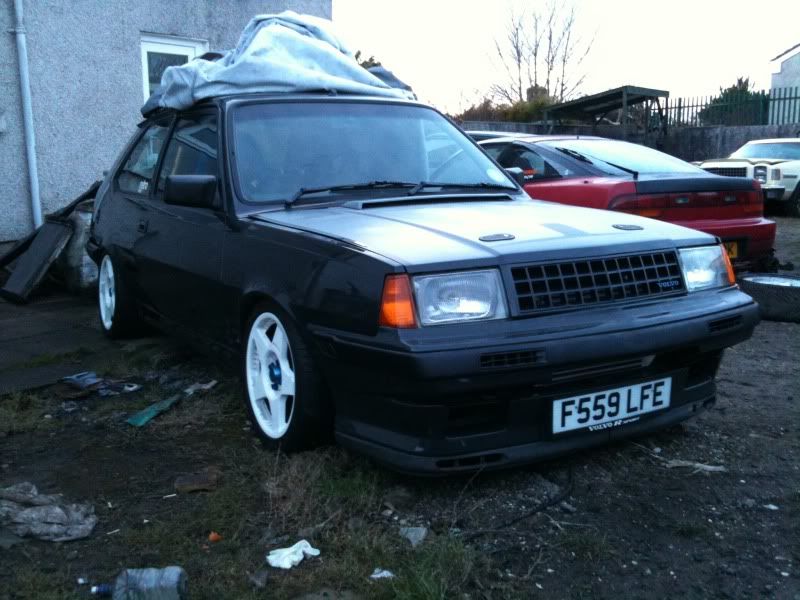

V340R: My Volvo 340R (UK Car)
i 300 Serien
Skrevet
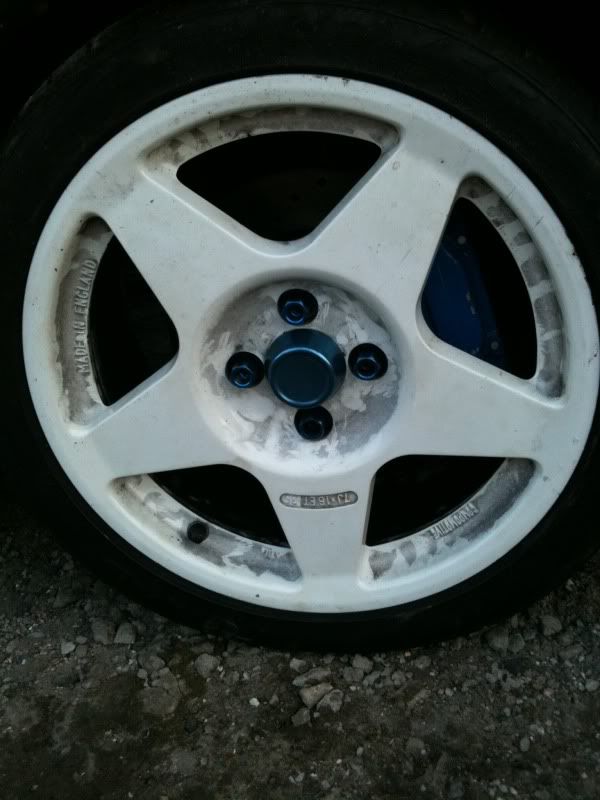
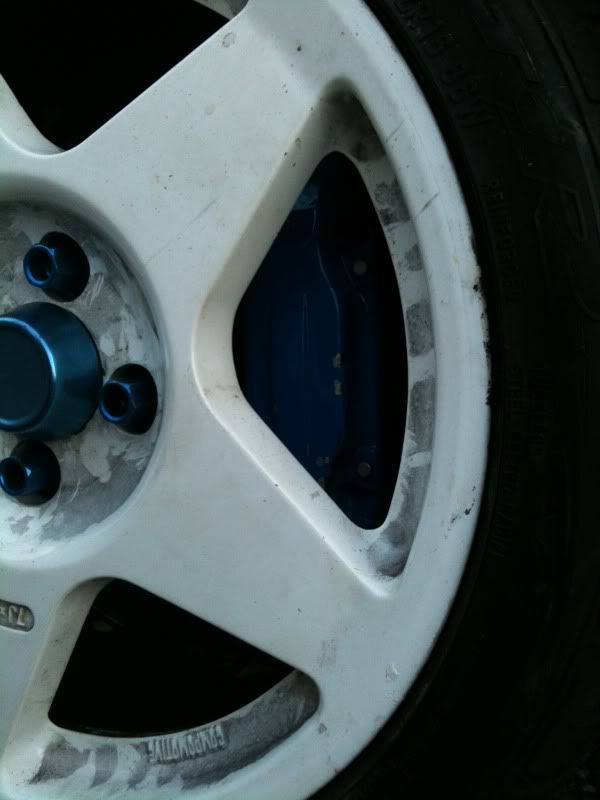
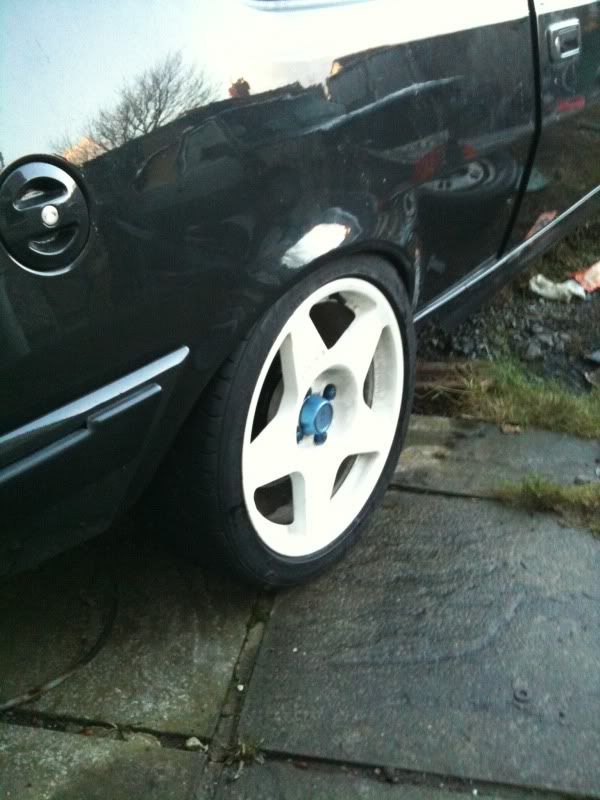
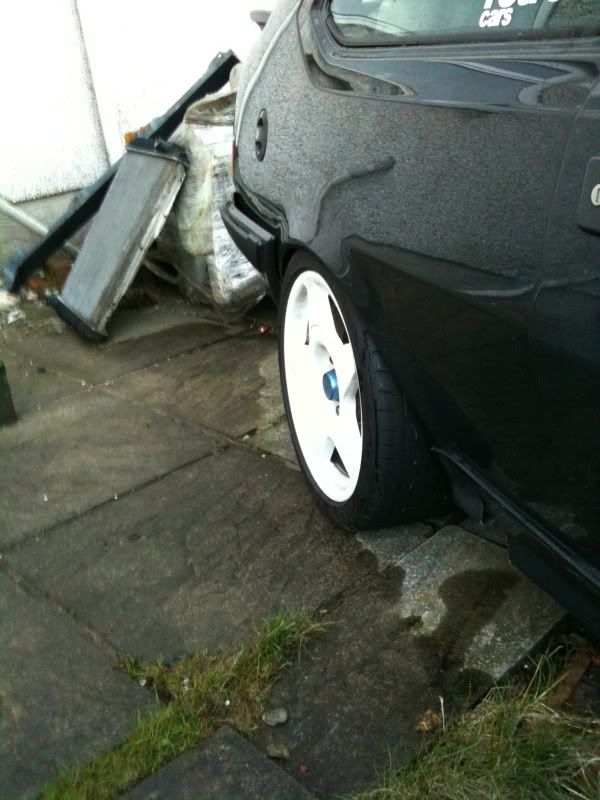
Right the car is currently sitting on its new wheels,compomotive MO5's again but this time 17x 8, currently running 215 40 17 tyres up front and 235 40 17 tyres up rear but front will probably change up to 225 40 17.
The ride height will be lower than its set currently.
Adam